How to Change a Cpu Fan: Easy Steps for a Cooler PC
Is your computer making unusual noises or overheating? Your CPU fan might be the culprit.
Knowing how to change a CPU fan yourself can save you time and money, and keep your system running smoothly. In this guide, you’ll learn simple, step-by-step instructions that anyone can follow—even if you’re not a tech expert. By the end, you’ll feel confident fixing your CPU fan and protecting your computer from damage.
Ready to get started? Let’s dive in.

Credit: www.reddit.com
Signs Your Cpu Fan Needs Replacement
Your CPU fan plays a key role in keeping your computer cool. It stops your processor from overheating. Sometimes, the fan may stop working well. This can cause problems with your computer. Knowing the signs your CPU fan needs replacement helps you act fast. It can save your computer from serious damage.
Overheating Issues
One clear sign is your computer getting very hot. The CPU temperature rises quickly without good cooling. Your system might shut down suddenly to protect itself. Overheating can slow down your computer too. If your device feels hotter than usual, check the fan.
Unusual Noise
A noisy fan is a warning sign. If you hear grinding, rattling, or buzzing sounds, the fan may be failing. Dust can cause noise, but persistent sounds mean the fan could be damaged. A smooth, quiet fan is normal. Loud noise means it might need replacement.
Physical Damage
Look inside your computer case. The fan blades should be intact and clean. Broken or bent blades reduce cooling power. Dust buildup can also harm the fan over time. Physical damage or heavy dirt means the fan cannot work properly. Replace the fan to keep your CPU safe.
Tools And Materials Required
Changing a CPU fan requires a few important tools and materials. Having the right items makes the process smooth and safe. Prepare everything before you start to avoid delays and mistakes.
Screwdrivers
You need a small Phillips-head screwdriver for most CPU fans. It helps remove screws holding the fan and heatsink. A magnetic screwdriver is better. It prevents screws from falling inside the computer case.
Thermal Paste
Thermal paste improves heat transfer between the CPU and the fan’s heatsink. Old paste dries out and loses effectiveness. Apply a small, pea-sized amount of new paste before installing the new fan. This ensures good cooling performance.
Anti-static Wrist Strap
Static electricity can damage computer parts easily. Wear an anti-static wrist strap to protect your components. Connect it to a grounded metal part of the case. This keeps you safe from static discharge while working.
Preparing Your Pc For Fan Replacement
Changing a CPU fan needs careful preparation. This step is important to avoid damage to your computer parts. Follow these simple steps to get your PC ready before replacing the fan.
Taking time here saves trouble later. Safety and cleanliness are key. Let’s start with the basics.
Power Off And Unplug
Always turn off your computer before working inside it. Press the power button to shut it down completely. Then, unplug the power cord from the wall socket. This stops any electricity flowing to the PC. It makes working inside safer and protects you from shocks.
Open The Case
Find a clean, flat surface to place your PC. Remove the screws or clips holding the side panel. Slide the panel off gently to expose the inside. Keep screws in a small container to avoid losing them. This step gives you clear access to the CPU fan and other parts.
Ground Yourself
Static electricity can damage computer parts easily. Touch a metal part of the case to release static from your body. Use an anti-static wrist strap if you have one. This simple action protects your PC components while you work.

Credit: www.youtube.com
Removing The Old Cpu Fan
Removing the old CPU fan is the first step to install a new one. This part cools your computer’s processor. Over time, it can get dusty or stop working well. Taking it off carefully protects your computer from damage. Follow these steps to remove the old fan safely and clean the CPU surface.
Disconnecting The Fan Cable
Start by finding the fan cable connected to the motherboard. Gently pull the cable out of its socket. Do not use too much force. Be careful not to damage the pins. Disconnecting the cable cuts power to the fan. This makes it safe to remove.
Unscrewing The Fan
Look for screws holding the fan to the CPU. Use a screwdriver that fits well. Turn the screws counterclockwise to loosen them. Keep the screws in a safe place. After all screws are out, lift the fan carefully. Avoid pulling or twisting hard.
Cleaning The Cpu Surface
Once the fan is off, the CPU surface is visible. It may have old thermal paste and dust. Use a soft cloth or paper towel to clean it. Apply a small amount of rubbing alcohol for better cleaning. Wait until the surface is dry before adding new paste. A clean surface helps the new fan work well.
Installing The New Cpu Fan
Installing the new CPU fan is a key step to keep your computer cool. This process needs care and precision. Follow the steps carefully to ensure the fan works well and protects your CPU.
Applying Thermal Paste
Start by cleaning the CPU surface. Use a soft cloth or alcohol wipe. Apply a small dot of thermal paste in the center of the CPU. The paste helps transfer heat from the CPU to the fan. Spread it evenly if needed, but often the pressure of the fan will do this.
Securing The New Fan
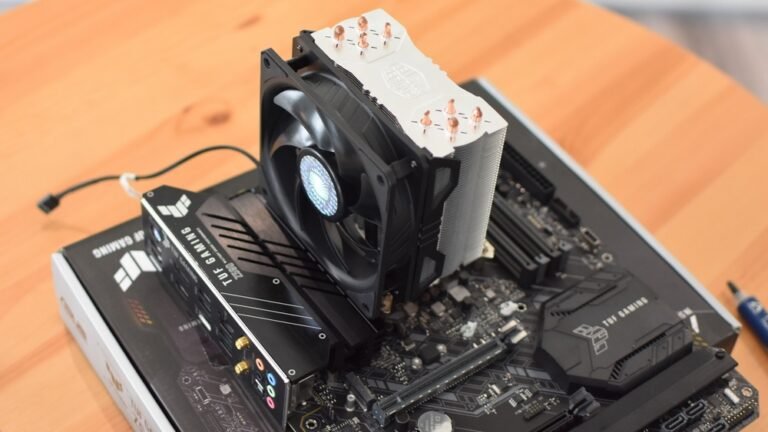
Place the new CPU fan gently on the CPU. Align the screws or clips with the holes around the socket. Tighten the screws evenly to avoid pressure on one side. Do not over-tighten. The fan must sit firmly and flat on the CPU.
Connecting The Fan Cable
Locate the CPU fan header on the motherboard. It is usually near the CPU socket. Plug the fan cable into the header carefully. Make sure the cable is secure but not forced. A good connection ensures the fan runs correctly and cools the CPU.

Credit: www.reddit.com
Testing The New Fan
Testing the new CPU fan is a key step after installation. It confirms the fan works right and keeps your computer cool. This step helps avoid overheating and damage to your PC.
Powering On The Pc
Start by turning on your computer. Listen carefully for the fan sound. A working fan will spin up quickly. If you hear no sound, check the connections again. Do not force anything.
Monitoring Fan Operation
Watch the fan closely for smooth spinning. Look for any unusual noise or wobbling. A good fan runs quietly and steadily. If it stops or slows down, power off immediately. This prevents damage to your CPU.
Checking Temperatures
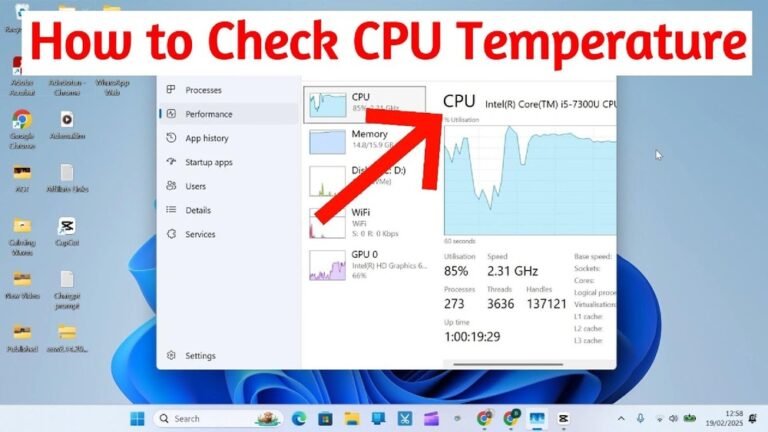
Use software to check CPU temperature. Many free tools show real-time temperature readings. A new fan should keep the CPU cool during use. If temperatures stay high, recheck fan placement. Proper cooling protects your PC from overheating.
Tips For Maintaining A Cooler Pc
Keeping your PC cool is important for its performance and life. High temperatures can cause slowdowns and damage parts. Simple steps help maintain a cooler PC and avoid overheating. These tips work well alongside changing your CPU fan.
Regular Cleaning
Dust builds up inside your PC and blocks airflow. This makes your PC hotter. Clean your PC often using a soft brush or air blower. Focus on fans, vents, and heat sinks. Keep dust away to help fans work better.
Proper Cable Management
Messy cables block air circulation inside the case. This traps heat around important parts. Arrange and tie cables neatly along the edges. This clears space for air to flow freely. Better airflow means cooler temperatures.
Upgrading Cooling Solutions
Stock cooling may not be enough for heavy tasks. Consider better fans or liquid cooling systems. These options remove heat faster and keep your CPU cool. Choose parts that fit your PC and budget.
Frequently Asked Questions
How Do I Safely Remove A Cpu Fan?
First, power off and unplug your PC. Disconnect the fan’s power cable. Loosen mounting screws or clips carefully. Gently lift the fan off the CPU to avoid damage. Always handle components with care to prevent static discharge.
What Tools Are Needed To Change A Cpu Fan?
You typically need a Phillips screwdriver and thermal paste. An anti-static wrist strap is also recommended. Having a clean cloth and rubbing alcohol helps clean old thermal paste. These tools ensure a safe and efficient fan replacement process.
How To Apply Thermal Paste When Changing A Cpu Fan?
Clean the old paste with alcohol and a cloth. Apply a small pea-sized amount of new thermal paste on the CPU center. When you attach the new fan, the paste spreads evenly. Proper application ensures effective heat transfer between the CPU and fan.
How To Know If My Cpu Fan Needs Replacement?
Listen for loud or unusual noises from the fan. Check if your CPU overheats or shuts down unexpectedly. Look for visible dust buildup or physical damage. If cooling performance drops, it’s likely time to replace the fan.
Conclusion
Changing a CPU fan is simple with the right steps. Take your time and work carefully. Always handle parts gently to avoid damage. A good fan keeps your computer cool and safe. Now, you can replace your CPU fan with confidence.
Regular cleaning and checks help your PC run better. Keep your workspace tidy and organized during the process. Soon, your computer will run quieter and cooler. Remember, small fixes make a big difference.