
Thinking about upgrading your computer’s performance? Swapping your CPU might be the fastest way to boost speed and power.
But if you’ve never done it before, the idea can feel a bit overwhelming. Don’t worry—you’re about to discover a simple, step-by-step guide that breaks down the process into easy actions anyone can follow. By the end, you’ll have the confidence to swap your CPU like a pro and get your machine running faster than ever.
Ready to take control of your computer’s heart? Let’s dive in.
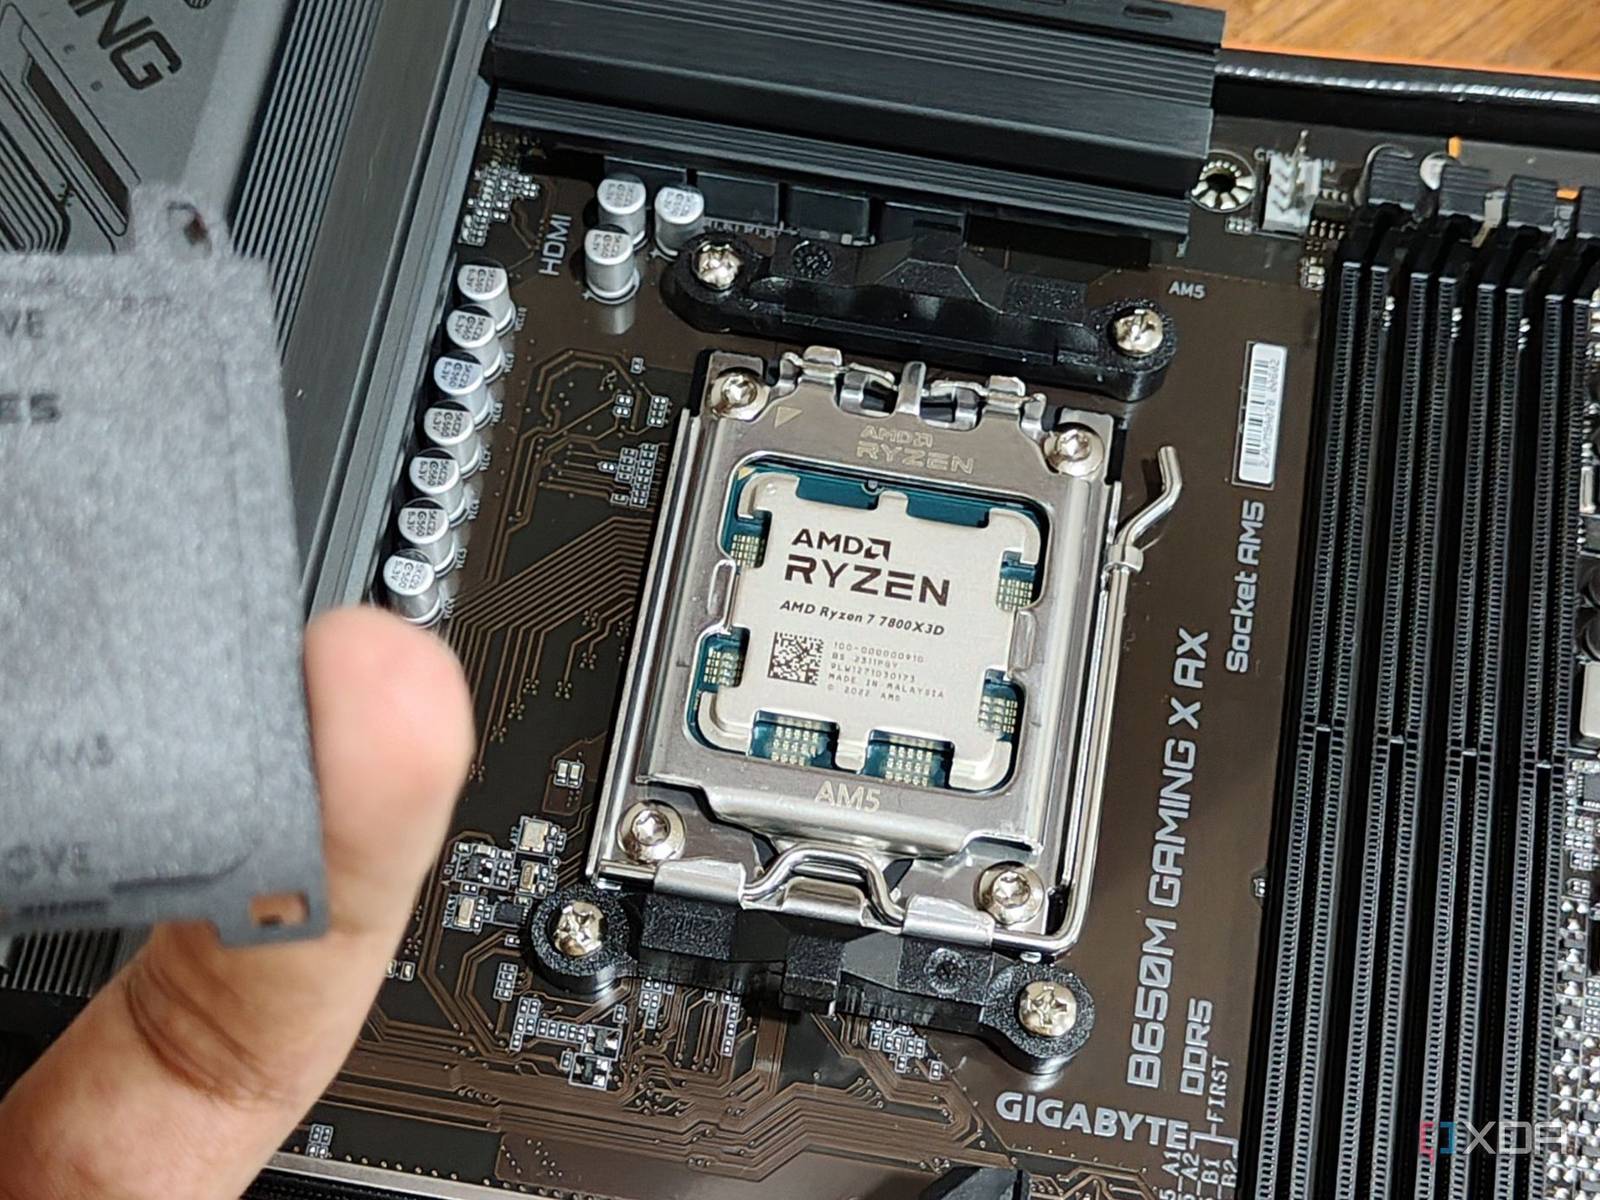
Credit: www.xda-developers.com
Preparing For The Upgrade
Preparing for a CPU upgrade takes careful steps. It helps avoid damage and saves time. Getting ready means having the right tools, checking if the CPU fits your system, and protecting your data. Each step is important for a smooth upgrade.
Gathering Necessary Tools
Start by collecting all tools you will need. A screwdriver, thermal paste, and an anti-static wristband are essential. The screwdriver helps open your computer case. Thermal paste ensures good heat transfer between the CPU and cooler. The wristband stops static electricity from harming parts.
Checking Compatibility
Check if the new CPU fits your motherboard socket. Look at the motherboard manual or website. Also, check the BIOS version. Sometimes, it needs updating to support new CPUs. Confirm your power supply can handle the new CPU’s power needs.
Backing Up Important Data
Save all important files before starting. Use an external drive or cloud storage. This step protects your data if something goes wrong. It also gives peace of mind during the upgrade process.
Removing The Old Cpu
Removing the old CPU is the first step in swapping your computer’s processor. This process requires care and attention to avoid damage. Follow each step slowly and carefully.
Powering Down And Unplugging
Turn off your computer completely. Do not leave it in sleep or hibernate mode. Unplug the power cable from the wall or power strip. Also, disconnect any other cables attached to the computer. This ensures safety while working inside the case.
Opening The Computer Case
Find the screws or latches that hold the case cover. Use a screwdriver if needed. Remove the side panel gently and set it aside. This gives clear access to the inside of your computer. Avoid touching other components to prevent static damage.
Detaching The Cooling System
The CPU cooler keeps the processor cool during use. It is usually attached with screws or clips. Carefully loosen and remove these fasteners. Then, gently lift the cooler off the CPU. If thermal paste sticks the cooler, twist it slightly to break the seal.
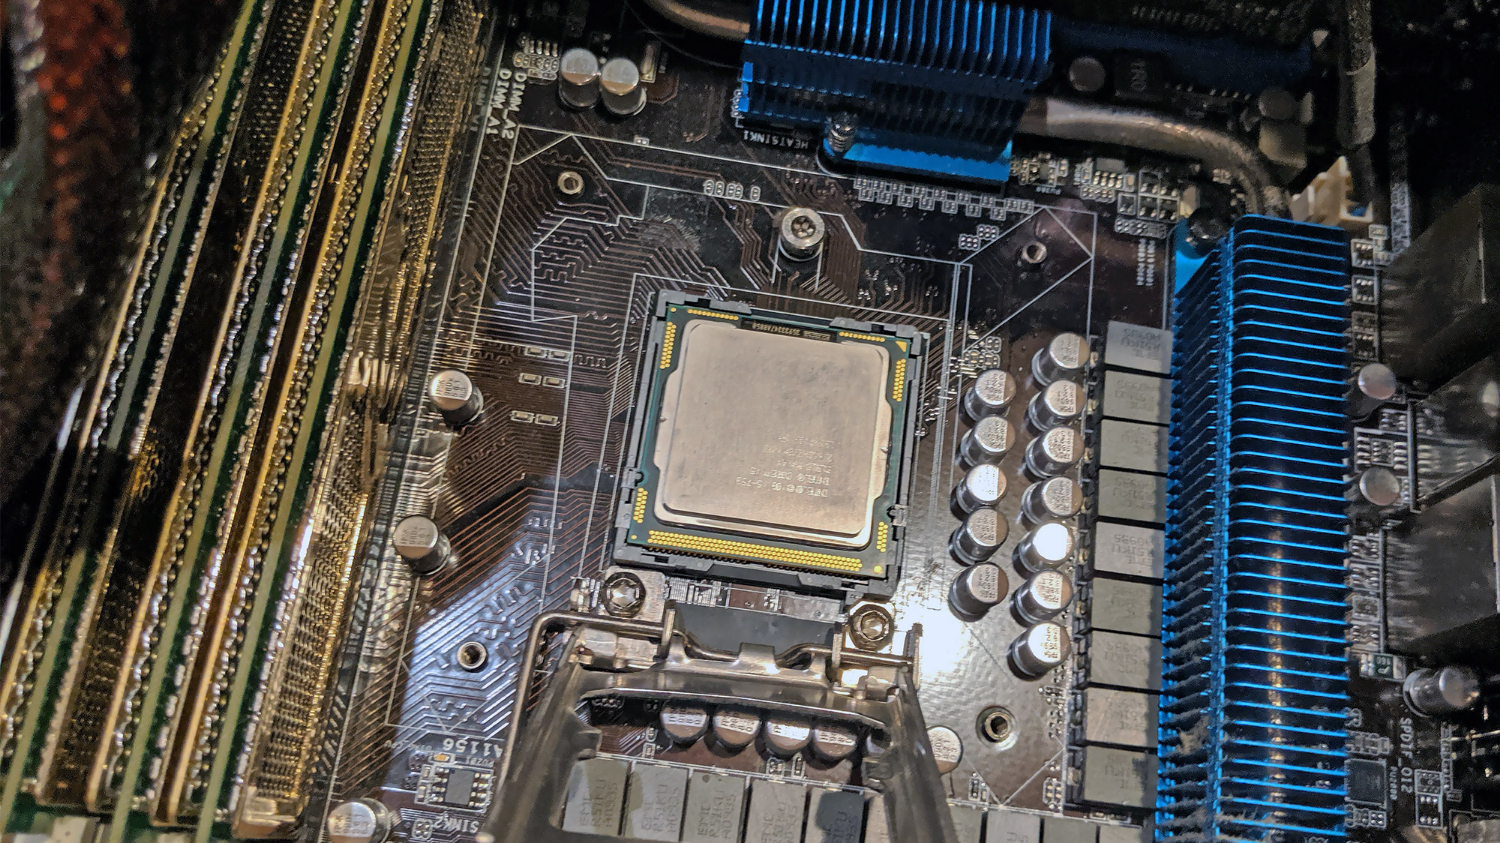
Releasing The Cpu Socket
Locate the CPU socket lever next to the processor. Lift the lever to unlock the CPU from the socket. Do not force the CPU out. Lift it straight up and out of the socket. Place the old CPU on an anti-static surface.
Installing The New Cpu
Installing the new CPU is a careful process that needs attention. Each step matters to ensure the processor works well. Follow these steps to place the CPU correctly and safely.
Aligning The Processor Correctly
Start by checking the CPU and socket for alignment marks. These marks help you place the CPU in the right position. Hold the processor gently and match the corner marks. Never force the CPU into the socket. Proper alignment prevents damage and ensures good contact.
Securing The Cpu In The Socket
Once aligned, lower the CPU carefully into the socket. Check that it sits flat without tilting. Use the socket lever or latch to lock the CPU. This holds the processor firmly in place. Make sure the lever clicks or feels secure. A loose CPU can cause problems when powering on.
Applying Thermal Paste
Apply a small amount of thermal paste on the CPU surface. A pea-sized drop in the center is enough. Thermal paste helps transfer heat from the CPU to the cooler. Spread it evenly by pressing the cooler down later. Avoid using too much paste. Excess can reduce cooling efficiency.
Reattaching The Cooling System
Place the cooling system back onto the CPU carefully. Align it with the mounting holes or brackets. Press down gently but firmly to spread the thermal paste. Secure the cooler with screws or clips, depending on your model. Reconnect any power cables for the fan. Proper cooling prevents overheating and keeps the CPU safe.

Credit: www.instructables.com
Final Steps After Installation
After installing your new CPU, a few important steps remain. These steps ensure your computer runs smoothly with the new processor. They help confirm the CPU works properly and that your system is ready to use.
Closing The Computer Case
First, close the computer case carefully. Make sure no cables or components are loose. Secure the side panel with screws or clips. This keeps dust out and protects internal parts.
Powering On And Entering Bios
Next, turn on your computer. Watch for the initial startup screen. Press the key to enter BIOS setup, usually DEL or F2. BIOS lets you check hardware settings and CPU status.
Verifying Cpu Recognition
In BIOS, find the system information section. Check if your new CPU model appears correctly. This confirms the system recognizes the processor. If not, turn off the computer and check connections.
Updating Drivers And Firmware
Finally, update your motherboard drivers and firmware. Visit the manufacturer’s website for the latest versions. Updated software improves performance and stability. Restart your computer to apply changes.
Troubleshooting Common Issues
Swapping a CPU can improve your computer’s speed and performance. Sometimes, issues arise after the swap. Troubleshooting helps fix these common problems fast. Understanding these issues saves time and keeps your PC running well.
Computer Fails To Boot
The computer may not start after swapping the CPU. Check if the CPU is seated correctly in the socket. Make sure the motherboard supports your new CPU model. Inspect the power connections to the CPU and motherboard. Reset the BIOS by clearing the CMOS to fix boot errors. Missing or loose cables can also stop booting.
Overheating Problems
New CPUs can run hotter if not cooled properly. Confirm the thermal paste is applied correctly between the CPU and cooler. Ensure the CPU cooler is firmly attached and working. Check that all fans are spinning and not blocked. Clean dust from the cooling system to improve airflow. Overheating can cause sudden shutdowns or freezes.
Performance Not Improving
Swapping the CPU might not always boost performance. Verify that the new CPU is compatible with your motherboard and RAM. Update your BIOS to support the new processor. Check if software or drivers need updates for the new CPU. Running background programs can slow down performance. Sometimes, other hardware limits speed more than the CPU.
Tips For Maintaining Your New Cpu
Keeping your new CPU in good shape is important. It helps your computer run smoothly and last longer. Simple habits can protect your CPU from damage and overheating. These tips make sure your CPU works well every day.
Regular Cleaning
Dust and dirt can build up inside your computer. This can block airflow and cause the CPU to get hot. Clean the inside of your computer often. Use a soft brush or canned air to remove dust. Be gentle to avoid damaging parts.
Monitoring Temperatures
Check your CPU temperature regularly. High temperatures can harm the processor. Use software tools to see how hot your CPU gets. If it runs too hot, stop using heavy programs until it cools down.
Ensuring Proper Ventilation
Good airflow keeps your CPU cool. Place your computer in a space with enough air around it. Avoid putting it in tight spots or near heat sources. Keep fans working and clean to help air move freely.
Credit: www.tomsguide.com
Frequently Asked Questions
How Do I Safely Remove My Old Cpu?
First, power off and unplug your computer. Then, unlock the CPU socket lever carefully. Gently lift the CPU straight up to avoid damage. Handle the CPU by the edges to prevent static and contamination.
What Tools Do I Need To Swap A Cpu?
You mainly need a screwdriver to open your PC case. Additionally, use thermal paste for proper heat transfer. An anti-static wrist strap is recommended to prevent static damage. Clean cloth or isopropyl alcohol helps remove old thermal paste.
How To Apply Thermal Paste On A New Cpu?
Apply a small pea-sized amount of thermal paste in the center of the CPU. When the cooler is installed, it spreads the paste evenly. Avoid using too much paste to prevent overheating and poor performance.
Can I Upgrade My Cpu Without Changing The Motherboard?
It depends on your motherboard’s socket and chipset compatibility. Check your motherboard manual or manufacturer’s website for supported CPUs. Upgrading within the same socket family is often possible but verify before purchasing.
Conclusion
Swapping a CPU can improve your computer’s speed and performance. Take your time and follow each step carefully. Use the right tools and handle parts gently. Double-check your connections before turning on the PC. A successful CPU swap can make your system feel fresh and faster.
Don’t rush, and stay patient throughout the process. Enjoy the benefits of your upgraded computer soon.