
Is your GPU running hotter than usual? You might be facing reduced performance or unexpected shutdowns.
The secret to fixing this often lies in one simple step: replacing your GPU’s thermal paste. If you’ve never done it before, the idea might seem tricky or risky. But don’t worry—you’re about to learn exactly how to do it safely and effectively.
Keep reading, and you’ll discover easy-to-follow tips that can help your GPU stay cool, boost its performance, and extend its life. Ready to give your graphics card the care it needs? Let’s get started!
Credit: www.xda-developers.com
Signs Your Gpu Needs New Thermal Paste
Thermal paste helps your GPU stay cool by improving heat transfer. Over time, this paste can dry out or lose effectiveness. This causes your GPU to get hotter than it should. Recognizing the signs early can protect your GPU from damage. Check these common symptoms to know when to replace the thermal paste.
Overheating Symptoms
Your GPU may run hotter than normal during use. Watch for temperatures above 80°C under load. Sudden spikes in temperature can also happen. Overheating can cause your computer to shut down unexpectedly. This protects the hardware from heat damage. Consistent high temperatures usually mean the thermal paste is failing.
Performance Drops
A slow GPU affects your gaming and video work. Frame rates might drop without reason. Your computer may lag or freeze more often. The GPU reduces speed to avoid overheating. This is called thermal throttling. When thermal paste dries out, it cannot cool properly. This leads to noticeable performance drops.
Unusual Fan Noise
Fans spin faster to cool a hot GPU. You may hear louder or strange fan sounds. The noise increases during heavy tasks like gaming. If the fans run constantly at high speed, something is wrong. Old thermal paste causes higher temperatures, forcing fans to work harder. This noise signals that your GPU needs attention.
Tools And Materials Required
Replacing the thermal paste on your GPU needs some basic tools and materials. Having the right items makes the process easier and safer. This section lists all essentials for a smooth thermal paste replacement.
Thermal Paste Types
Choose a good thermal paste for your GPU. There are three main types: metal-based, ceramic-based, and silicone-based.
Metal-based pastes offer better heat transfer but can be conductive. Ceramic-based pastes are safe and non-conductive but may have lower performance. Silicone-based pastes are cheaper and easy to apply but less effective.
Select one that fits your budget and needs.
Cleaning Supplies
Cleaning the old thermal paste is important before applying new paste. Use isopropyl alcohol with at least 90% purity. This removes residue without damaging parts.
Lint-free cloths or coffee filters help avoid fibers on the GPU. Cotton swabs are good for hard-to-reach spots. Avoid paper towels or tissues, as they can leave debris.
Essential Tools
You need a small Phillips screwdriver to open the GPU cooler screws. A plastic pry tool helps lift parts safely without damage. Tweezers are useful for handling small screws and parts.
Wear an anti-static wrist strap to avoid static damage to components. Have a clean, flat workspace with good lighting for better visibility.
Preparing Your Workspace
Preparing your workspace is the first step to replace GPU thermal paste safely and efficiently. A clean, organized area helps prevent damage and makes the process smoother. You need a space with good lighting and enough room for your tools and components.
Static Safety Measures
Static electricity can damage your GPU and other parts. Use an anti-static wrist strap to protect your components. If you do not have one, touch a grounded metal object often to discharge static. Avoid working on carpet or other static-prone surfaces. Keep your workspace free of materials that can create static.
Organizing Components
Keep screws, thermal paste, and tools in separate containers or trays. Label the containers if needed to avoid confusion during reassembly. Place the GPU on a soft, clean surface to prevent scratches. Organize your workspace so everything is within easy reach. This saves time and reduces the risk of losing small parts.
Removing The Gpu From The Pc
Removing the GPU from your computer is the first step in replacing its thermal paste. This process needs care and attention. A wrong move can damage the card or the PC. Take your time and follow each step closely.
Prepare a clean workspace to place the GPU safely after removal. Avoid touching the metal contacts and chips. Keep tools handy and work in a static-free area. This will protect your hardware from damage.
Power Down And Unplug
Turn off your computer completely. Do not leave it in sleep or hibernate mode. Next, unplug the power cable from the wall socket or power strip. This step is crucial to avoid any electric shock or damage.
Press the power button for a few seconds to drain leftover electricity. Disconnect all cables connected to the PC. This includes monitor, keyboard, mouse, and others. Now, you are ready to open the case.
Detach Gpu Carefully
Open the side panel of your PC case. Find the GPU attached to the motherboard slot. Locate the screw or clip holding the GPU in place. Use a screwdriver or your fingers to remove it gently.
Hold the GPU by its edges. Do not touch the circuit board or fan blades. Press the release latch on the PCIe slot. Slowly pull the GPU straight out. Place it on a clean, flat surface to avoid damage.
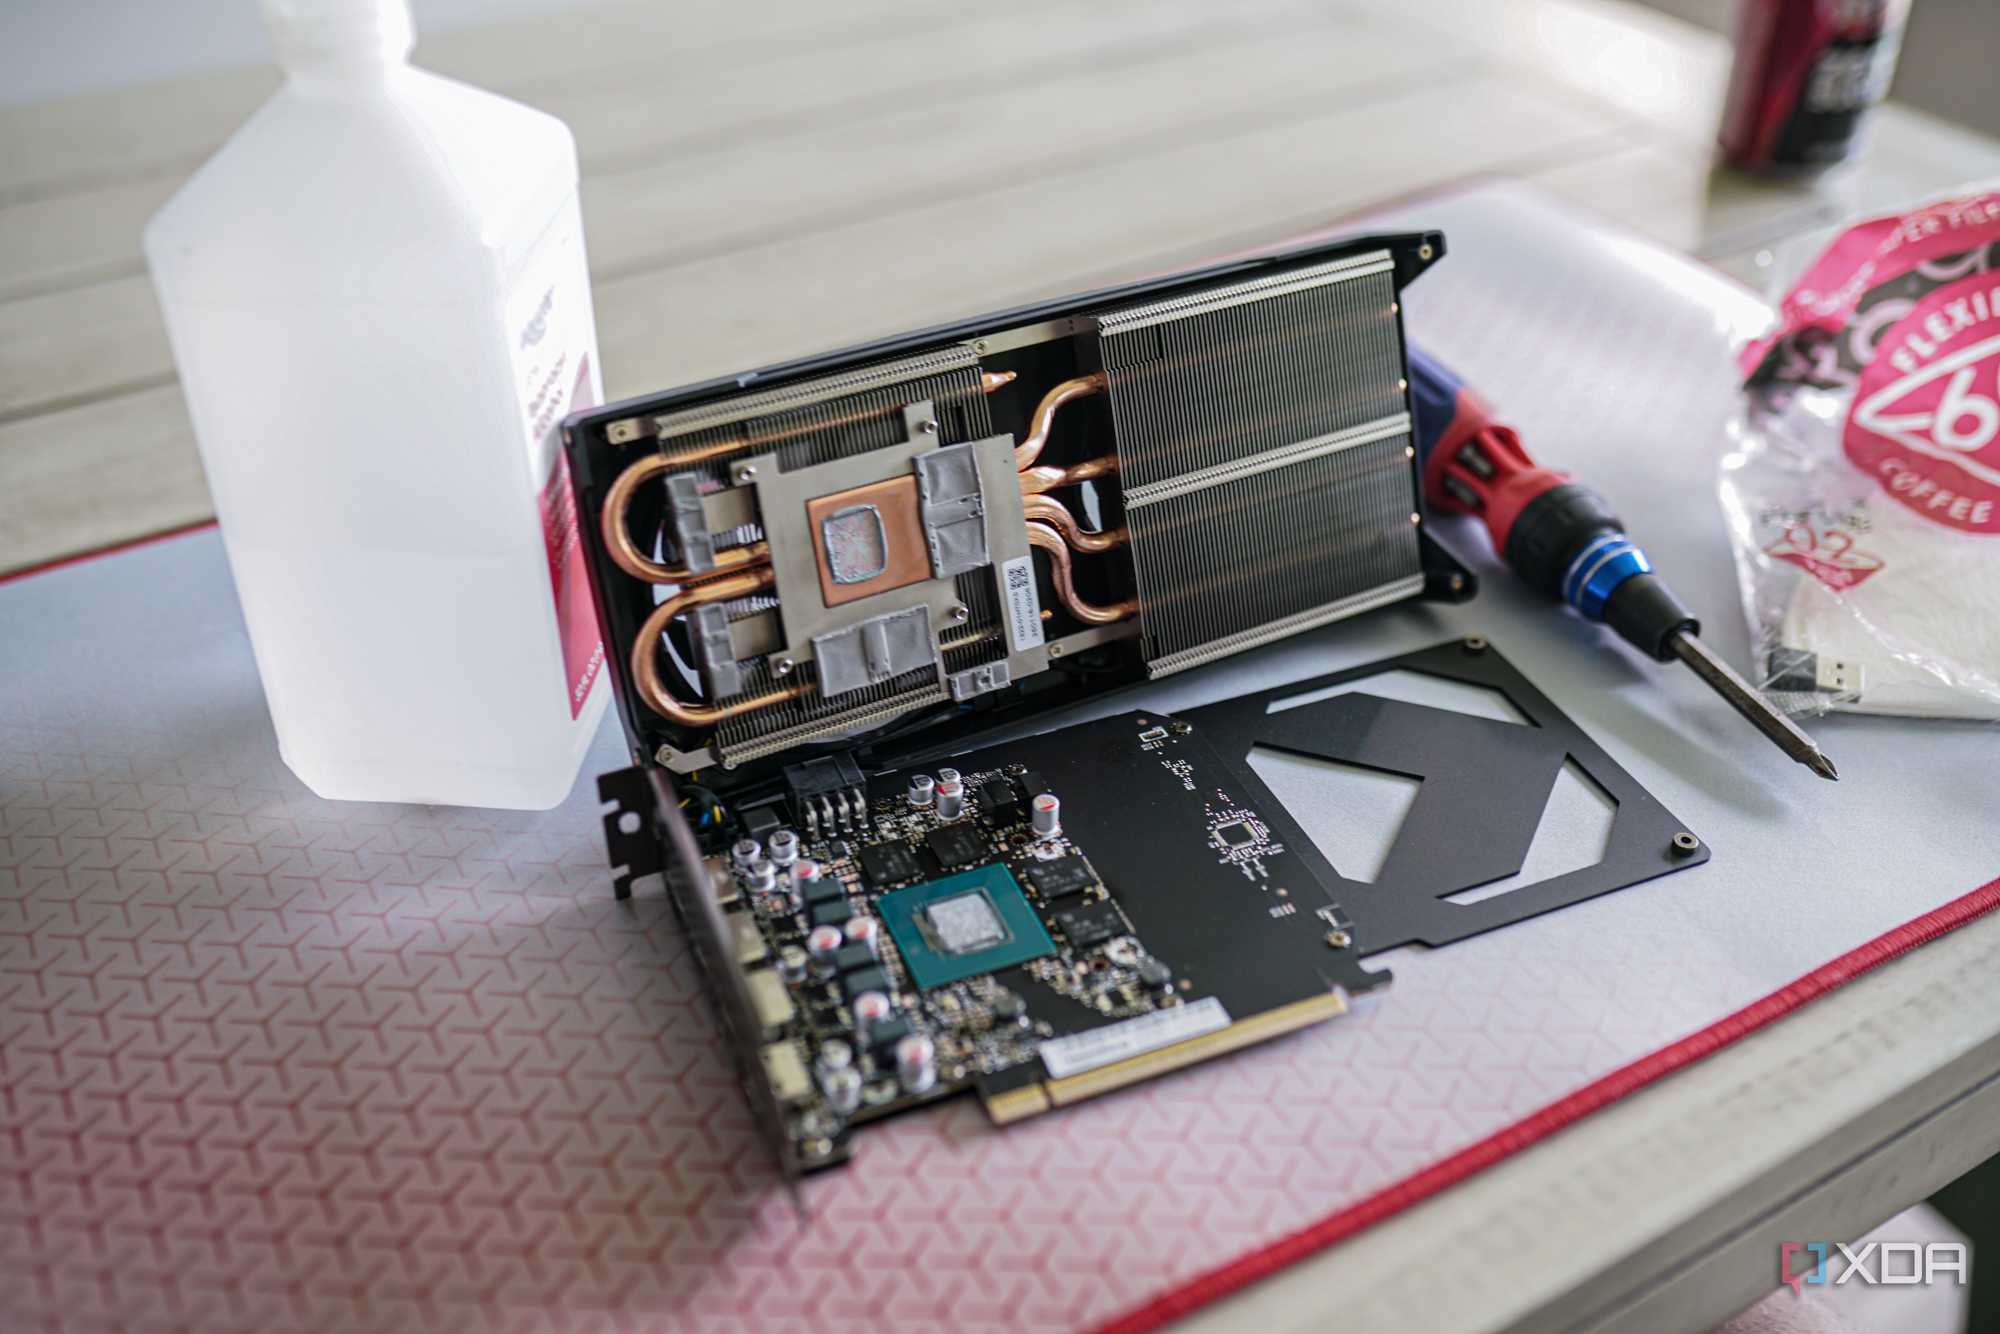
Disassembling The Gpu Cooler
Disassembling the GPU cooler is an important step to replace the thermal paste. It allows you to access the GPU chip directly. This process requires care and patience to avoid damage.
Keep your workspace clean and organized. Use the right tools. Small screws and parts are easy to lose. Take your time to avoid mistakes.
Unscrewing The Heat Sink
Start by locating all screws holding the heat sink. Use a small screwdriver that fits well. Turn screws counterclockwise to remove them. Keep screws in a safe place. Some GPUs have hidden screws under stickers or pads. Remove these carefully to access all screws. Do not force any part. The heat sink may come off easily after all screws are removed.
Handling Delicate Parts
The GPU cooler has delicate parts like fans and wires. Gently disconnect any cables attached to the cooler. Avoid pulling on wires directly. Hold connectors by their plastic parts. Keep fans safe from dust and damage. Use soft cloth or anti-static mat when placing the cooler down. Touching the GPU chip or motherboard with bare hands can cause static damage. Use an anti-static wristband or ground yourself before handling components.
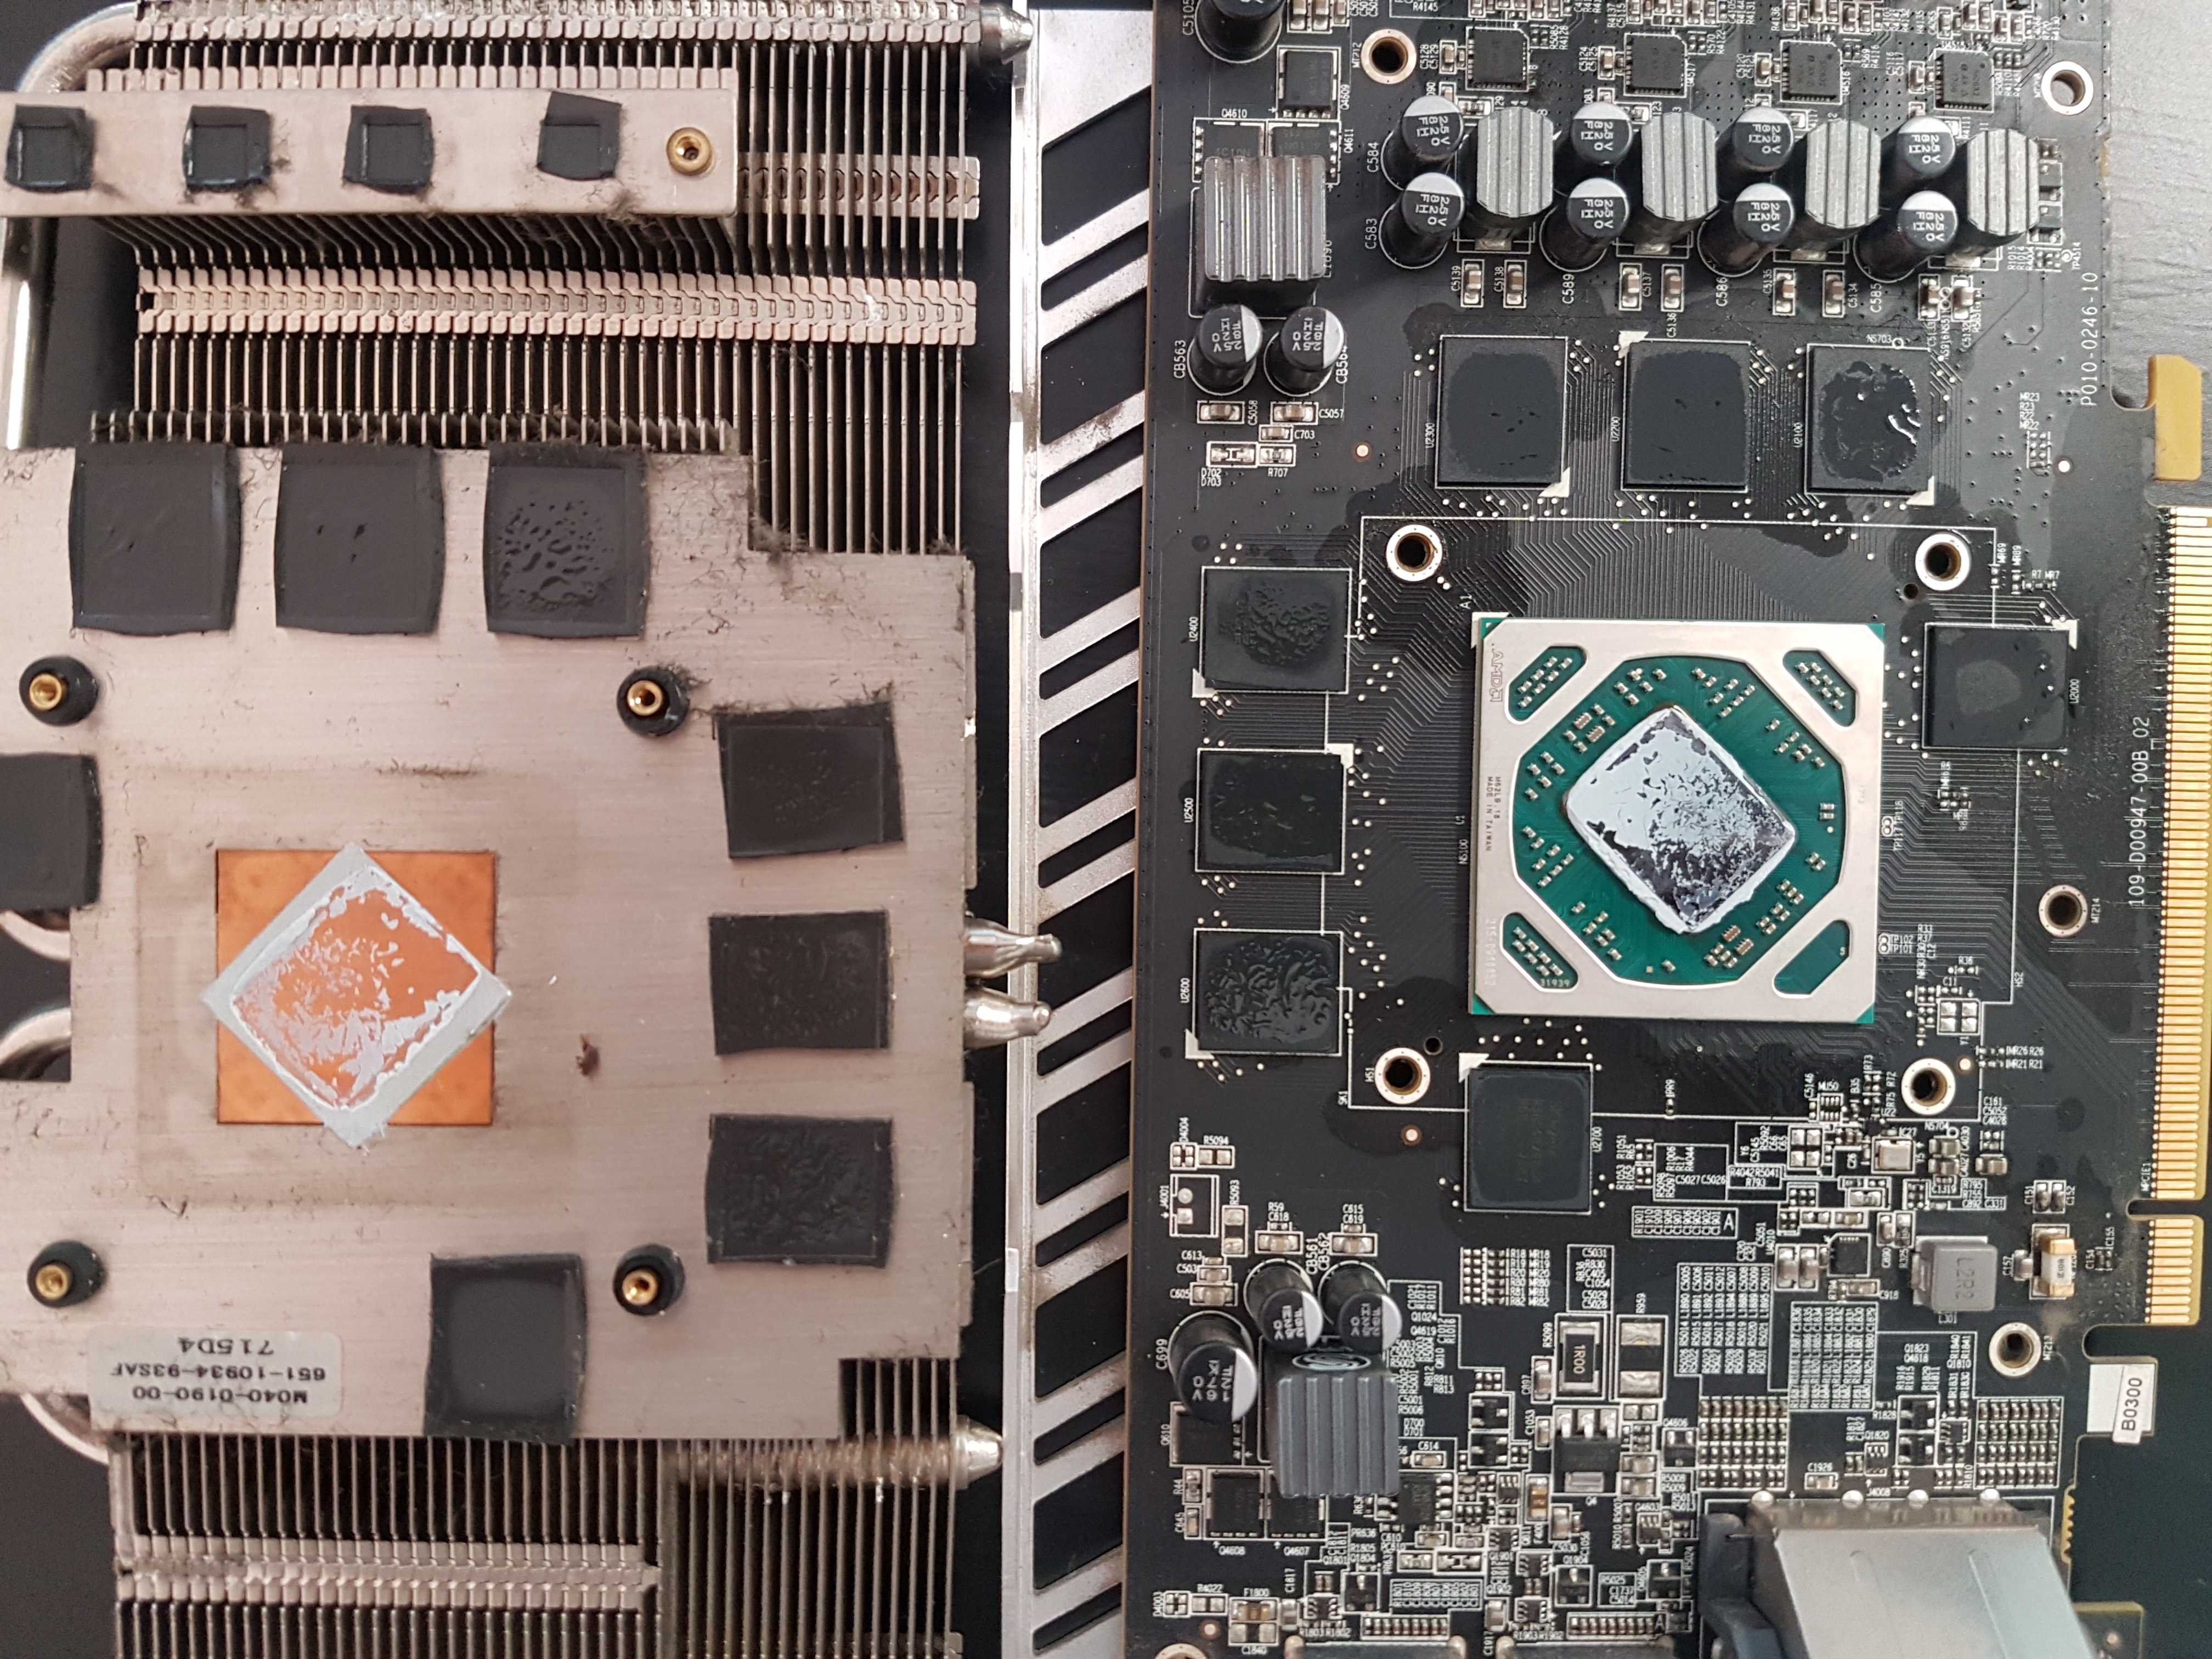
Cleaning Old Thermal Paste
Cleaning old thermal paste is a key step before applying new paste on your GPU. It helps the new paste stick better and cool your GPU efficiently. Dust, dirt, and leftover paste can stop heat from moving away properly. Take your time to clean it well.
Using Isopropyl Alcohol
Isopropyl alcohol is the best cleaner for old thermal paste. Use 70% or higher alcohol for good results. Apply a small amount on a soft cloth or cotton swab. Gently wipe the GPU surface to remove the paste. Avoid using too much liquid to protect the GPU.
Alcohol dries quickly and does not leave residue. It helps break down the sticky old paste easily. Repeat the process until the surface looks clean and shiny.
Removing Residue Thoroughly
Check the GPU surface carefully for any paste residue. Use a clean cloth or cotton swab with alcohol to remove leftover bits. Make sure the surface is smooth and free from old paste. Residue can cause poor heat transfer and higher GPU temperatures.
Cleaning thoroughly improves the contact between the GPU and the new thermal paste. This simple step helps your GPU stay cooler and run better over time.
Applying New Thermal Paste
Applying new thermal paste on your GPU is a key step to keep it cool. Good contact between the GPU chip and cooler improves heat transfer. This helps your graphics card run better and last longer.
Choosing The Right Amount
Use only a small amount of thermal paste. A pea-sized dot in the center of the GPU chip works well. Too much paste can cause spills and reduce cooling. Too little paste leaves gaps and air pockets.
Remember, the paste spreads when you press the cooler down. The goal is a thin, even layer. Avoid thick blobs or spreading the paste before placing the cooler.
Spreading Techniques
Many experts suggest letting the cooler spread the paste naturally. This avoids air bubbles and uneven coverage. Place the cooler gently and tighten screws step-by-step.
If you prefer, use a plastic card or spatula to spread the paste. Spread it thinly and evenly over the chip surface. Avoid lifting the cooler after spreading to keep the paste intact.

Credit: www.youtube.com
Reassembling The Gpu
After applying new thermal paste, reassembling the GPU is the next step. This part is important to ensure the GPU works well and stays cool. Handle each piece gently. Follow the steps carefully to avoid damage.
Securing The Heat Sink
Place the heat sink back on the GPU chip carefully. Align it with the screws and holes. Tighten the screws evenly in a cross pattern. This keeps pressure balanced across the chip. Do not overtighten. Tightening too much can crack the GPU or motherboard. Check that the heat sink sits flat and firm.
Double Checking Connections
Look over all cables and connectors on the GPU. Make sure none are loose or out of place. Reconnect any cables you unplugged during disassembly. A loose connection can stop the GPU from working. Check the fan connector too. The fan must get power to cool the GPU. Once done, your GPU is ready for testing.
Testing Gpu Performance And Temperatures
Testing GPU performance and temperatures is a key step after replacing thermal paste. It helps ensure the new paste improves cooling and does not harm the GPU. Checking these factors confirms the paste is applied correctly and the GPU runs safely.
Good testing shows if the GPU stays cool under load. It also reveals any changes in speed or stability. This process uses special tools to measure performance and temperature in real time.
Benchmarking Tools
Benchmarking tools test GPU speed and stability. They run graphic-heavy tasks to push the GPU to its limits. Common tools include 3DMark, Unigine Heaven, and FurMark.
These programs produce scores showing GPU performance. Comparing scores before and after paste replacement shows improvement. They also stress the GPU, raising temperature to check cooling.
Run benchmarks for about 10 to 15 minutes. Watch for crashes or slowdowns, which may indicate issues. Note the score and any changes to judge thermal paste effect.
Monitoring Software
Monitoring software tracks GPU temperature and usage during tests. Popular apps include MSI Afterburner, HWMonitor, and GPU-Z. They display real-time data on screen.
Check idle temperature first, then monitor during benchmarking. The temperature should stay lower than before paste change. High temperatures may mean poor paste application.
Look for temperature spikes or unusual behavior. Consistent, lower temperatures confirm good thermal contact. Save the logs for comparison and future reference.
Tips For Maintaining Gpu Cooling
Maintaining GPU cooling is key to keeping your graphics card working well. Good cooling stops your GPU from getting too hot. This helps your computer run fast and last longer.
Simple steps keep your GPU cool. These tips help your GPU stay healthy and avoid damage. Follow these easy practices to improve your GPU’s cooling system.
Regular Cleaning
Dust and dirt block your GPU’s fans and heat sinks. This stops air from moving freely. Clean your GPU often to remove dust. Use a soft brush or canned air. Clean the whole computer case to improve airflow. Regular cleaning prevents overheating and keeps your GPU cool.
Proper Airflow Setup
Good airflow moves hot air out and brings cool air in. Place your computer in a cool, open space. Keep cables tidy to avoid blocking air paths. Use case fans to push air inside and pull hot air out. Proper airflow lowers GPU temperature and improves performance. Good airflow helps your GPU last longer.
Credit: www.nicehash.com
Frequently Asked Questions
How Often Should I Replace Gpu Thermal Paste?
Replace GPU thermal paste every 1 to 3 years for optimal cooling. Over time, paste dries out and loses effectiveness. Regular replacement maintains lower temperatures and improves GPU performance.
What Tools Do I Need To Replace Gpu Thermal Paste?
You need a screwdriver, isopropyl alcohol, lint-free cloth, and new thermal paste. Proper tools ensure safe removal and clean application. Avoid excess paste for best results.
Can I Use Cpu Thermal Paste On A Gpu?
Yes, CPU thermal paste works on GPUs. Both require similar thermal conductivity. Ensure the paste is high-quality and non-conductive to avoid damage.
How Do I Safely Remove Old Thermal Paste From Gpu?
Use isopropyl alcohol and a lint-free cloth to gently clean old paste. Avoid scratching the GPU surface. Clean thoroughly before applying new paste for best heat transfer.
Conclusion
Replacing GPU thermal paste keeps your graphics card cool and working well. Clean off the old paste carefully. Apply a small, even amount of new thermal paste. This helps heat move from the GPU to the cooler. Check your work before putting everything back.
Regular maintenance like this can extend your GPU’s life. It also helps your computer run quietly and smoothly. Taking these steps saves money by avoiding costly repairs. Simple, right? Keep your GPU in top shape with fresh thermal paste.