
If you’re looking to keep your CPU running cool and efficient, knowing how to remove thermal paste properly is a must. Whether you’re upgrading your processor, replacing a cooler, or simply cleaning your computer, old thermal paste can block heat transfer and cause overheating.
But don’t worry—removing it doesn’t have to be tricky or risky. You’ll discover simple, step-by-step methods to safely clean off thermal paste from your CPU. By the end, you’ll feel confident tackling this essential task and giving your PC the care it deserves.
Keep reading to learn the best tips and tricks that professionals use every day.
Credit: koolingmonster.com
Why Remove Thermal Paste
Thermal paste plays a key role in keeping your CPU cool. It fills tiny gaps between the CPU and the cooler. Over time, this paste can dry out or get dirty. Removing old thermal paste helps improve heat transfer and keeps your CPU running smoothly.
Knowing why to remove thermal paste can save your computer from overheating. It also prepares the CPU for new paste application, which is important for better performance.
When To Clean Your Cpu
Clean your CPU if you notice higher temperatures. Also, clean it when replacing the CPU cooler. If the paste looks dry or cracked, it needs cleaning. Regular cleaning every few years is a good practice.
Risks Of Old Thermal Paste
Old thermal paste can cause poor heat transfer. This leads to overheating and may damage the CPU. Dried paste can create air pockets, which reduce cooling. Overheating can cause your computer to slow down or shut off.
Tools Needed
Removing thermal paste from a CPU needs the right tools. Using proper materials makes the job easier and safer. Without the right tools, you might damage the CPU or leave residue behind. This section explains the tools needed for a clean CPU surface.
Recommended Cleaning Materials
Isopropyl alcohol with 90% or higher purity works best. It dissolves the old thermal paste quickly. Use lint-free cloths or coffee filters to avoid fibers on the CPU. Cotton swabs help clean small or hard-to-reach areas. Avoid paper towels or tissues; they leave particles. A plastic or wooden tool can gently scrape off thick paste. Do not use metal tools; they can scratch the CPU.
Safety Precautions
Work in a clean, static-free area to protect the CPU. Use an anti-static wristband or touch a grounded metal object. Keep liquids away from other computer parts to prevent damage. Avoid breathing in fumes from the alcohol. Handle the CPU gently to avoid bending pins or connectors. Wash your hands after cleaning to remove any chemicals.
Preparing Your Workspace
Preparing your workspace is the first step to remove thermal paste from a CPU safely. A clean, organized area helps avoid mistakes and keeps your parts safe. Spend time setting up before starting the cleaning process. This makes the job easier and faster.
Focus on creating a space free from dust and static. Arrange your tools in one place to avoid searching for them during work. Planning your workspace can prevent damage to the CPU and other components.
Static Safety Tips
Static electricity can harm your CPU and computer parts. Use an anti-static wrist strap to ground yourself. This stops static build-up that could cause damage. Work on a non-conductive surface, like a wooden table. Avoid carpets or rugs that create static. Touch a metal object before handling the CPU to discharge static energy.
Organizing Your Tools
Gather all necessary tools before starting. Common tools include isopropyl alcohol, lint-free cloths, and cotton swabs. Keep them close for easy access. Use small containers to hold tiny screws or parts. Label each container to avoid confusion. A tidy workspace helps you focus and work faster.
Removing The Cpu Cooler
Removing the CPU cooler is the first step to clean off old thermal paste. This process helps to access the CPU safely. Taking your time here prevents damage to delicate parts. Follow clear steps to detach the cooler properly. Handle the CPU with care to keep it safe.
Steps To Detach The Cooler
Turn off your computer and unplug it from power. Ground yourself to avoid static damage. Unscrew or unclip the cooler based on its design. Loosen screws in a diagonal pattern to ease pressure. Gently lift the cooler straight up without twisting. If it feels stuck, tap lightly to loosen. Set the cooler aside on a clean surface.
Handling The Cpu Safely
Do not touch the CPU pins or contacts. Hold the CPU by its edges only. Avoid using force or bending the CPU. Keep the CPU away from dust and dirt. Place it on an anti-static mat or bag. Stay calm and move slowly throughout the process. Proper handling protects your CPU from damage.
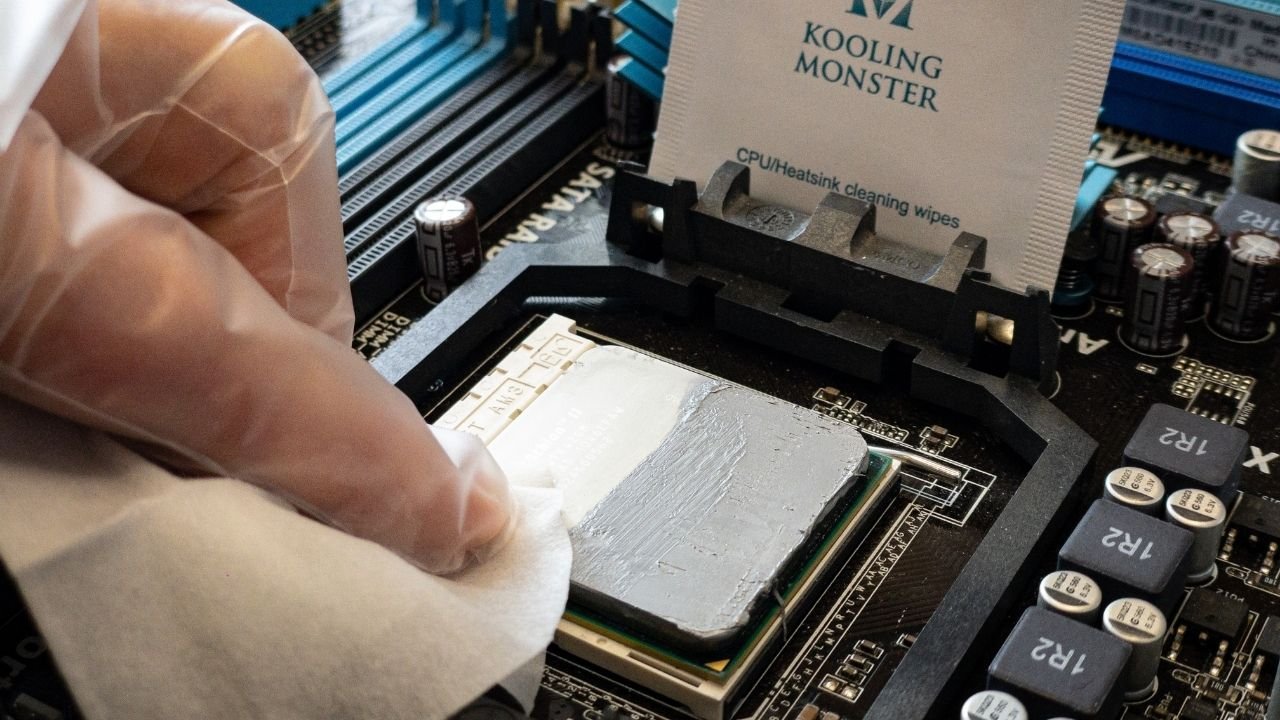
Cleaning The Thermal Paste
Cleaning the thermal paste from your CPU is an important step before applying new paste or installing a cooler. Old thermal paste can dry out and lose its effectiveness. It can also block proper heat transfer between the CPU and the cooler. Proper cleaning helps keep your CPU cool and working well.
Using Isopropyl Alcohol
Isopropyl alcohol is the best choice for cleaning thermal paste. Use alcohol with at least 70% purity. Dampen a lint-free cloth or cotton swab with the alcohol. Gently wipe the CPU surface to dissolve and remove the paste. Avoid pouring alcohol directly on the CPU. Let the alcohol evaporate completely before applying new paste.
Alternative Cleaning Methods
If isopropyl alcohol is not available, try household items like nail polish remover containing acetone. Use only a small amount on a cloth. Avoid anything abrasive like paper towels or scrubbing pads. Warm water with mild soap can help but only for stubborn residue. Dry the CPU fully after cleaning.
Removing Residue Gently
Use soft materials to avoid scratching the CPU surface. Cotton swabs or microfiber cloths work well. Take your time and apply light pressure. Rushing or using hard tools can damage the delicate pins or contacts. Check the CPU carefully to ensure all paste is gone before reassembly.
Inspecting The Cpu Surface
After removing thermal paste from your CPU, inspecting the surface is crucial. This step ensures the CPU is ready for a fresh application. A clean, undamaged surface helps maintain good contact with the cooler. It improves heat transfer and keeps your CPU running cool.
Checking For Damage
Examine the CPU surface closely under good light. Look for scratches, dents, or discoloration. Small scratches might be harmless, but deep marks can affect performance. Bent pins or broken parts also indicate damage. If you find damage, avoid using the CPU until repaired or replaced.
Ensuring Complete Paste Removal
Check the surface for any leftover thermal paste. Even thin layers can reduce cooling efficiency. Use a lint-free cloth and isopropyl alcohol to clean stubborn spots. Repeat the cleaning until the surface looks shiny and clean. A spotless surface ensures better heat transfer and prevents overheating.
Reapplying Thermal Paste
Reapplying thermal paste is a key step after cleaning your CPU. It helps keep the processor cool and prevents overheating. Applying fresh thermal paste improves heat transfer between the CPU and the cooler. This section guides you on choosing the right paste and applying it correctly for best results.
Choosing The Right Paste
Select thermal paste that matches your CPU’s needs. Look for pastes with good thermal conductivity. Silicone-based pastes are common and easy to use. For better performance, consider metal-based or ceramic pastes. Avoid using old or dried-out paste. Check reviews and user feedback before buying. Make sure the paste is safe for your CPU type.
Application Techniques
Apply a small amount of paste in the center of the CPU. A pea-sized drop works well for most processors. Spread the paste evenly by placing the cooler on top. Pressure from the cooler will spread the paste naturally. Avoid using too much paste to prevent spills. Too much paste can reduce cooling efficiency. Clean off old paste thoroughly before applying new paste. Use isopropyl alcohol and a soft cloth for cleaning. Proper application ensures good contact and heat transfer.

Credit: www.wikihow.com
Reattaching The Cooler
After cleaning off the old thermal paste from your CPU, reattaching the cooler is the next key step. This part needs care to keep your CPU cool and safe. A poorly attached cooler can cause high temperatures and damage your computer.
Securing The Cooler Properly
Place the cooler gently on the CPU. Align it with the mounting points. Tighten screws evenly, one at a time. Avoid over-tightening to prevent damage. Make sure the cooler sits flat on the CPU surface. Check that the thermal paste spreads evenly under the cooler. This helps heat flow efficiently from CPU to cooler.
Testing Cpu Temperatures
Turn on your computer and enter the BIOS or use monitoring software. Watch the CPU temperature closely. Normal idle temps range between 30°C and 50°C. Run a stress test to see higher temperatures. If temps rise too much, check the cooler’s fit again. Good temperature control means your cooler is working well.
Troubleshooting Tips
Removing thermal paste from a CPU can be tricky. Some pastes stick hard and resist cleaning. Problems like leftover residue or damage can happen. Troubleshooting helps fix these issues quickly. Follow these tips to clean safely and well.
Dealing With Stubborn Paste
Sometimes thermal paste stays stuck on the CPU. Use isopropyl alcohol with a soft cloth. Let the alcohol sit for a minute to soften the paste. Gently rub in small circles. Avoid scrubbing too hard to prevent damage.
Use cotton swabs for tight spots. Change swabs often to avoid spreading the paste. Repeat the process if paste remains. Patience is key for a clean surface.
Avoiding Common Mistakes
Do not use sharp tools like knives or metal objects. These can scratch or break the CPU surface. Avoid water or household cleaners. They may harm the CPU or leave residue.
Do not rush the cleaning. Rushing leads to smudges or leftover paste. Use enough alcohol to dissolve the paste but not too much. Too much liquid can cause problems inside the CPU.
Always work in a dry, static-free area. Static electricity can damage CPU parts. Ground yourself before handling computer components.

Credit: www.youtube.com
Frequently Asked Questions
How Do I Safely Remove Thermal Paste From A Cpu?
Use isopropyl alcohol (90% or higher) and a lint-free cloth. Gently wipe the paste without applying pressure. Avoid abrasive materials to prevent CPU damage.
What Materials Are Best For Cleaning Thermal Paste?
Isopropyl alcohol and microfiber cloths work best. They dissolve paste effectively and avoid scratching delicate CPU surfaces.
Can I Reuse Thermal Paste After Cleaning The Cpu?
No, always apply fresh thermal paste after cleaning. Reusing paste reduces cooling efficiency and may cause overheating.
How Often Should I Clean Thermal Paste From My Cpu?
Clean thermal paste when replacing the CPU or heatsink. Also, clean if you notice overheating or poor thermal performance.
Conclusion
Removing thermal paste from a CPU is simple with the right steps. Use gentle cleaners and soft cloths to avoid damage. Take your time and be careful during cleaning. Clean surfaces help your CPU stay cool and work well. Practice makes the process easier and faster.
Keep your tools ready for future maintenance tasks. A clean CPU means better computer performance and longer life.