
Are you looking to remove your GPU but unsure where to start? Taking out a graphics card might sound tricky, but with the right steps, you can do it safely and quickly.
Whether you want to upgrade, clean, or troubleshoot, knowing how to remove your GPU correctly is key to protecting your computer and getting the best results. Keep reading, and you’ll learn simple, clear instructions that anyone can follow—no tech jargon, just easy guidance for your PC.
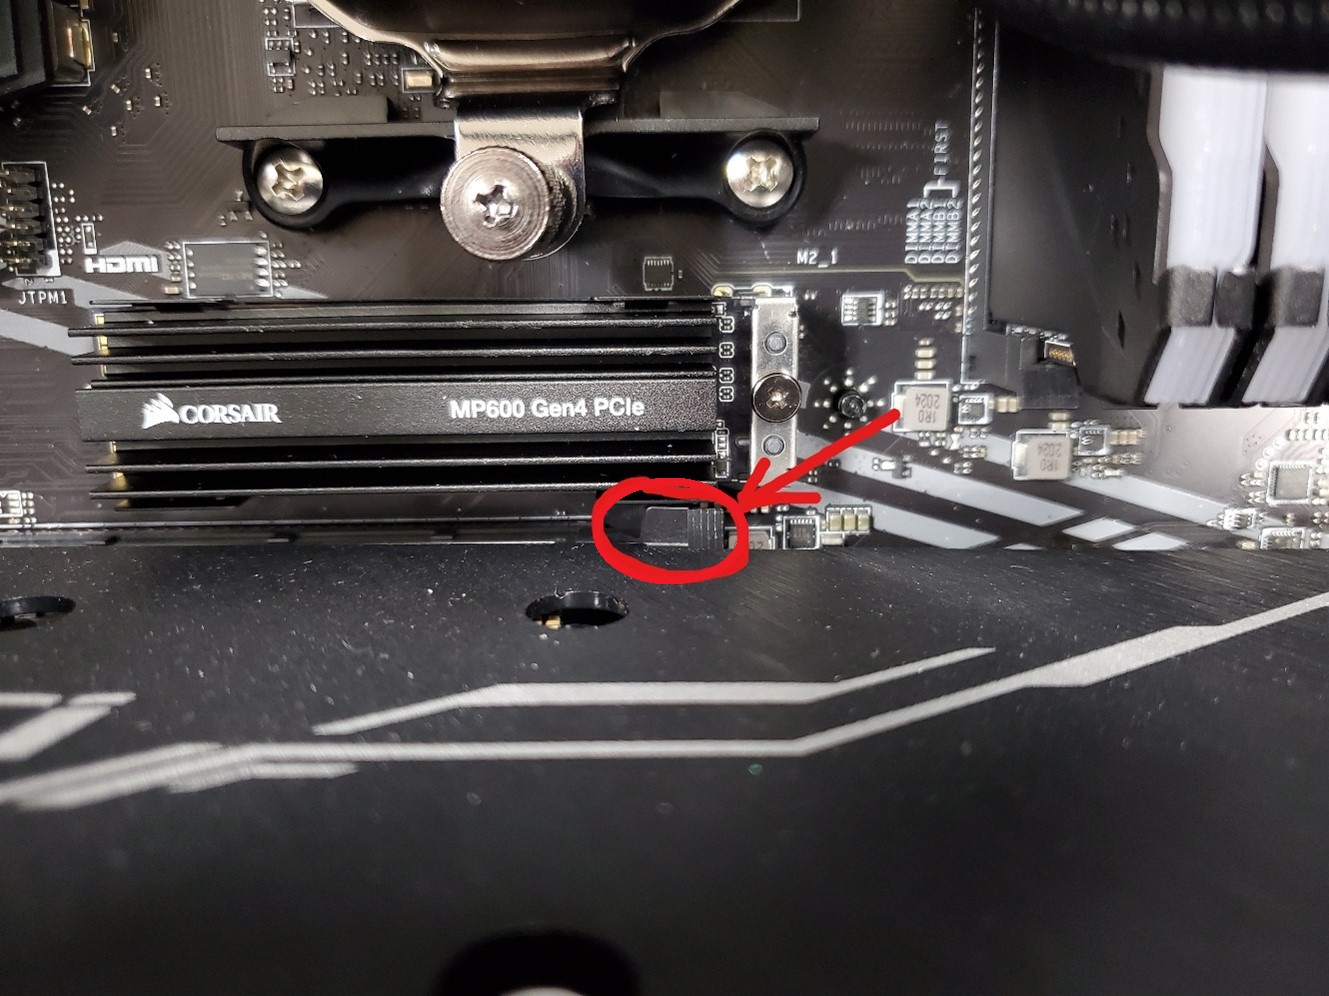
Credit: www.corsair.com
Prepare Your Workspace
Preparing your workspace is the first step to remove a GPU safely. A clean, organized area makes the process easier and reduces risks. It helps protect your computer parts and keeps tools within reach.
Gather Necessary Tools
Collect all tools before starting. You will need a screwdriver, usually a Phillips head. Have a small container to hold screws. Keep a soft cloth or anti-static mat ready to protect your GPU and desk.
Ensure Proper Grounding
Grounding prevents static electricity from damaging your computer parts. Touch a metal part of your computer case before handling the GPU. Use an anti-static wristband if available. Avoid working on carpet or dry surfaces that create static.
Power Down And Unplug
Turn off your computer completely. Unplug the power cable from the wall socket. Disconnect all other cables connected to the PC. Never open the case while the computer is powered on. This step keeps you safe and protects hardware.
Open The Computer Case
Removing a GPU starts with opening the computer case. This step gives you access to the inside parts. It is important to work carefully and avoid damage. The case protects your computer’s components. Taking off the side panel allows you to see the GPU clearly.
Before opening, make sure the computer is turned off and unplugged. This keeps you safe and prevents electrical damage. Use a clean, flat surface to place your computer. You might need a screwdriver to remove screws on the case. Prepare a small container to keep screws safe.
Remove Side Panel
Locate the screws on the back of the case. These screws hold the side panel in place. Use a screwdriver to remove them. Keep the screws in a safe place. Gently slide or pull the side panel away from the case. Some cases have clips instead of screws. Press the clips carefully to release the panel. Avoid forcing the panel to prevent damage.
Locate The Gpu
Inside the case, find the GPU attached to the motherboard. It is usually a large card with one or more fans. The GPU sits in a long slot near the back of the case. Look for the video cables connected to it. This confirms you have found the right part. Make sure you have clear access to the GPU before removal.
Disconnect Power Cables
Disconnecting the power cables is a key step in removing your GPU safely. Power cables supply electricity to the graphics card. Removing them carefully prevents damage to your PC and GPU.
Power connectors can look different depending on your GPU model. Knowing which cables to unplug makes the process smooth and safe.
Identify Gpu Power Connectors
Look closely at your graphics card. Most modern GPUs need extra power. They use 6-pin, 8-pin, or a mix of these connectors. These plugs come from your power supply unit (PSU).
Check the side or top of the GPU for these connectors. They are usually black with clips to hold them in place. Some GPUs have one connector; others have two or more.
Safely Unplug Connectors
Press the clip on the connector gently. The clip locks the cable to the GPU. Do not pull the cable without pressing the clip.
Pull the connector straight out. Avoid bending or twisting it. This keeps pins and sockets safe from damage.
Handle the cables with care. Removing them too fast or roughly can break the clip or the cable.
Release The Gpu From Slot
Removing a GPU from your computer requires care. The key step is to release it from the slot on the motherboard. This step ensures the card comes out safely without damage.
Understanding how the GPU locks into place helps avoid problems. Most GPUs have a retention clip holding them firmly in the slot. Knowing where and how to find this clip is important for smooth removal.
Find The Retention Clip
The retention clip is a small plastic piece at the end of the PCIe slot. It locks the GPU in place to prevent it from moving. Look closely at the slot where the GPU connects. The clip is usually on the side, near the back of the card. It might be white, black, or clear plastic.
Locate this clip before trying to remove the GPU. Do not pull the card without unlocking the clip. Forcing it can damage the slot or card.
Unlock The Gpu
Press the retention clip gently to release the GPU. The clip often needs to be pushed down or to the side. Use your finger or a small tool. Avoid using too much force to prevent breaking the clip.
Once the clip is unlocked, hold the GPU by its edges. Pull it straight out of the slot slowly. Keep the card level to avoid bending the pins.
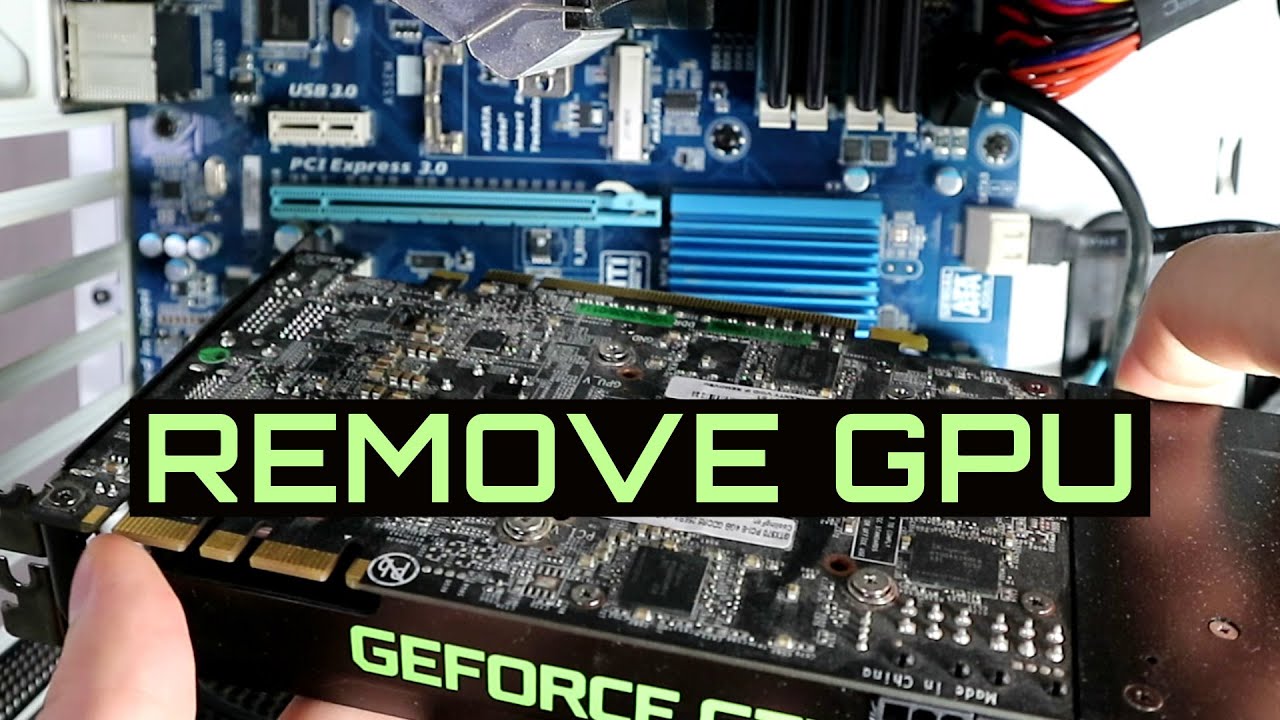
Remove The Gpu
Removing the GPU is a key step in upgrading or cleaning your computer. It requires care and attention to avoid damage. Follow these simple steps to take out your graphics card safely.
Gently Pull Out The Card
First, find the release latch or screw that holds the GPU. Press or unscrew it carefully. Hold the card by its edges. Slowly pull the card straight out of the slot. Do not twist or bend the card. A smooth, steady motion works best.
Avoid Damaging Components
Watch out for nearby cables and parts. Do not force the card if it feels stuck. Check if any screws or clips are still holding it. Keep your hands dry and clean. Avoid touching the gold connectors on the card. These steps prevent damage to your GPU and motherboard.
Credit: www.youtube.com
Store Or Replace The Gpu
After removing your GPU, you need to decide whether to store it or replace it. Proper care protects the card from damage. It keeps the GPU safe for future use. Storing the GPU correctly also helps maintain its value. Preparing the GPU carefully makes installation easier later.
Use Anti-static Bag
Always place your GPU in an anti-static bag. These bags stop static electricity from harming the card. Static can damage the GPU’s delicate circuits. Use the original bag if you have it. Otherwise, buy a new anti-static bag. Handle the GPU by its edges to avoid static. Keep the bag sealed until you need the card again.
Prepare For Installation Or Storage
Clean the GPU gently before storing or installing. Use a soft brush or compressed air to remove dust. Avoid using liquids or harsh cleaners. Make sure the GPU is completely dry. Find a cool, dry place to keep the card. Avoid places with high humidity or direct sunlight. Label the GPU if you have multiple cards. This saves time when you want to use it again.
Close The Computer Case
Closing the computer case is the final step after removing your GPU. It protects the internal parts from dust and damage. Properly closing the case also helps with airflow and cooling. Take care to avoid any loose cables or parts inside before sealing it.
Reattach Side Panel
Place the side panel back onto the case. Align it carefully with the edges and screw holes. Press it gently but firmly to fit snugly. Use the screws you removed earlier to secure the panel. Make sure it does not wobble or feel loose.
Reconnect Power And Peripherals
Plug the power cable back into the computer. Connect your keyboard, mouse, and monitor cables. Check that all cables fit tightly into their ports. Turn on your PC to ensure everything works properly. This step confirms your GPU removal went smoothly.
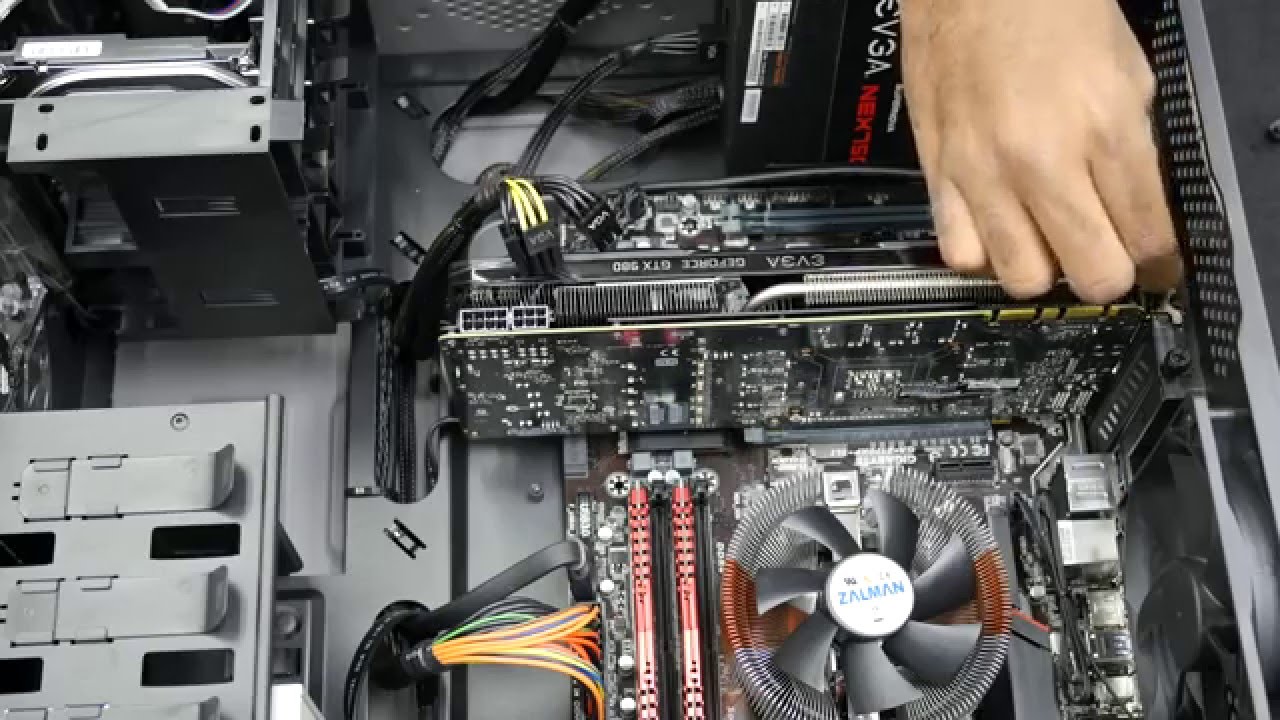
Test System After Removal
Testing the system after removing the GPU is important. It helps confirm the computer works without issues. This step avoids surprises later. Follow simple checks to see if everything runs smooth.
Power On The Computer
Start by turning on the computer. Watch for normal startup sounds and lights. The screen should display the BIOS or operating system load. If the computer does not power on, check all connections again. Ensure the power supply is working and cables are secure.
Check For Errors Or Issues
Look for error messages on the screen. Listen for unusual beeps or sounds. These signals can point to hardware problems. Test basic functions like keyboard and mouse response. Open the device manager to see if the system detects all parts. Make sure no new errors appear after the GPU removal.
Credit: www.youtube.com
Frequently Asked Questions
How Do I Safely Remove A Gpu From My Pc?
First, power off and unplug your PC. Open the case, disconnect power cables from the GPU. Unscrew the GPU from the case, gently release the PCIe slot latch, and carefully pull the GPU out straight to avoid damage.
What Tools Are Needed To Remove A Gpu?
You mainly need a Phillips screwdriver to remove screws securing the GPU. Optionally, an anti-static wrist strap helps prevent static damage. No complex tools are required, making GPU removal accessible for most users.
Can I Remove A Gpu Without Damaging It?
Yes, by powering off the PC and grounding yourself first. Handle the GPU by its edges and avoid touching the gold contacts. Gently release the PCIe slot latch before pulling the card out straight.
How Do I Disconnect Gpu Power Cables Properly?
Identify and gently press the clip on the GPU power connector. Carefully pull the connector straight out without twisting or pulling on the wires. This prevents damage to the cable or GPU connector.
Conclusion
Removing a GPU is simple with the right steps. Take your time and be careful. Always turn off your computer before starting. Keep track of screws and parts. Avoid touching sensitive areas to prevent damage. After removal, clean the slot gently if needed.
Store your GPU safely or prepare for a new one. Following these tips helps protect your hardware. Now, you can remove your GPU with confidence and ease.