
Removing a GPU might seem tricky if you’ve never done it before. But don’t worry—this guide will walk you through every step clearly and simply.
Whether you’re upgrading your graphics card or troubleshooting a problem, knowing how to safely remove your GPU is essential. By the end of this article, you’ll feel confident handling your hardware without fear of damage. Ready to learn how to remove your GPU like a pro?
Let’s get started.
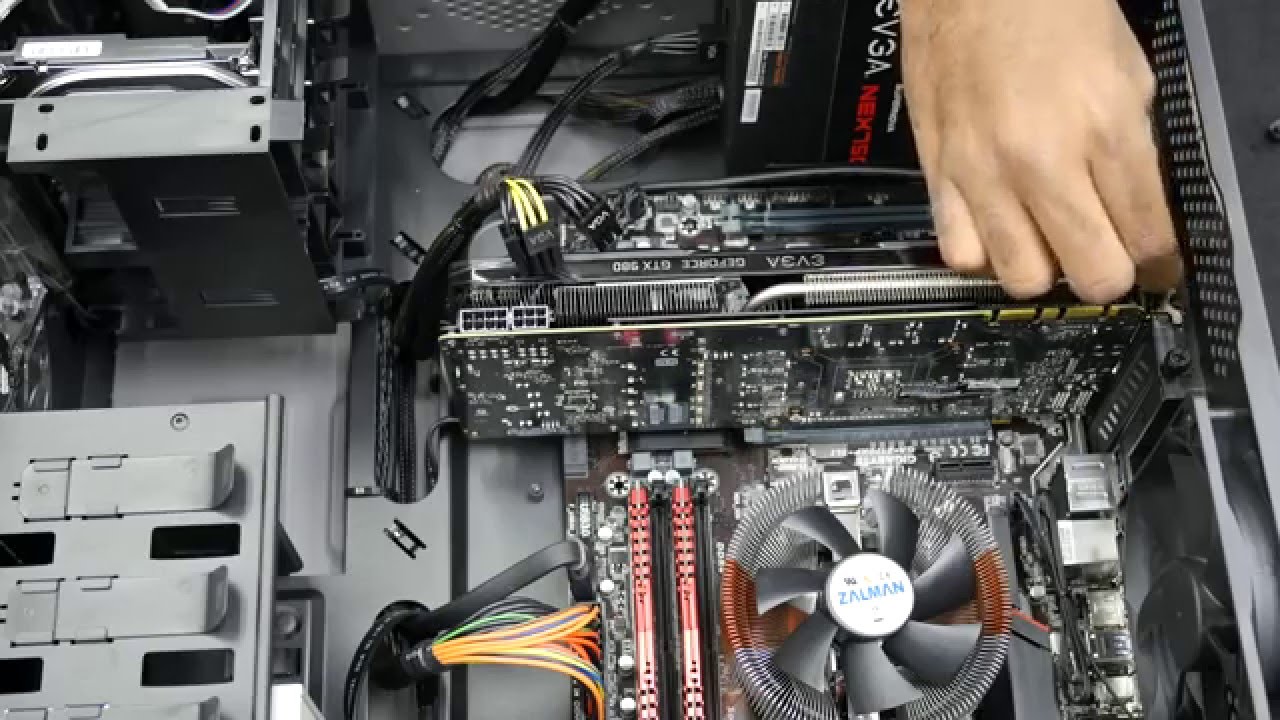
Credit: www.youtube.com
Prepare Your Workspace
Preparing your workspace is the first step to safely remove a GPU. A clean and organized area helps prevent damage and makes the process smooth. Proper setup reduces the risk of mistakes and hardware issues.
Focus on creating a safe space where you can work without interruptions. This section guides you through the key preparations before removing your GPU.
Gather Necessary Tools
Collect all tools before starting. You will need a screwdriver, usually a Phillips head. Keep a small container for screws. Avoid using too many tools to keep things simple.
Power Down And Unplug
Turn off your computer completely. Unplug the power cable from the wall socket. Disconnect all other cables from the PC. This ensures no power runs through the system.
Ground Yourself To Avoid Static
Static electricity can damage your GPU and parts. Touch a metal part of your PC case before handling components. Use an anti-static wrist strap if you have one. Avoid working on carpeted floors to reduce static risk.
Access The Gpu
Accessing the GPU is the first step in removing it from your computer. You need to open the computer case carefully. This lets you reach the graphics card safely. Taking your time here prevents damage to the components inside.
Once the case is open, the next goal is to find the graphics card. It usually sits in a special slot on the motherboard. Knowing its location helps you proceed smoothly.
Open The Computer Case
Start by turning off the computer and unplugging all cables. Place the computer on a clean, flat surface. Remove the screws or latches holding the side panel. Slide or lift the panel off gently. Keep the panel and screws safe for later.
Locate The Graphics Card
Look inside the case for a large card near the back. It is connected to the motherboard and often has one or more fans. The card usually sits horizontally and connects to the display ports at the back. This is your GPU. Note any cables connected to it before removal.
Disconnect Power Cables
Disconnecting the power cables is a key step before removing your GPU. It stops electricity flow and keeps you safe. Power cables link your GPU to the power supply unit (PSU). These cables can look different depending on the GPU model.
Identify Gpu Power Connectors
Look closely at your GPU to find the power connectors. Most GPUs use 6-pin or 8-pin connectors. Some high-end GPUs have two or more connectors. Check your PSU cables to see which plug fits. Match the cable type with the connector on your GPU. This prevents damage to both the cable and GPU.
Safely Unplug Power Cables
Before unplugging, gently press the clip or latch on the connector. Never pull the cable by the wire. Hold the plastic end and pull straight out. Pulling at an angle can break the connector or cable. Keep your hands steady and do not rush. This careful step protects your hardware from harm.
Credit: docs.oracle.com
Release The Gpu
Releasing the GPU is the key step to remove it safely from your computer. It holds the card firmly in place. You must free it carefully to avoid damage. This process involves two main tasks: removing the screws that hold the card and releasing the latch on the PCIe slot. Both steps require a gentle touch and attention.
Remove Retaining Screws
Find the screws that keep the GPU fixed to the case. Usually, they are near the card’s metal bracket. Use a screwdriver to turn them counterclockwise. Keep the screws in a safe place. Without these screws, the GPU can slide out easily.
Unlock Pcie Slot Latch
The PCIe slot has a small latch holding the GPU’s connector. Press or push the latch gently. It may be a tab or clip at the end of the slot. The latch releases the card’s grip on the motherboard. After unlocking, the GPU should move up smoothly. Do not force it. This step frees the card for removal.
Remove The Graphics Card
Removing a graphics card is a simple task if you follow the right steps. It requires care and attention to avoid damage. This guide will help you remove the GPU safely from your computer.
Before starting, make sure your PC is turned off and unplugged. Ground yourself to prevent static electricity from harming components.
Gently Pull Out The Gpu
First, unlock the clip at the end of the PCIe slot. This clip holds the graphics card in place. Use one hand to press the clip gently.
With your other hand, hold the card firmly but carefully. Pull the GPU straight out of the slot. Avoid twisting or bending the card.
Slow and steady pressure helps to remove the card without damage. If it does not come out easily, check the clip again.
Avoid Touching Sensitive Components
Do not touch the gold connectors on the bottom of the GPU. Oils and dirt from your fingers can cause problems later.
Also, avoid touching the circuits and chips on the card. These parts are delicate and easy to damage.
Hold the GPU by its edges or the metal bracket. This keeps sensitive parts safe during removal and handling.
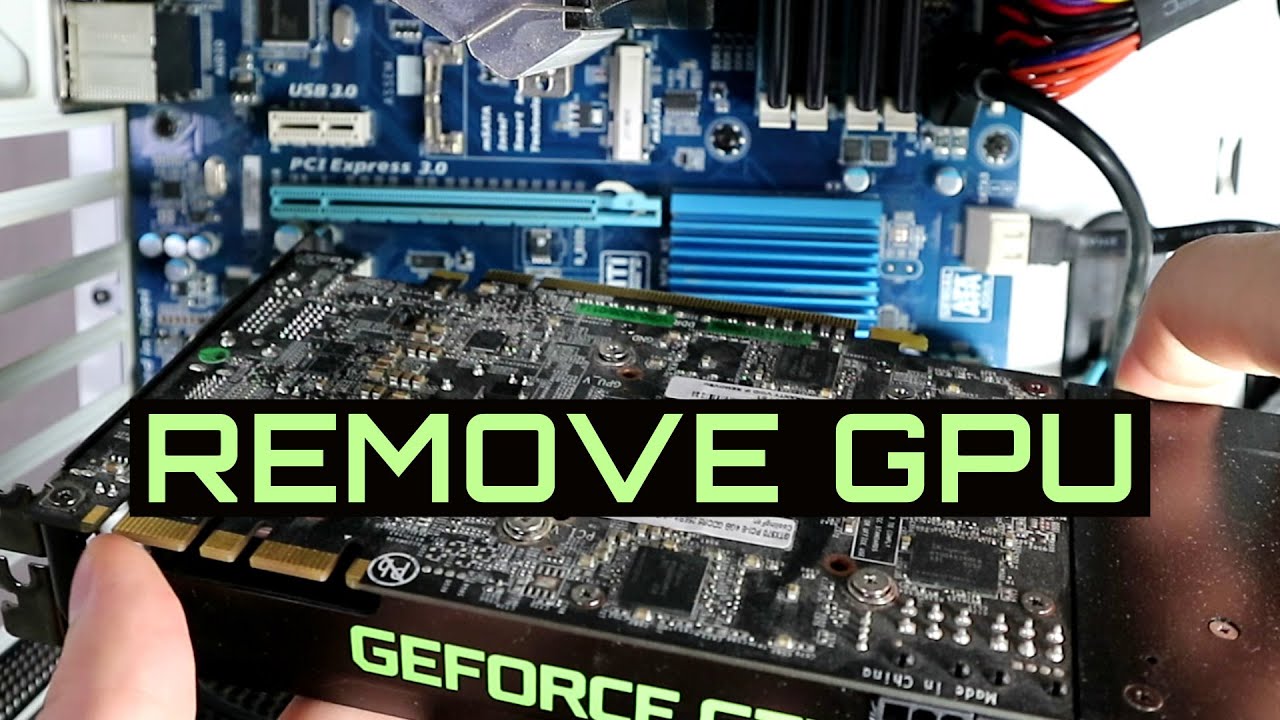
Credit: www.youtube.com
Store Or Replace Your Gpu
After removing your GPU, decide if you want to store it or replace it. Proper care keeps your GPU safe. It also makes sure your new installation goes smoothly. Follow simple steps to protect your hardware and prepare for the next use.
Use Anti-static Bag For Storage
Always store your GPU in an anti-static bag. These bags stop static electricity from damaging the card. Place the GPU gently inside the bag. Avoid touching the metal connectors to keep them clean. Store the bag in a dry, cool place. Keep it away from dust and moisture. This simple step helps your GPU stay in good condition.
Prepare For New Installation
Before installing a new GPU, check the slot on the motherboard. Clean the slot gently with compressed air. Make sure the power supply matches your new GPU’s needs. Remove any old drivers from your computer. This avoids software conflicts. Handle the new GPU carefully. Align it properly before inserting into the slot. Secure it with screws to avoid movement. These steps ensure a smooth installation process.
Frequently Asked Questions
How Do I Safely Remove A Gpu From My Pc?
First, turn off your PC and unplug it. Open the case and ground yourself. Unscrew the GPU and carefully disconnect power cables. Gently release the PCIe slot latch and lift the GPU out. Handle it by the edges to avoid damage.
What Tools Are Needed To Remove A Gpu?
You mainly need a Phillips-head screwdriver to remove screws securing the GPU. An anti-static wrist strap is recommended to prevent static damage. Optionally, use a plastic pry tool to gently release clips. No complex tools are necessary.
Can Removing A Gpu Damage The Motherboard?
If done carefully, removing a GPU won’t damage the motherboard. Avoid using excessive force when unplugging power cables or releasing the PCIe latch. Always ground yourself to prevent static discharge, which can harm components.
Should I Disconnect Power Cables Before Removing The Gpu?
Yes, always disconnect all power cables connected to the GPU before removal. This prevents electrical shorts and makes it easier to remove the card safely without damage.
Conclusion
Removing a GPU can seem hard, but it is simple with care. Turn off your computer and unplug it first. Take your time to gently unlock and pull out the card. Avoid forcing parts to prevent damage. Keep your workspace clean and organized.
Doing these steps helps protect your computer and parts. Now you can safely upgrade or clean your GPU. Remember, patience makes the process easier and safer every time.