
Are you looking to boost your computer’s performance and keep your CPU running cool? Installing a liquid CPU cooler is one of the best ways to achieve that.
But if you’ve never done it before, the process might seem tricky or even intimidating. Don’t worry—this guide will walk you through every step in simple, clear language. By the end, you’ll know exactly how to install your liquid CPU cooler safely and effectively, so your system stays cool and powerful.
Let’s get started!
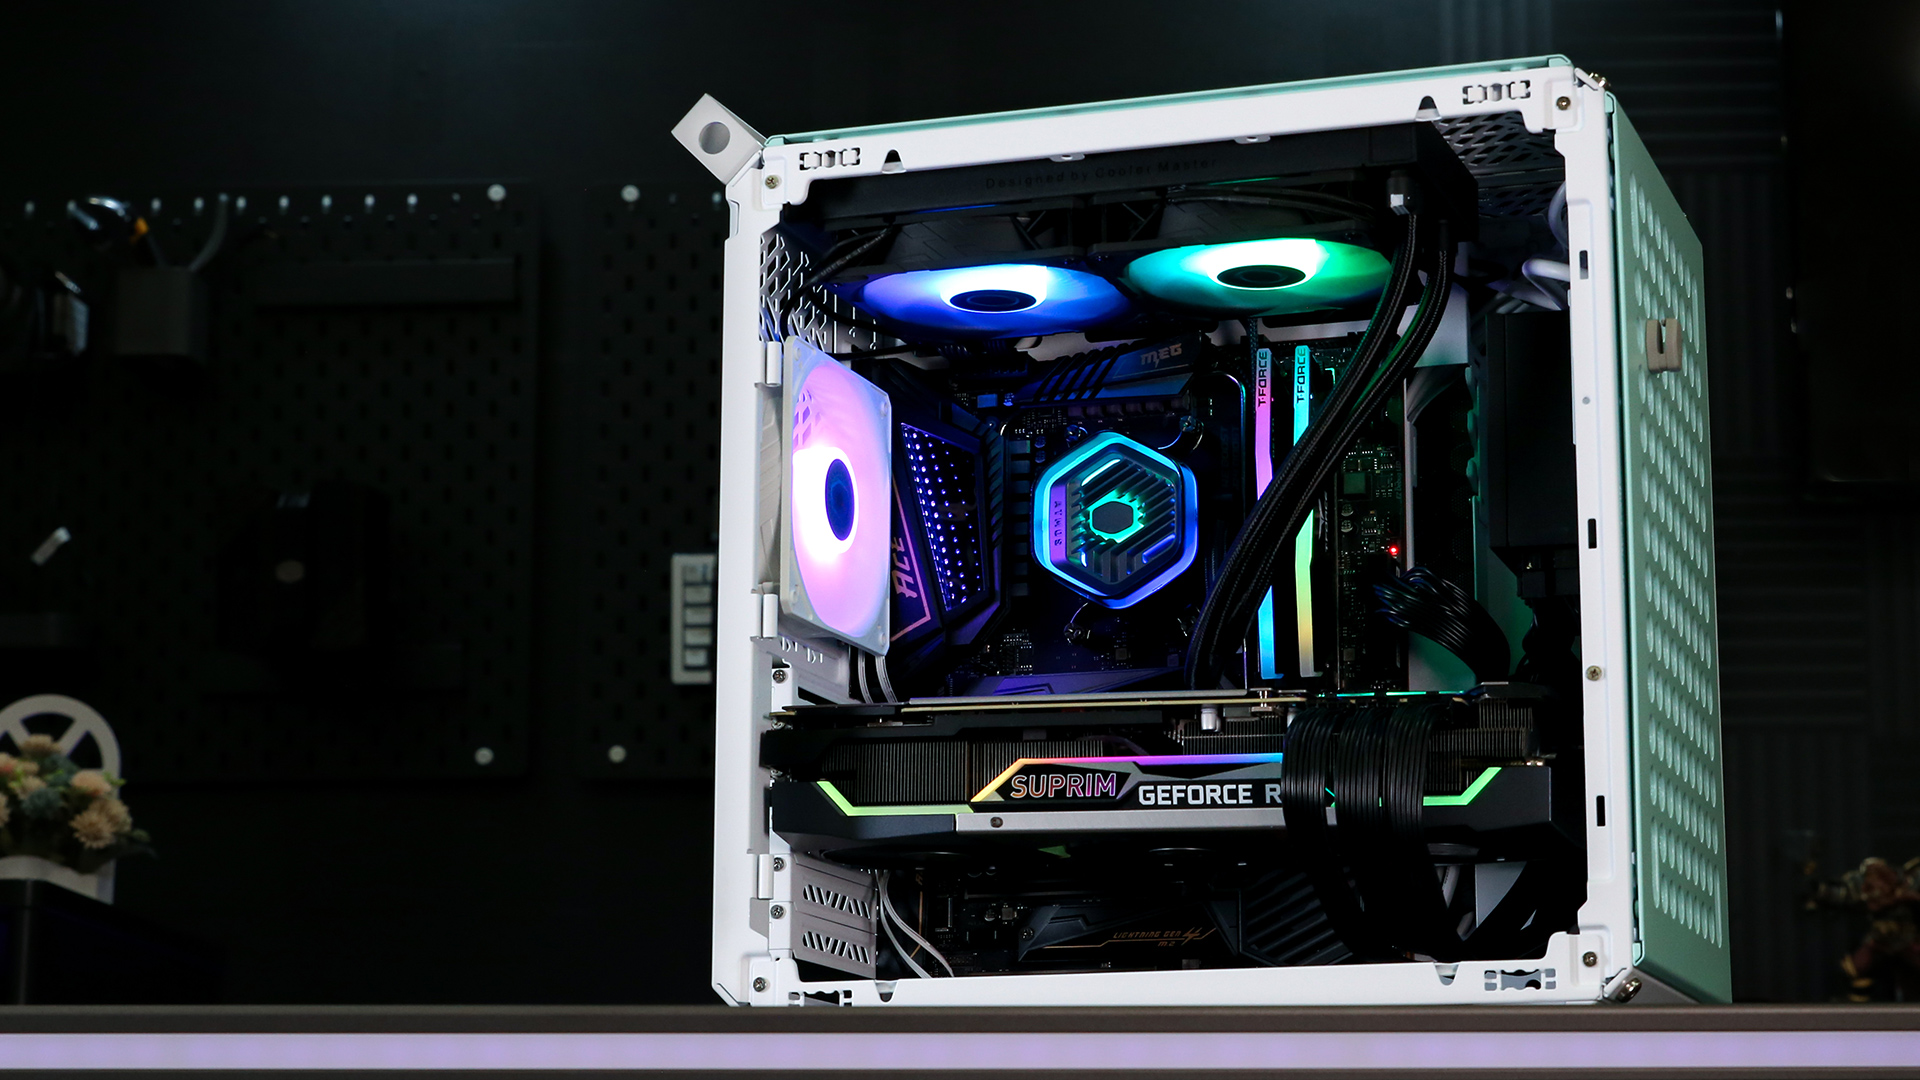
Credit: www.coolermaster.com
Choosing The Right Liquid Cooler
Choosing the right liquid cooler is important for your PC’s performance. It keeps your CPU temperature low and helps your computer run smoothly. Picking the best cooler means checking types, compatibility, and cooling power. This guide helps you find the right fit for your system.
Types Of Liquid Coolers
There are two main types of liquid coolers: AIO and custom loop. AIO, or All-In-One coolers, come pre-assembled. They are easy to install and need little maintenance. Custom loop coolers offer better cooling but are complex to set up. They require more space and knowledge to install.
Compatibility With Your Pc
Check if the cooler fits your CPU socket type. Different CPUs need different mounting brackets. Look at your PC case size too. Some coolers need more space inside the case. Make sure the cooler matches your motherboard and case specifications.
Cooling Capacity And Size
Cooling power depends on radiator size and fan count. Larger radiators cool better but take more space. Small radiators fit compact cases but cool less effectively. Choose a cooler that balances size and cooling needs for your PC.
Preparing Your Workspace
Preparing your workspace is the first step to install a liquid CPU cooler successfully. A clean and organized area helps avoid mistakes. It also protects your computer parts from damage. Taking time to set up properly saves frustration during the installation process.
Gathering Tools And Materials
Collect all needed tools before you start. Usually, you need a screwdriver, thermal paste, and the cooler kit. Check the cooler package for any extra parts. Keep everything within reach to avoid interruptions.
Ensuring Proper Ventilation
Work in a well-ventilated room. Good airflow prevents overheating of your PC parts. Avoid cramped spaces that trap heat. A cool environment helps the cooler perform better after installation.
Safety Precautions
Turn off your PC and unplug it before working. Ground yourself to stop static electricity. Use an anti-static wristband or touch a metal object. Handle all components with care to prevent damage.
Removing The Old Cooler
Removing the old cooler is the first step to install a liquid CPU cooler. It requires care to avoid damage to the CPU or motherboard. Follow these simple steps to remove the old cooler safely.
Shutting Down And Unplugging
Turn off your computer completely. Press the power button until it shuts down. Unplug the power cable from the wall outlet. Disconnect all other cables connected to the PC. This prevents any electric shock or damage during the process.
Detaching Fans And Cables
Open your computer case by removing screws or latches. Locate the CPU cooler and its attached fans. Carefully unplug the fan cables from the motherboard. Unscrew or release the cooler mounting brackets. Gently lift the cooler away from the CPU. Avoid pulling hard to stop damage to the CPU socket.
Cleaning The Cpu Surface
Old thermal paste sticks to the CPU surface after removal. Use a lint-free cloth or coffee filter for cleaning. Apply a small amount of isopropyl alcohol to the cloth. Wipe the CPU surface gently until all paste is removed. Make sure the surface is dry and clean before installing the new cooler.
Installing The Radiator And Fans
Installing the radiator and fans is a key step in setting up your liquid CPU cooler. This part helps keep your CPU cool by moving heat away efficiently. Proper installation ensures good airflow and long-lasting performance.
Follow these steps carefully to place the radiator and fans in the best way. This will help your PC stay cool and quiet.
Selecting The Mounting Location
Choose a spot in your PC case that fits the radiator size. Most cases have dedicated spots at the top, front, or rear. Check the case manual to find these locations. Make sure the area allows good airflow and is not blocked by other parts. Avoid placing the radiator where cables or other components can stop air movement.
Securing The Radiator
Align the radiator with the mounting holes in your chosen spot. Use the screws that came with your cooler to attach it firmly. Tighten screws evenly to avoid bending the radiator. Do not overtighten, as this could damage the radiator or case. A secure fit prevents vibration and noise during operation.
Attaching The Fans Correctly
Check the airflow direction on your fans. Usually, arrows on the side show the air path. Attach the fans to the radiator so air flows through the radiator fins. Use the screws provided to fix the fans tightly. Connect the fan cables to the right motherboard headers. This setup moves heat away from the radiator effectively.
Mounting The Water Block
Mounting the water block is a key step in installing a liquid CPU cooler. This part touches the CPU and moves heat away. Proper mounting ensures good contact and better cooling.
Follow the steps carefully for a secure and effective setup.
Applying Thermal Paste
Start by cleaning the CPU surface with a soft cloth. Apply a small pea-sized drop of thermal paste in the center of the CPU. This paste fills tiny gaps between the CPU and water block. It improves heat transfer and keeps the CPU cool.
Positioning The Block On Cpu
Hold the water block above the CPU. Align it with the mounting holes on the motherboard. Lower the block gently onto the CPU. Avoid sliding it around to keep the thermal paste intact. The block should sit flat and steady on the CPU surface.
Tightening The Mounting Brackets
Attach the mounting brackets that came with your cooler. Tighten the screws in a diagonal pattern. This ensures even pressure across the block. Do not overtighten; stop when you feel resistance. Proper pressure helps the cooler work better and avoids damage.

Credit: www.coolermaster.com
Connecting Tubes And Cables
Connecting tubes and cables is a key step in installing a liquid CPU cooler. Proper connections ensure the cooler works well and stays safe. Careful handling helps avoid leaks and electrical problems.
Follow clear steps to route tubes, plug in cables, and keep cables neat. This makes your PC look clean and improves airflow.
Routing The Tubes Safely
Route tubes without bending them sharply. Sharp bends can block coolant flow. Use the case’s natural paths to guide tubes gently.
Keep tubes away from fans and moving parts. This prevents damage and noise during operation. Secure tubes with clips or ties to keep them steady.
Plugging In Power And Control Cables
Identify the pump power cable and connect it to the CPU fan header. This allows the motherboard to control pump speed. Connect any RGB or fan control cables to the correct headers.
Check connections twice to avoid loose plugs. Firm connections keep the cooler running smoothly and quietly.
Managing Cable Clutter
Use zip ties or Velcro straps to bundle cables neatly. Group cables along case edges to keep them out of airflow paths.
Organized cables improve airflow, reducing CPU temperature. Neat cables also make future upgrades easier and faster.
Testing The Liquid Cooler
Testing the liquid CPU cooler is a vital step after installation. It ensures the system runs smoothly and safely. Careful checks prevent damage and improve performance. Follow these steps to verify your cooler works perfectly.
Powering On The System
Turn on your computer and watch closely. The pump should start quietly without unusual sounds. Fans connected to the cooler must spin steadily. If the system fails to boot or shows errors, shut it down immediately. Double-check all connections before trying again.
Checking For Leaks
Look carefully around the cooler and tubing. Any moisture or wet spots signal a leak. Leaks can damage your computer parts quickly. Run the system for 10 to 15 minutes and inspect again. If you find leaks, turn off the system and fix the problem before proceeding.
Monitoring Temperatures And Noise
Use software tools to watch CPU temperatures closely. Temperatures should stay within safe limits under normal use. High temperatures mean poor cooling or installation issues. Listen for noise from the pump and fans. Loud or unusual noise may indicate a problem. Adjust settings or check the cooler if needed.
Maintenance Tips For Longevity
Maintaining your liquid CPU cooler is key to keeping it working well. Regular care helps avoid problems and extends its life. Simple steps can keep your system cool and quiet for a long time.
Regular Cleaning
Dust and dirt build up on fans and radiators. This blocks airflow and reduces cooling power. Clean the cooler parts gently using a soft brush or compressed air. Avoid using water or harsh cleaners. Clean every few months to keep it running smoothly.
Monitoring Coolant Levels
Check the coolant level in your liquid cooler often. Low levels can cause overheating and damage the CPU. Some coolers have a clear tube or reservoir to see the fluid. Refill with the recommended coolant type if needed. Do this carefully to avoid spills.
Updating Firmware And Software
Many liquid coolers come with software to control fan speed and lighting. Keep the software updated to fix bugs and improve performance. Visit the manufacturer’s website for the latest updates. Updated firmware helps the cooler work better and last longer.

Credit: www.youtube.com
Frequently Asked Questions
What Tools Are Needed To Install A Liquid Cpu Cooler?
You need a screwdriver, thermal paste, and mounting brackets. Some coolers include all necessary tools. Check your cooler’s manual for specifics before starting.
How Long Does Liquid Cpu Cooler Installation Take?
Installation typically takes 30 to 60 minutes. Time varies by your experience and cooler model. Follow step-by-step instructions for best results.
Can I Install A Liquid Cooler On Any Cpu?
Most liquid coolers support popular CPU sockets. Check compatibility with your CPU and motherboard before buying. This ensures proper fit and cooling performance.
How To Apply Thermal Paste Correctly During Installation?
Apply a small pea-sized amount in the center of the CPU. The cooler’s pressure spreads it evenly. Avoid excess paste to prevent poor heat transfer.
Conclusion
Installing a liquid CPU cooler can improve your computer’s performance. Follow each step carefully to avoid mistakes. Make sure all parts fit tightly and cables connect properly. Test the cooler before closing your case to check for leaks. Keep your system clean and monitor temperatures regularly.
A well-installed cooler helps your PC run quieter and cooler. Take your time and enjoy a smoother computing experience.