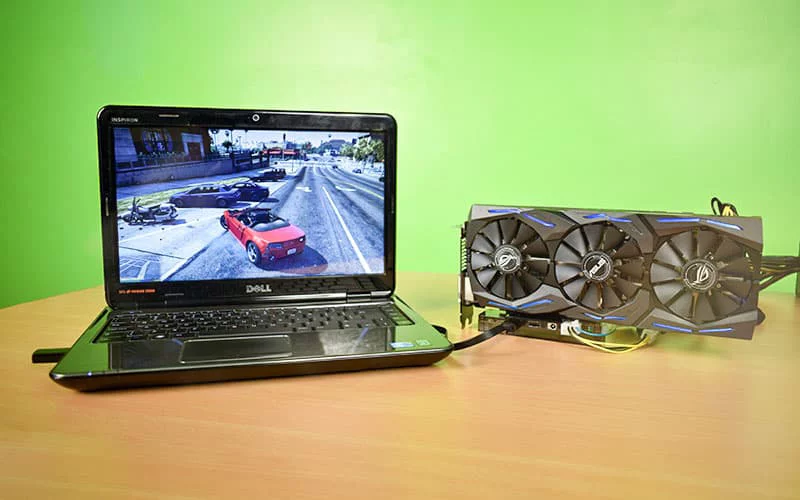
Are you struggling to get your computer to use the right GPU when you connect an eGPU? It can be confusing when your system doesn’t automatically switch to the external graphics card you invested in.
But don’t worry—changing which GPU your computer uses for an eGPU is easier than you think. You’ll learn simple steps to take control of your graphics setup. By the end, you’ll know exactly how to make your eGPU work the way you want, boosting your gaming, editing, or design experience.
Keep reading to unlock the full power of your external GPU!
Credit: www.liftingitalia.com
Identify Your Current Gpu Setup
Before changing which GPU your eGPU uses, you must identify your current GPU setup. This step helps you know which graphics card is active and how your system uses it. Understanding your internal and external GPUs prevents confusion during the switch. It also helps you make the right adjustments for better performance.
Check Internal Gpu
Start by checking your internal GPU. This is the graphics card built inside your laptop or desktop. On Windows, open the Device Manager and find “Display adapters.” Your internal GPU will be listed there. On a Mac, click the Apple menu, then “About This Mac,” and look under “Graphics.”
Knowing your internal GPU model helps you compare it to your eGPU. It shows whether your system prefers the internal card or the external one.
Check External Gpu
Next, check your external GPU connected via the eGPU enclosure. The process is similar. In Windows Device Manager, look under “Display adapters” for the external GPU name. On a Mac, open “System Report” and select “Graphics/Displays” to see the eGPU details.
Confirming your external GPU is recognized ensures it is ready to use. This step avoids issues during the GPU switch.

Credit: www.esseg.eu
Prepare Your System For Gpu Switch
Preparing your system for a GPU switch is important. It helps your computer work well with the new eGPU. Without proper setup, the change might cause errors or slow performance. Follow these steps to get your system ready and avoid problems.
Update Graphics Drivers
Start by updating your graphics drivers. Drivers help your computer talk to the GPU. Old drivers may not support your new eGPU. Visit the GPU maker’s website to download the latest version. Install the update carefully. Restart your computer after updating. This step ensures smooth communication between hardware and software.
Install Required Software
Some eGPUs need special software to work properly. This software manages the connection between your laptop and the external GPU. Check the eGPU manufacturer’s website for any required tools or apps. Download and install them on your system. Make sure the software is compatible with your operating system. Proper installation prevents connection issues and improves performance.
Change Gpu In Windows Settings
Changing which GPU your system uses for an eGPU is simple in Windows settings. This lets you choose the best graphics card for your apps. You can assign a specific GPU for better performance or power savings. Follow these steps to adjust your GPU preferences quickly.
Access Graphics Settings
Start by opening Windows Settings. Click on the “System” option. Then select “Display” from the menu. Scroll down and find the “Graphics settings” link. Click it to open the GPU options page. This page controls which GPU each app uses. It works for both desktop and Microsoft Store apps.
Select Preferred Gpu For Applications
On the Graphics settings page, choose the app type. Pick either “Desktop app” or “Microsoft Store app.” Click “Browse” to find the app you want. Add the app to the list below. Click on the app name and then “Options.” Choose the GPU you want: “Power saving” for the integrated GPU or “High performance” for the eGPU. Click “Save” to apply the settings. Your app will now use the selected GPU when running.
Configure Gpu On Macos
Configuring the GPU on macOS is essential to use an eGPU correctly. This setup helps your Mac use the external graphics card for better performance. It is a straightforward process if you follow the right steps.
This guide covers checking eGPU compatibility and setting the eGPU as the preferred GPU. These steps ensure your Mac uses the best graphics option available.
Check Egpu Compatibility
First, check if your Mac supports an eGPU. macOS supports eGPUs on Macs with Thunderbolt 3 ports and macOS High Sierra 10.13.4 or later. Not all apps support eGPU use, so check app compatibility too.
Go to the Apple menu, click About This Mac, and select System Report. Look under the Thunderbolt section to confirm the port type. Confirm your eGPU is connected and powered on.
Set Egpu As Preferred Gpu
To set the eGPU as the preferred GPU for an app, find the app in the Finder. Right-click the app icon and select Get Info. In the Info window, check the box for “Prefer External GPU.”
This option forces the app to use the eGPU instead of the built-in GPU. Restart the app after setting this preference. Your Mac will now use the eGPU for better graphics performance.
Use Bios To Select Gpu
Using the BIOS to select which GPU your system uses for an eGPU is a direct and effective method. The BIOS controls the hardware settings before your operating system loads. Changing GPU priority here can help your computer use the external GPU instead of the internal one.
This method works well for laptops and desktops that support eGPU setups. It gives you control over the graphics hardware at a deep level. Follow the steps below to access and modify your BIOS settings safely.
Enter Bios Setup
Restart your computer. Press the BIOS key during startup. Common keys include F2, Delete, or Esc. The screen usually shows which key to press. If not, check your computer’s manual.
Once in BIOS, use the keyboard to navigate menus. Avoid the mouse, as BIOS often doesn’t support it. Find the “Advanced” or “Configuration” tab. This is where GPU settings usually hide.
Modify Gpu Priority
Look for a setting called “Primary Display,” “Init Display First,” or “GPU Priority.” It might list options like “IGFX,” “PEG,” or “PCIe.” Select “PEG” or “PCIe” to prioritize your external GPU.
Save changes before exiting BIOS. The computer will reboot with the new GPU setting active. This ensures your eGPU is used first for graphics tasks. Check your system’s display output to confirm the change.
Troubleshoot Common Issues
Using an eGPU can boost your computer’s graphics power. Sometimes, it might not work as expected. Troubleshooting common problems helps you fix these issues fast. This section covers simple steps to solve recognition and performance problems.
Fix Recognition Problems
Check the eGPU connection first. Make sure the cable is firmly plugged in. Try different ports on your computer. Restart your computer after connecting the eGPU. Update your graphics drivers to the latest version. Use the device manager to see if the eGPU shows up. Disable and then enable the eGPU device if needed. Check your computer’s BIOS settings to ensure external GPUs are allowed. Sometimes, reinstalling the eGPU software helps solve recognition errors.
Resolve Performance Drops
Close unnecessary programs running in the background. Lower the graphics settings in your applications. Make sure your eGPU is connected through a high-speed port like Thunderbolt 3. Update your system’s software and graphics drivers regularly. Check the eGPU’s cooling system to avoid overheating. Use a power source that provides enough energy to the eGPU. Run performance tests to compare before and after changes. These steps help maintain smooth and stable eGPU performance.
Optimize Gpu Performance
Optimizing GPU performance is key to getting the best results from your eGPU setup. It helps your system run smoothly and keeps graphics strong. Small changes can make a big difference in how well your GPU works. Focus on power and heat control to keep your GPU stable and fast.
Adjust Power Settings
Power settings affect how your GPU uses energy. Set your system to high performance mode. This setting lets your GPU get enough power for demanding tasks. Check your laptop or PC power plan and change it if needed. Avoid power-saving modes that limit GPU speed. Also, ensure your eGPU has a good power supply for steady energy flow.
Manage Thermal Controls
Heat can slow down your GPU and cause crashes. Keep your eGPU cool to keep it working well. Use software tools to monitor GPU temperature. If it gets too hot, adjust fan speeds or improve airflow. Clean your computer and eGPU vents regularly to remove dust. Place your eGPU in a well-ventilated spot to prevent overheating.
Credit: vixencomposites.com
Frequently Asked Questions
How Do I Select The Gpu For My Egpu Setup?
To choose the GPU for your eGPU, access your system’s graphics settings or BIOS. Set the preferred GPU to the eGPU device. This directs your laptop or PC to use the external GPU for rendering graphics tasks.
Can I Switch Gpus Without Restarting My Computer?
Generally, switching GPUs requires restarting your computer. Some software allows temporary GPU selection, but a reboot ensures proper hardware initialization and stable performance.
Why Is My Egpu Not Recognized By My Laptop?
Your eGPU may not be recognized due to outdated drivers, improper connection, or BIOS settings. Update GPU drivers, reconnect the eGPU, and enable Thunderbolt or external GPU support in BIOS.
How To Set Default Gpu For Specific Applications?
Use your operating system’s graphics settings or GPU control panel to assign specific apps to use the eGPU by default. This optimizes performance for demanding software.
Conclusion
Changing which GPU your eGPU uses can improve your computer’s performance. It lets you choose the best graphics card for your needs. Follow the steps carefully to avoid common mistakes. Keep your drivers updated to ensure smooth switching. Test your setup after changes to confirm it works well.
This way, you get better visuals and faster speeds. Stay patient and take your time with each step. Your system will thank you with improved graphics and smoother operation.