
If you want your computer to run smoothly and avoid overheating, applying cooling paste to your CPU is a simple but crucial step. You might think it’s tricky or easy to skip, but doing it right can make a big difference in your PC’s performance and lifespan.
In this guide, you’ll learn exactly how to apply cooling paste the right way, even if you’ve never done it before. Keep reading, and you’ll gain the confidence to protect your CPU from heat damage and keep your system running cooler than ever.
Choosing The Right Cooling Paste
Choosing the right cooling paste is key for your CPU’s health. The right paste helps transfer heat from the CPU to the cooler. This keeps the processor cool and prevents damage. Not all thermal pastes work the same. Picking one that fits your needs makes a big difference. Understand the types and what matters most before buying.
Types Of Thermal Paste
Thermal paste comes in several types. Each has unique features and uses. Metal-based pastes are common and conduct heat well. They contain tiny metal particles like silver or aluminum. Ceramic pastes use non-metal particles. These are safer for electronics but may not transfer heat as well. Silicone-based pastes are easy to apply and affordable. They work fine for basic setups but may dry out faster. Liquid metal pastes offer excellent heat transfer. Use them carefully as they can damage some components.
Factors To Consider
Consider thermal conductivity when choosing paste. Higher conductivity means better heat transfer. Look at how easy the paste is to apply. Some are thick, others runny. Choose what matches your comfort level. Check the drying time of the paste. Some dry quickly, others stay soft longer. Also, think about electrical conductivity. Non-conductive pastes are safer for beginners. Price is important too. Higher cost does not always mean better performance. Match paste quality with your CPU needs and budget.
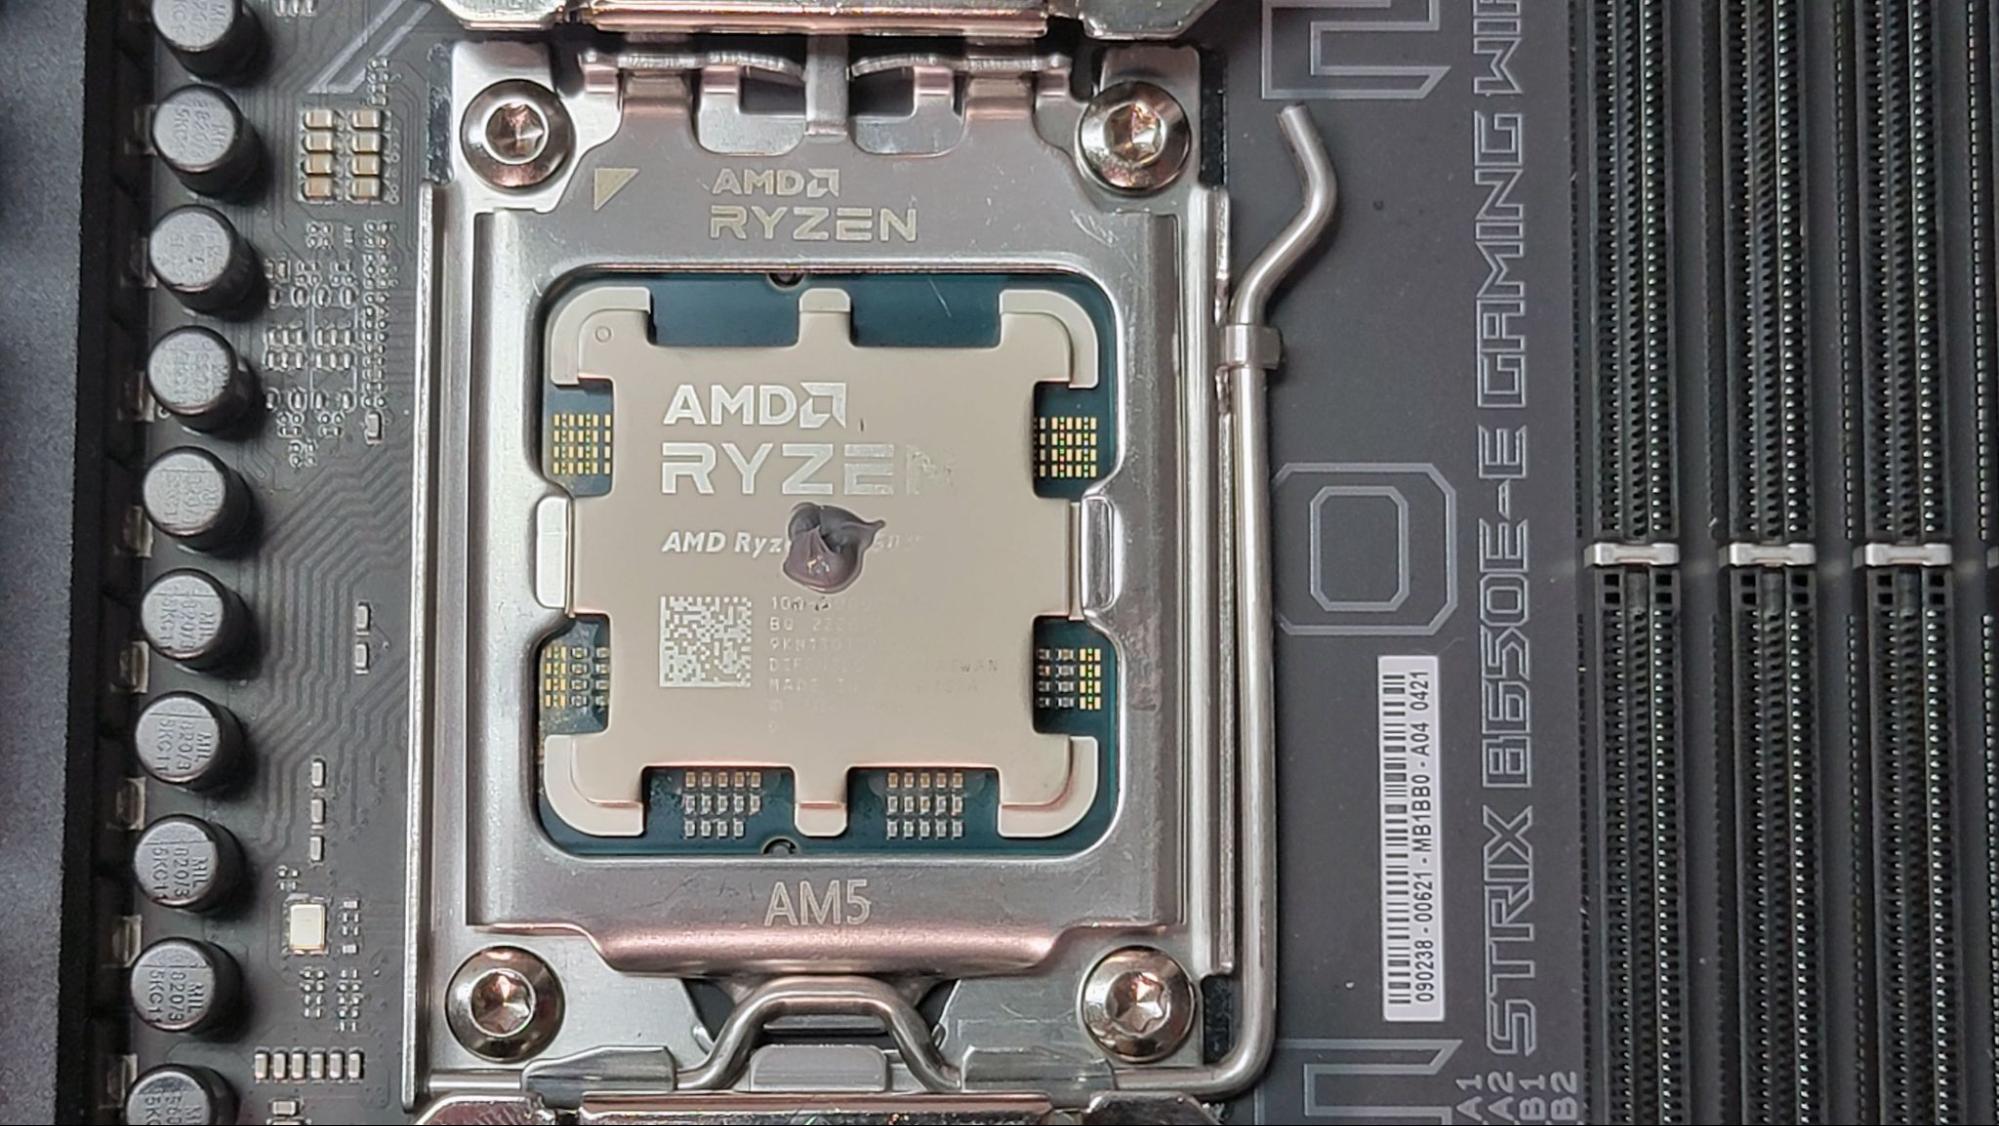
Credit: www.tomshardware.com
Preparing Your Workspace
Preparing your workspace is the first step to applying cooling paste to your CPU. A clean and organized area helps you work safely and efficiently. It reduces the risk of dust or dirt getting into your computer parts. Setting up properly can save time and prevent mistakes.
Gathering Necessary Tools
Collect all tools before starting. You will need thermal paste, a screwdriver, and cleaning materials like isopropyl alcohol and a lint-free cloth. Have cotton swabs or paper towels ready for precise cleaning. A small plastic card or spatula helps spread the paste evenly. Keep everything within reach to avoid interruptions.
Ensuring A Clean Environment
Choose a flat, stable surface to work on. Clear away any clutter to create space. Avoid carpeted areas to reduce static electricity risks. Wash your hands to remove oils and dirt. Use an anti-static wrist strap if possible. Dust and dirt can lower the cooling paste’s effectiveness.
Removing Old Thermal Paste
Removing old thermal paste is a crucial step before applying new cooling paste to your CPU. Old paste can dry out and lose its ability to transfer heat. This can cause your CPU to run hotter than it should. Cleaning off the old thermal paste ensures better contact between the CPU and cooler. This leads to improved cooling and better performance.
Cleaning The Cpu Surface
Start by turning off your computer and unplugging it. Carefully remove the CPU cooler to expose the CPU surface. Use a soft, lint-free cloth or coffee filter. Apply a small amount of isopropyl alcohol (70% or higher) to the cloth. Gently wipe the CPU surface to remove the old paste. Avoid using too much pressure to prevent damage. Repeat until the surface looks clean and shiny. Let it dry completely before applying new paste.
Cleaning The Cooler Base
Next, focus on the base of the cooler. This part also has old thermal paste that needs cleaning. Use the same method with a lint-free cloth and isopropyl alcohol. Wipe the cooler base carefully to remove all residue. Make sure the surface is smooth and clean. Any leftover paste can cause poor heat transfer. Let the cooler base dry fully before reassembling.
Applying New Thermal Paste
Applying new thermal paste on your CPU is a key step to keep it cool. Thermal paste helps transfer heat from the CPU to the cooler. This prevents overheating and keeps your computer running smoothly. Applying it correctly is important for good performance and long CPU life.
Different Application Methods
There are several ways to apply thermal paste. The most common is the pea-sized dot in the center of the CPU. When you place the cooler, it spreads the paste evenly.
Another method is the thin line across the CPU. This works well for long CPUs with rectangular shapes.
Some people use a small cross or X shape. This can cover more surface but may cause air bubbles.
Choose the method that fits your CPU size and cooler type. The goal is a thin, even layer without gaps or excess.
How Much Paste To Use
Use just a small amount of thermal paste. About the size of a pea or a grain of rice is enough.
Too much paste can stop heat from moving properly. It can also spill over and cause problems.
Too little paste leaves gaps and air pockets. This reduces cooling and can cause overheating.
Applying the right amount ensures good contact between the CPU and cooler. It helps your system stay cool and work well.
Reattaching The Cooler
Reattaching the cooler is a key step after applying cooling paste to the CPU. Proper reattachment ensures good contact between the CPU and cooler. This helps the cooling paste spread evenly and keeps the CPU cool. Take your time to reattach the cooler with care. Avoid rushing this part to prevent damage or poor cooling.
Aligning The Cooler Correctly
Place the cooler directly over the CPU. Match the cooler’s mounting holes with the motherboard holes. Make sure the cooler fits flat on the CPU surface. Do not tilt or shift the cooler once it touches the paste. Proper alignment prevents air gaps and improves heat transfer.
Securing The Cooler Firmly
Fasten the cooler using screws or clips, depending on your model. Tighten the screws in a diagonal pattern for even pressure. Avoid overtightening, which can damage the CPU or motherboard. The cooler should feel secure and steady. A firm fit helps maintain good contact for better cooling.
Testing And Monitoring Temperatures
After applying cooling paste to your CPU, checking temperatures is important. This step ensures the paste works well and the CPU stays cool.
Monitoring temperatures helps avoid overheating and possible damage. It also shows if the cooling system is effective.
Booting Up The System
Turn on your computer after applying the paste. Watch for normal startup sounds and lights. If the system fails to boot, shut it down immediately.
Listen for unusual noises from fans or hardware. These can signal a problem with cooling or installation. Let the system run for a few minutes to stabilize temperature.
Using Temperature Monitoring Tools
Use software tools to check CPU temperature. Popular tools include HWMonitor, Core Temp, and SpeedFan. These programs show real-time temperature readings.
Keep an eye on the temperature during regular use and heavy tasks. Safe CPU temperatures usually stay below 80°C. If temperatures go higher, check your cooling setup again.
Tips For Long-term Cooling Performance
Applying cooling paste correctly is just the first step. Keeping your CPU cool over time needs care and attention. Proper maintenance helps your computer run smoothly and avoid overheating.
Small habits can keep the thermal paste working well. These tips will help your CPU stay cool for a long time.
Regular Maintenance
Clean the inside of your computer often. Dust blocks airflow and raises temperatures. Use a soft brush or compressed air to clear dust from fans and vents. Check the CPU cooler and fan for dirt build-up.
Make sure the fan spins freely. Replace it if it makes noise or stops working. Good airflow inside the case keeps the paste effective longer. Keep cables organized to avoid blocking air paths.
When To Reapply Thermal Paste
Thermal paste wears out over time. It can dry up or lose its stickiness. This reduces heat transfer from the CPU to the cooler. Reapply thermal paste every 2 to 3 years for best results.
Also, reapply if you remove the CPU cooler for any reason. Check your CPU temperature regularly. If it rises suddenly, it may be time to replace the paste. Fresh thermal paste ensures better cooling and protects your CPU.
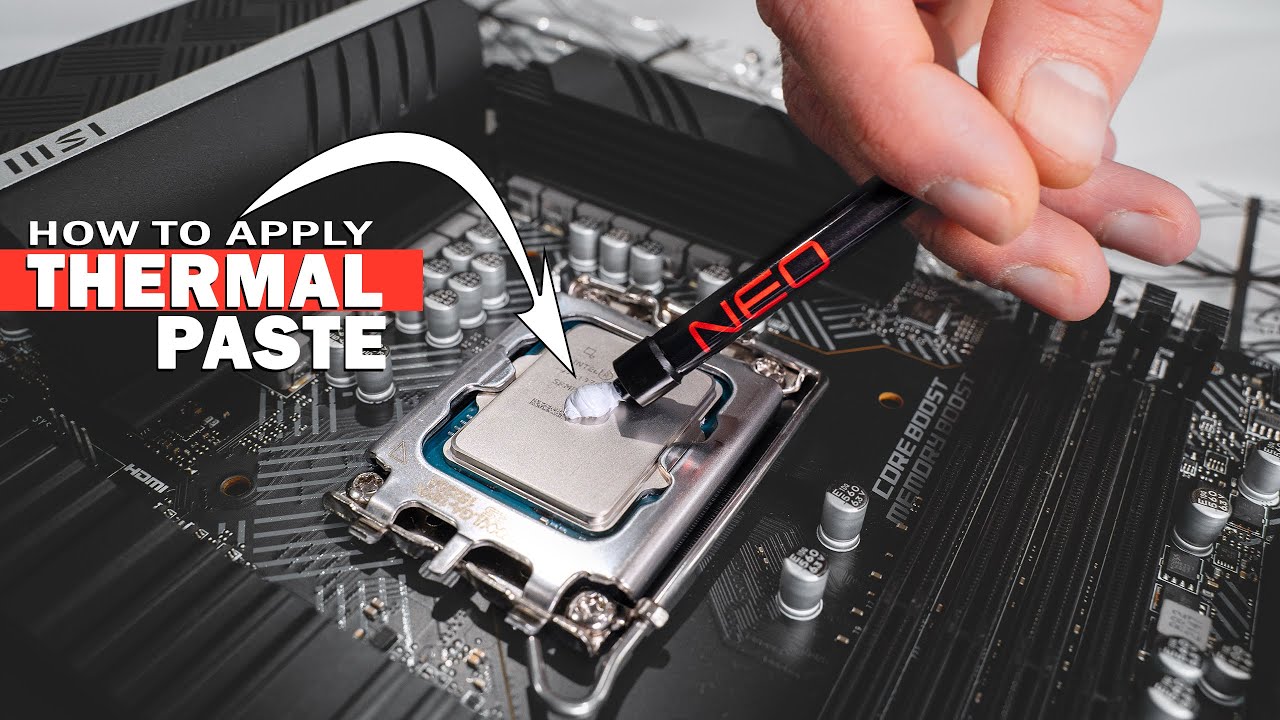
Credit: www.youtube.com

Credit: www.youtube.com
Frequently Asked Questions
What Is The Best Way To Apply Cooling Paste To Cpu?
Apply a small pea-sized amount of cooling paste at the CPU center. Spread evenly by pressing the heatsink firmly. Avoid excess paste to prevent spillage and ensure efficient heat transfer.
How Much Thermal Paste Should I Use On My Cpu?
Use a small pea-sized amount or a thin line of thermal paste. Too much paste can cause overheating and poor performance. Proper quantity ensures optimal heat conduction between CPU and cooler.
Can I Reuse Cooling Paste When Reinstalling A Cpu?
No, always clean off old paste completely before reapplying new thermal paste. Reusing old paste reduces cooling efficiency and may cause overheating issues. Use isopropyl alcohol and a lint-free cloth for cleaning.
How Often Should I Replace Cpu Thermal Paste?
Replace thermal paste every 1 to 3 years or when removing the CPU cooler. Over time, paste dries out and loses effectiveness. Regular replacement ensures consistent CPU temperature control.
Conclusion
Applying cooling paste to your CPU helps keep it cool and works well. Use a small amount of paste to avoid mess and waste. Spread it evenly for best contact between the CPU and cooler. Clean old paste before adding new to ensure good heat transfer.
A properly applied paste improves your computer’s performance and lifespan. Take your time and be careful during the process. This simple step makes a big difference in your PC’s health.