
Are you ready to take your PC’s cooling to the next level? Installing a CPU liquid cooler can dramatically improve your computer’s performance and keep your processor running smoothly, even under heavy use.
But if you’ve never done it before, the process might seem a bit intimidating. Don’t worry—this guide breaks down each step clearly and simply, so you can install your liquid cooler with confidence. Stick with me, and by the end, your CPU will be cooler, quieter, and ready to handle whatever you throw at it.
Let’s get started!
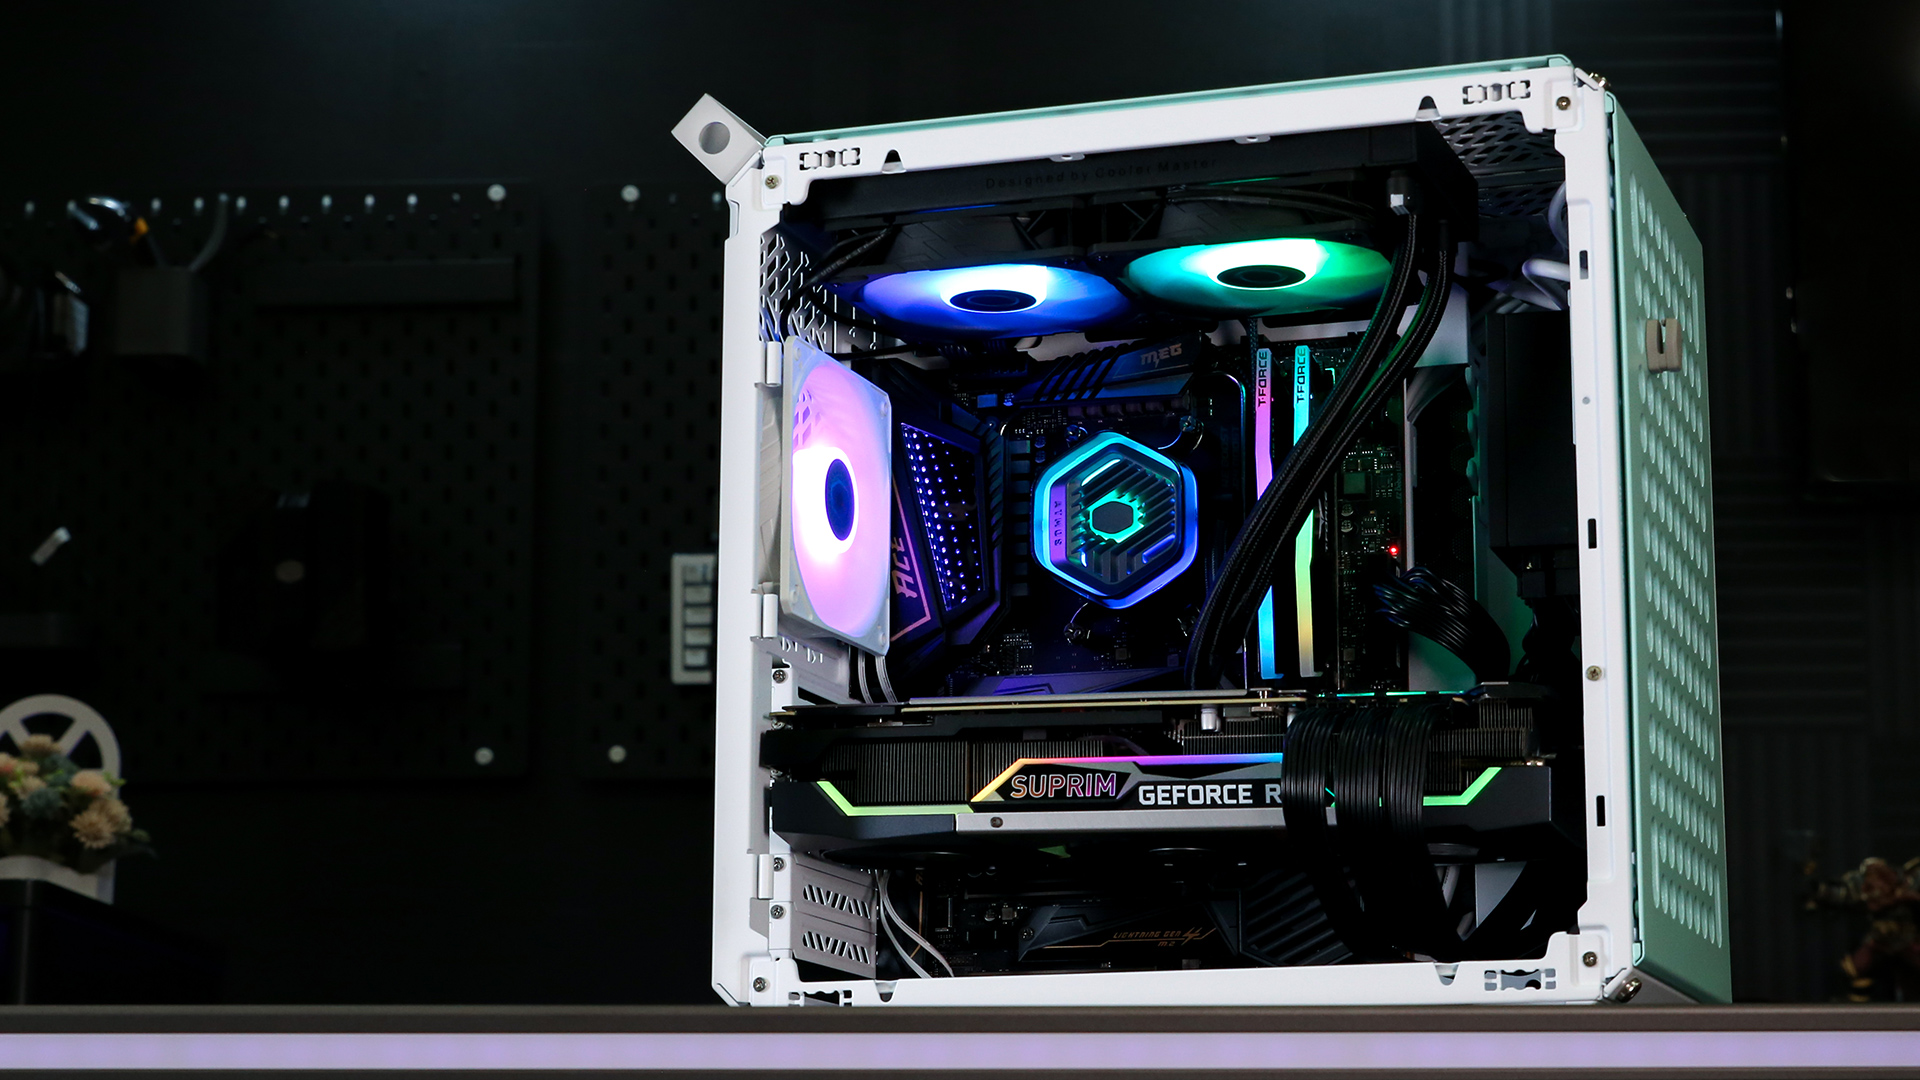
Credit: www.coolermaster.com
Choosing The Right Liquid Cooler
Choosing the right liquid cooler is key to keeping your CPU cool and running well. A good cooler stops your computer from overheating. It also helps your PC work quietly and last longer. Picking the best cooler depends on several factors. These include the type of cooler, if it fits your CPU and case, and your budget.
Types Of Liquid Coolers
There are two main types of liquid coolers: AIO and custom loop. AIO stands for “All-In-One.” These coolers come pre-assembled and are easy to install. They have a pump, radiator, and fans all in one unit. Custom loops are for advanced users. They let you build your own cooling system. Custom loops offer better cooling but need more care and skill.
Compatibility With Your Cpu And Case
Check if the cooler fits your CPU socket type. Different CPUs use different sockets, like Intel’s LGA or AMD’s AM4. Your cooler must support your CPU’s socket. Also, measure your case space. Radiators need room to fit inside your computer case. Check the radiator size and fan placement. Make sure your case can hold the cooler comfortably.
Budget Considerations
Liquid coolers come in many price ranges. Basic AIO coolers are affordable and good for most users. High-end AIOs or custom loops cost more. They offer better performance and quieter operation. Set a budget before buying. Choose a cooler that fits both your needs and wallet. Spending a bit more can improve cooling and reduce noise.
Preparing Your Workspace
Preparing your workspace is the first step to install a CPU liquid cooler safely and efficiently. A clean and organized area helps prevent mistakes and damage. It makes the process smoother and faster.
Take time to gather everything you need before starting. Keep distractions away and focus on the task. This helps avoid losing small parts or tools.
Tools Needed
Gather basic tools like a screwdriver, thermal paste, and cleaning cloth. Some coolers come with special screws or brackets. Check the cooler’s manual to confirm what tools you need.
Have extra screws and zip ties ready. These help secure cables and components neatly. A flashlight or lamp can improve visibility inside the case.
Safety Precautions
Turn off and unplug your computer before starting. Static electricity can damage sensitive parts. Use an anti-static wrist strap or touch a metal surface to discharge static.
Work on a non-conductive surface like a wooden table. Avoid wearing loose clothes or jewelry that can catch on components. Handle parts gently to avoid bending pins or connectors.
Clearing The Area
Remove all unnecessary items from your workspace. Clear space around your computer and tools. This reduces the risk of knocking things over or losing small parts.
Keep a small container nearby to hold screws and small pieces. Organize cables and free your workbench from clutter. A tidy area helps you stay focused and work faster.
Removing The Old Cooler
Removing the old CPU cooler is the first step before installing a new liquid cooler. This process needs care to avoid damage to your CPU or motherboard. Take your time and follow each step carefully.
Powering Down And Unplugging
Turn off your computer completely. Unplug the power cable from the wall or power supply. Press the power button for a few seconds to discharge any leftover electricity. This helps protect you and your components.
Detaching The Existing Cooler
Locate the screws or clips holding the cooler in place. Loosen them gently but do not force anything. Carefully lift the cooler from the CPU socket. It may stick due to thermal paste, so wiggle it lightly if needed.
Cleaning The Cpu Surface
After removing the cooler, the CPU will have old thermal paste on it. Use a soft cloth or paper towel with isopropyl alcohol. Gently wipe away all the paste until the surface is clean and shiny. This ensures proper contact for the new cooler.

Credit: www.youtube.com
Installing The Liquid Cooler
Installing a liquid CPU cooler helps keep your processor cool and quiet. This process needs care and patience. Follow each step carefully to ensure proper setup and performance.
Mounting The Radiator And Fans
First, find a spot for the radiator inside your case. Most cases have mounting points at the top, front, or rear. Align the radiator with the screw holes. Attach the fans to the radiator. Make sure airflow matches your cooling needs. Use screws to secure both the fans and radiator firmly.
Applying Thermal Paste
Thermal paste helps heat transfer from the CPU to the cooler. Clean the CPU surface with alcohol and a cloth. Apply a small pea-sized drop of thermal paste in the center of the CPU. Avoid spreading the paste yourself. The pressure from the cooler will spread it evenly.
Securing The Pump/block
Place the pump or water block over the CPU carefully. Align it with the mounting bracket. Press down gently and fix it with screws or clips. Tighten screws evenly, but don’t overtighten. Check that the pump sits flat on the CPU for good contact.
Connecting Tubing And Cables
Connect the cooler’s tubes to the radiator and pump securely. Make sure tubes are not twisted or bent sharply. Attach the pump’s power cable to the motherboard header marked “CPU_FAN” or “AIO_PUMP.” Connect the radiator fans to the CPU fan or system fan headers. Manage cables to keep the inside neat and improve airflow.
Finalizing Installation
Finalizing the installation of a CPU liquid cooler ensures your system runs smoothly. This step focuses on organizing cables, securing connections, and testing the cooler’s performance. Careful attention here prevents issues and keeps your PC neat.
Cable Management Tips
Arrange cables to avoid blocking airflow. Use zip ties or Velcro straps for neat bundles. Keep cables away from fans and moving parts. Proper cable management helps with cooling and makes future upgrades easier.
Double-checking Connections
Check every cable connection twice. Make sure the pump power cable is firmly plugged in. Confirm fan connectors are in the correct motherboard headers. Loose cables can cause the cooler to stop working.
System Testing And Monitoring
Turn on your PC and watch the cooler’s pump and fans. Listen for unusual noises or vibrations. Use software to monitor CPU temperatures. Stable temperatures mean your cooler works well and keeps your CPU safe.
Troubleshooting Common Issues
Troubleshooting common issues helps keep your CPU liquid cooler running smoothly. Many problems can appear after installation. Fixing them early prevents damage and improves performance. Focus on the most common problems users face during setup and use.
Leaks And Spills
Leaks can harm your computer parts. Check all connections tightly. Look for wet spots around tubes and the pump. Use paper towels to spot small drips. If you find leaks, turn off your PC immediately. Re-seat fittings or replace damaged tubes. Avoid moving the cooler too much during installation.
Overheating Problems
Overheating means poor cooling. Make sure the cooler sits firmly on the CPU. Clean off old thermal paste before applying new paste. Check the fan and radiator for dust buildup. Fans must spin freely without noise. Ensure the pump runs and the tubes feel warm. Poor airflow inside the case can cause heat. Add case fans or rearrange cables to improve airflow.
Pump Noise And Performance
Loud pump noise signals issues. Pumps should run quietly and steadily. Check if the pump is powered correctly from the motherboard or PSU. Excess noise may mean air trapped inside the pump. Tilt the case gently to move trapped air out. If noise persists, the pump might be faulty. Replace the pump or cooler if needed for better performance.

Credit: www.youtube.com
Frequently Asked Questions
What Tools Do I Need To Install A Cpu Liquid Cooler?
You need a screwdriver, thermal paste, and mounting brackets. Most liquid coolers come with necessary screws and brackets. Having a clean workspace and an anti-static wristband helps prevent damage.
How Long Does It Take To Install A Cpu Liquid Cooler?
Installation usually takes 20 to 40 minutes. Time depends on your experience and case complexity. Following step-by-step instructions speeds up the process and ensures proper setup.
Can I Install A Liquid Cooler On Any Cpu Socket?
Most modern liquid coolers support various sockets like Intel and AMD. Always check compatibility with your CPU socket before purchasing. Manufacturer guides list supported socket types clearly.
How Do I Apply Thermal Paste When Installing A Liquid Cooler?
Apply a small pea-sized amount of thermal paste on the CPU center. The cooler’s pressure spreads it evenly for optimal heat transfer. Avoid using too much paste to prevent overheating.
Conclusion
Installing a CPU liquid cooler can improve your computer’s cooling a lot. It keeps your processor cooler and helps it run better. Follow the steps carefully, take your time, and avoid rushing. Double-check all connections to prevent leaks or problems.
With patience, you can finish the installation smoothly. Enjoy a quieter and cooler PC after the setup. Stay safe and handle all parts gently. This simple upgrade can make your system more reliable and last longer.