
Have you ever looked closely at your CPU and noticed bent pins? It’s a small problem that can cause big headaches.
Straightening those tiny pins might seem tricky, but with the right steps, you can fix them yourself. Imagine saving time and money by avoiding a replacement or repair service. In this guide, you’ll learn simple, effective ways to straighten your CPU pins safely.
Keep reading, and you’ll gain the confidence to handle this delicate task like a pro.
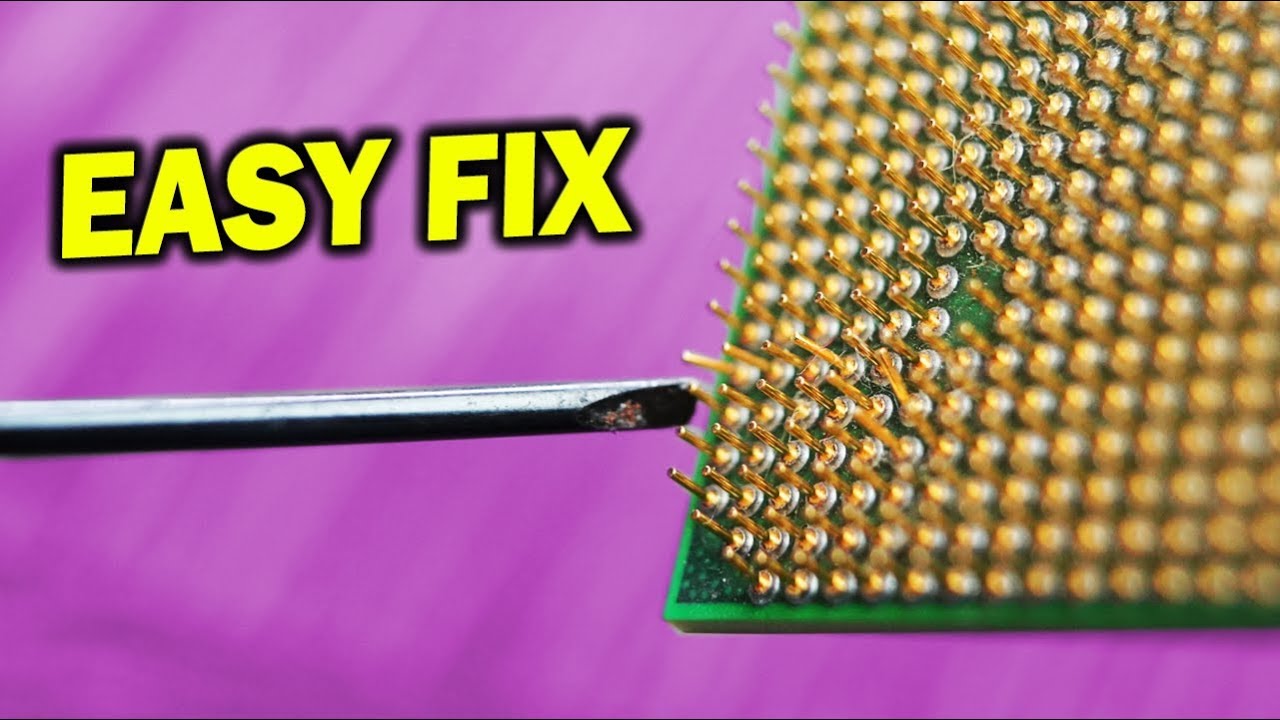
Credit: www.youtube.com
Tools Needed
To straighten CPU pins safely, having the right tools is important. The correct tools help avoid damage to the pins and the CPU itself. This makes the process easier and more precise. Below are the essential items and some optional tools that can help.
Essential Items
A magnifying glass or jeweler’s loupe is key to see tiny pins clearly. A steady, well-lit workspace is also necessary to avoid mistakes. Use a pair of fine-tipped tweezers to carefully adjust bent pins without bending others. A small flat tool, like a mechanical pencil without lead, can help gently nudge pins back into place. Lastly, an anti-static wrist strap keeps static electricity away from the CPU during the process.
Optional Tools
A credit card or thin plastic card can help align rows of pins evenly. A small needle or sewing pin allows for precise adjustments of very fine bends. Some people use a small piece of cardboard with a notch to straighten multiple pins at once. A soft brush can remove dust and debris from the CPU and pins before starting. These optional tools are not required but can make the task smoother.
Safety Precautions
Safety is the top priority when straightening CPU pins. Bent pins are delicate and easy to damage. Taking proper safety steps helps avoid costly mistakes. Protect both the CPU and yourself during the process.
Handling The Cpu
Hold the CPU by its edges only. Avoid touching the pins directly. Oils and dirt from fingers can cause connection problems. Use an anti-static wrist strap to stop static electricity. Place the CPU on a soft, clean surface to avoid scratches. Work in a well-lit area for better visibility.
Preventing Damage
Use the right tools, like a mechanical pencil or tweezers with smooth tips. Apply gentle pressure to avoid breaking pins. Do not rush the process. Check the pins often to see progress. Avoid bending pins back and forth multiple times. Keep your work area clear of debris to prevent accidents.
Assessing Pin Damage
Assessing pin damage is the first step to fix bent CPU pins. Pins carry signals between the CPU and motherboard. Bent pins can cause connection problems or stop the CPU from working.
Careful examination helps decide if you can fix the pins or need a replacement. Use a bright light and magnifying glass to see each pin clearly. Check every pin, not just the bent ones.
Identifying Bent Pins
Bent pins look out of line compared to others. Some pins may lean slightly or touch nearby pins. Pins that are bent sideways or folded down need attention. Look for pins that break or look twisted.
Be gentle when touching pins. They are fragile and can break easily. Use a magnifier for a close view. Note all bent pins before trying to straighten them.
Severity Levels
Minor bends are small and easy to fix. These pins can be straightened with a thin tool or needle. Moderate bends need more care and patience. Severe bends may cause pins to snap or lose shape.
Broken or missing pins often mean the CPU is unusable. Repair attempts can be risky. Knowing the damage level helps decide the next step. Handle pins carefully to avoid worsening the damage.

Credit: www.ifixit.com
Preparation Steps
Before you start straightening CPU pins, proper preparation is key. Taking time to prepare helps avoid damage and ensures better results. Follow these steps carefully.
Cleaning The Cpu
Clean the CPU gently to remove dust and dirt. Use a soft brush or compressed air. Avoid using water or liquid cleaners. Make sure no particles remain on the pins.
Clean pins are easier to see and straighten. This step reduces the risk of debris causing problems later. Handle the CPU by its edges to keep it clean.
Setting Up Workspace
Choose a clean, flat surface with good lighting. A well-lit area helps you see bent pins clearly. Use a soft cloth or anti-static mat to protect the CPU.
Gather tools like a magnifying glass, tweezers, or a mechanical pencil. Keep everything within reach to work smoothly. Avoid static by grounding yourself before touching the CPU.
Straightening Techniques
Straightening bent CPU pins needs care and the right tools. Pins are very small and fragile. A tiny mistake can damage the CPU beyond repair. The following techniques help fix bent pins safely and easily. Each method suits different situations and skill levels.
Using A Mechanical Pencil
This method uses a mechanical pencil without lead. Gently insert the bent pin into the pencil tip. The pencil guides the pin back to a straight position. Move the pin slowly inside the tip. Check the pin’s alignment often. This method works best for pins that are slightly bent.
Tweezers Method
Use fine-tipped tweezers to straighten pins carefully. Grip the pin near its base. Slowly pull or push the pin to the correct angle. Avoid squeezing too hard to prevent breaking the pin. This technique requires a steady hand and good light. It works well for pins bent at sharper angles.
Cardboard Or Razor Blade Guide
Use a thin piece of cardboard or a razor blade as a straight edge. Place the guide next to the bent pins. Gently press the pins against the edge to straighten them. Move the pins one by one for better control. This method helps align multiple pins at once. It is useful for small groups of pins that need adjustment.
Alignment Check
After carefully straightening CPU pins, the next step is an alignment check. This step ensures all pins stand correctly and are ready for installation. Proper alignment prevents damage to the CPU socket and guarantees a stable connection.
Visual Inspection
Start by examining the pins with your eyes. Hold the CPU under good light. Look for any pins that still appear bent or out of line. Make sure no pins touch each other. Each pin should be straight and evenly spaced.
Using A Magnifying Glass
A magnifying glass helps to see the pins in detail. It reveals small bends or misalignment you might miss. Slowly move the glass over the pins and check from different angles. Adjust any pin that looks off before proceeding.
Reinstalling The Cpu
Reinstalling the CPU is a careful process. It requires attention to detail and patience. Proper reinstallation ensures the CPU works well and lasts longer. This section guides you through the correct steps.
Proper Placement
First, align the CPU with the socket. Look for a small triangle or mark on one corner. Match this with the socket’s mark. Do not force the CPU into the socket. It should fit easily if positioned right. Check for any bent pins before placing the CPU.
Securing The Cpu
Once the CPU sits properly, lower the retention arm slowly. It holds the CPU firmly in place. Press gently but firmly until the arm locks. Avoid pressing too hard to prevent damage. Double-check the CPU does not move after securing.
Testing The Cpu
Testing the CPU after straightening its pins is important. It shows if the pins work well. This step helps avoid damage to your computer. Careful testing can save time and money. Let’s look at how to test the CPU properly.
Booting The System
Start by placing the CPU back on the motherboard. Check that it fits snugly and the pins align. Connect the power and turn on the system. Watch for any unusual sounds or error messages. The system should start without problems. If it does, the pins likely make good contact.
Monitoring Performance
Once the system boots, watch the CPU’s performance closely. Use simple software tools to check temperature and speed. Look for sudden shutdowns or slowdowns. These signs show if the CPU pins are still faulty. Stable and smooth running means the pins are straight and working well.
When To Seek Professional Help
Straightening CPU pins is a delicate task that requires care and patience. Sometimes, the damage to the pins is beyond simple fixes. Knowing when to ask for professional help can save your CPU and your computer. Professionals have the right tools and skills to handle complex issues safely.
Severe Damage Cases
Severe damage includes bent or broken pins that are hard to see. Pins that are missing or snapped off need expert attention. Professionals can assess if the CPU is still usable. They can also repair or replace pins without causing more damage.
Avoiding Further Harm
Trying to fix badly damaged pins yourself may cause more harm. Using improper tools or too much force can break pins completely. Professionals know how to avoid common mistakes. They use proper methods to protect the CPU during repair.
Credit: www.reddit.com
Frequently Asked Questions
How Can I Safely Straighten Bent Cpu Pins?
Use a mechanical pencil or credit card edge to gently realign pins. Work slowly to avoid breakage or further damage.
What Tools Are Best For Straightening Cpu Pins?
A mechanical pencil, credit card, or needle-nose tweezers work well. Precision and gentleness are key to avoid bending pins again.
Can Bent Cpu Pins Cause Computer Problems?
Yes, bent pins can prevent proper CPU installation and cause boot failures or hardware errors.
Is It Possible To Repair Severely Bent Cpu Pins?
Severe bends may be irreparable and risk permanent damage. Minor bends can often be fixed carefully at home.
Conclusion
Straightening CPU pins takes patience and a steady hand. Small tools like tweezers or a mechanical pencil work well. Always handle pins gently to avoid breaking them. Take your time and check your progress often. Fixing bent pins can save you money and time.
With care, you can make your CPU work like new. Don’t rush the process; careful work pays off. Keep your workspace clean and bright for better focus. This simple skill helps maintain your computer’s performance. Practice makes perfect, so try not to worry.