
Are you ready to boost your computer’s performance with a powerful AMD CPU? Installing a new processor might seem tricky, but with the right steps, you can do it yourself quickly and safely.
This guide will walk you through the entire process, breaking it down into simple, clear instructions. By the end, you’ll have your AMD CPU up and running, ready to deliver the speed and power you need. Keep reading—you’re just a few steps away from transforming your PC!
Credit: www.tomshardware.com
Choosing The Right Amd Cpu
Choosing the right AMD CPU is a crucial step before building or upgrading your computer. The CPU impacts your system’s speed and ability to handle tasks. Picking a suitable processor ensures smooth performance for everyday use or demanding applications.
Understanding different AMD CPU options helps you match one with your needs and budget. Compatibility with your motherboard and cooling system also matters. Take time to research these factors for a successful installation.
Comparing Amd Cpu Models
AMD offers various CPU models for different uses. Ryzen processors suit gamers and creators. Athlon CPUs fit basic tasks and budget builds. Each model has different core counts and clock speeds. More cores improve multitasking and heavy workloads. Faster clock speeds boost single-task performance. Check reviews and benchmarks to compare models clearly.
Checking Compatibility With Motherboard
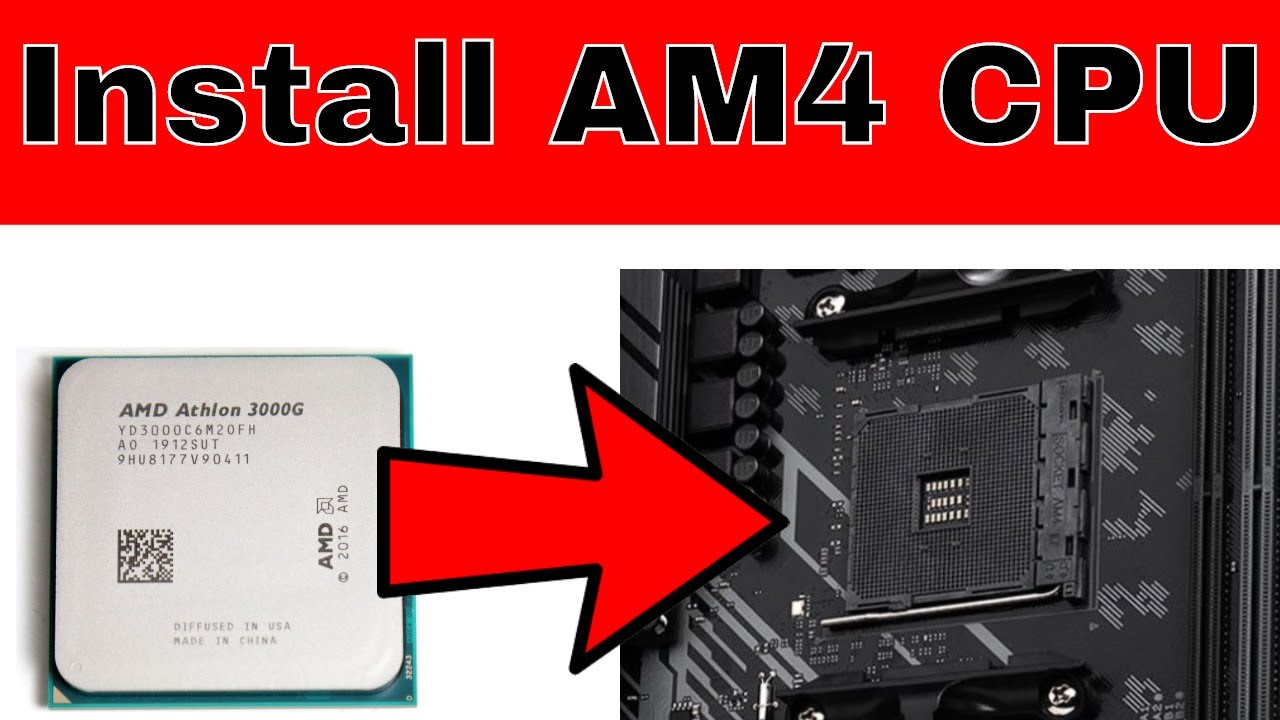
Your motherboard must support the chosen AMD CPU. Check the socket type first. AM4 is common for many Ryzen CPUs. Newer models may use AM5 socket. Also, verify the motherboard’s chipset supports your CPU generation. BIOS updates might be necessary for newer processors. Confirm memory type and speed compatibility as well.
Considering Cooling Solutions
CPUs produce heat and need proper cooling. Some AMD CPUs come with stock coolers. These suit most users and moderate workloads. High-performance CPUs may require better cooling options. Air coolers or liquid cooling systems help keep temperatures low. Proper cooling ensures stability and longer CPU life.
Preparing Your Workspace
Preparing your workspace is an important first step before installing an AMD CPU. A clean and organized area helps protect the delicate parts. It also makes the process smoother and faster. Taking time to set up properly can prevent mistakes and damage.
Gathering Necessary Tools
Start by collecting all the tools needed for the installation. You will need a screwdriver, thermal paste, and cleaning materials like isopropyl alcohol and a lint-free cloth. Having tools ready avoids interruptions and keeps you focused.
Ensuring Static-free Environment
Static electricity can harm your CPU and motherboard. Work on a hard, non-carpeted surface. Use an anti-static wrist strap if possible. Touch a grounded metal object before handling parts. These steps reduce the risk of static damage.
Organizing Components
Place all parts like the CPU, motherboard, and cooler on a clean table. Keep small pieces like screws in a container. This prevents loss and confusion. Organizing components helps you move through installation easily and safely.
Removing Old Cpu And Components
Removing the old CPU and its parts is a key step before installing a new AMD processor. This process needs care and attention to avoid damage to the motherboard or CPU socket. Follow each step carefully for a smooth upgrade.
Start by making sure the computer is completely off and unplugged. Then, carefully detach the cooling system to access the CPU. Finally, remove the old CPU gently from the socket.
Powering Down And Unplugging
Turn off your computer using the normal shutdown process. Wait for all lights to go off. Unplug the power cable from the wall or power strip. Disconnect any other cables attached to the case. This stops power flow and protects you from electric shock.
Detaching Cooling System
Open the computer case to find the CPU cooler. The cooler is usually attached with screws or clips. Unscrew or unclip it carefully. Do not pull hard as it can damage the motherboard. Gently lift the cooler off the CPU. If thermal paste sticks, twist the cooler slightly to loosen it.
Removing The Existing Cpu
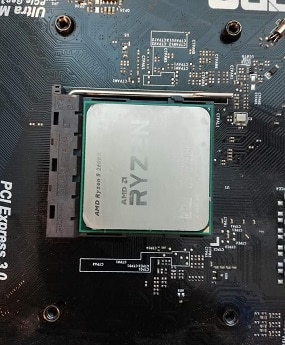
Locate the CPU socket on the motherboard. Find the small lever or latch holding the CPU. Push or lift the latch to unlock the CPU. Carefully lift the CPU straight up. Avoid touching the pins or contacts. Place the old CPU on an anti-static surface.
Credit: www.amd.com
Installing The Amd Cpu
Installing the AMD CPU is a careful process that needs attention. This step is important for your computer to work well. Follow each part carefully to avoid damage. Handle the CPU gently and keep your workspace clean.
Opening The Cpu Socket
Start by lifting the socket lever on the motherboard. This unlocks the CPU slot. Do not force the lever. Open it slowly to avoid damage. The socket cover will lift up, showing the pins below. Keep the socket clean and free of dust.
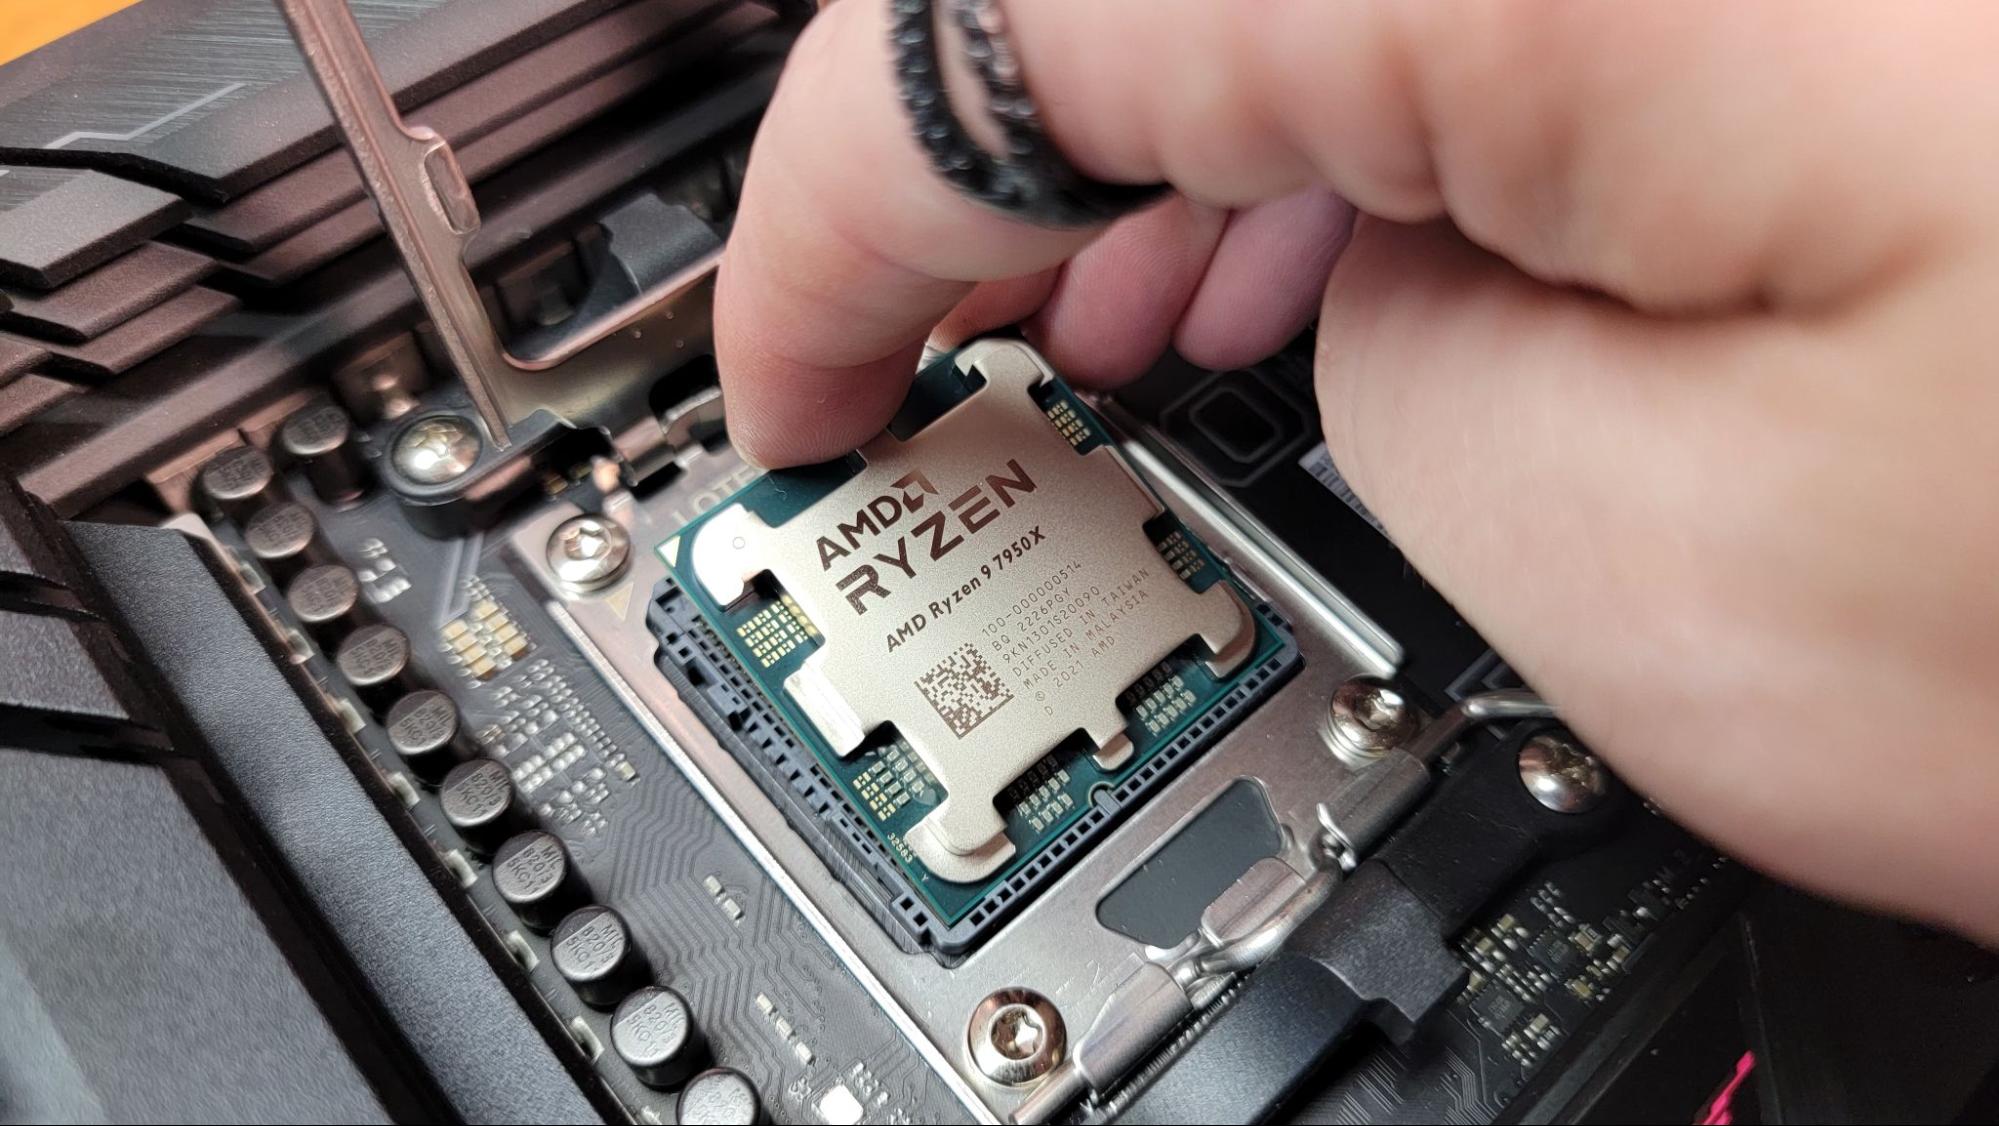
Aligning And Placing The Cpu
Look for the triangle mark on the CPU corner. Match this with the triangle on the socket. This ensures the CPU fits correctly. Hold the CPU by its edges. Avoid touching the pins or the top surface. Place the CPU gently into the socket. It should drop in without pressure.
Securing The Cpu In Socket
Lower the socket cover back down carefully. Press the lever back into place to lock the CPU. This holds the CPU firmly. Check that the CPU is flat and secure. Do not try to move it after locking. This step completes the CPU installation.
Applying Thermal Paste
Applying thermal paste is a key step when installing an AMD CPU. It helps the CPU and the cooler work better together. The paste fills tiny gaps and makes sure heat moves from the processor to the cooler. This keeps the CPU safe from overheating and helps it run well.
Using the right paste and applying it correctly is very important. Too much or too little paste can cause problems. Below are tips on choosing the right paste and how to apply it the best way.
Choosing The Right Thermal Paste
Pick a thermal paste with good heat transfer. Look for popular brands with positive reviews. Avoid very cheap or old paste. Some pastes last longer and work better. Silicone-based and metal-based pastes are common choices. Choose one that fits your budget and needs.
Applying The Correct Amount
Use a small pea-sized drop in the center of the CPU. This amount is enough to cover the surface once pressed. Too much paste can spill out and cause short circuits. Too little paste will not cover the CPU fully. The right amount helps the heat move well and keeps the CPU cool.
Spreading Techniques
The cooler will spread the paste when you install it. Press the cooler down gently but firmly. Avoid lifting the cooler after placing it. This keeps the paste layer even and smooth. If you want, use a plastic card to spread the paste thinly. But usually, the pressure from the cooler is enough.
Credit: www.youtube.com
Attaching The Cpu Cooler
Attaching the CPU cooler is a key step after placing the AMD CPU. The cooler keeps the processor cool during operation. A well-installed cooler prevents overheating and keeps your PC stable. This part needs care and patience.
Positioning The Cooler
Place the cooler directly above the CPU socket. Align the mounting brackets with the holes on the motherboard. Make sure the cooler’s fan faces the right direction for airflow. Avoid touching the CPU surface or thermal paste.
Securing The Cooler Firmly
Press the cooler gently onto the CPU. Tighten screws or clips in a diagonal pattern. This helps spread pressure evenly across the CPU. Do not overtighten screws to avoid damage. The cooler should feel stable and secure.
Connecting Power Cables
Locate the CPU fan header on the motherboard. Plug the cooler’s power cable into this header. This connection allows the fan to run and adjust speed. Check the cable is snug but not strained. Proper connection ensures effective cooling.
Final Checks And Power Up
After installing your AMD CPU, performing final checks is crucial. This step ensures your system works safely and correctly. It prepares your computer for the first power-up. Follow each step carefully to avoid damage or errors.
Verifying All Connections
Check the CPU socket for any loose pins or debris. Confirm the CPU cooler is firmly attached. Make sure the power cables connect tightly to the motherboard and CPU. Inspect RAM sticks and other components for proper seating. Double-check all cables inside the case. Secure connections prevent boot problems and hardware failure.
Powering On And Bios Setup
Press the power button to start your computer. Watch for any unusual sounds or warning lights. Enter the BIOS setup by pressing the key shown on screen. Set the CPU clock speed and voltages to default. Check if the BIOS detects the AMD CPU correctly. Save changes and exit BIOS. This step ensures your CPU runs with correct settings.
Monitoring Cpu Temperature
Use BIOS or software tools to check CPU temperature. Keep the temperature below the recommended limit. High temperatures can harm your CPU and reduce lifespan. Ensure the CPU fan or cooler spins properly. Good airflow inside the case helps keep the CPU cool. Monitor temperatures regularly to avoid overheating issues.
Frequently Asked Questions
What Tools Are Needed To Install An Amd Cpu?
You need a screwdriver, thermal paste, and an anti-static wrist strap. These tools help secure the CPU and prevent damage from static electricity.
How Do I Prepare The Motherboard For Amd Cpu Installation?
First, unlock the CPU socket lever. Ensure the socket is clean and free of debris before placing the CPU carefully.
Can I Install An Amd Cpu Without Thermal Paste?
No, thermal paste is essential. It improves heat transfer between the CPU and cooler, preventing overheating and ensuring optimal performance.
How To Align The Amd Cpu Correctly In The Socket?
Match the CPU’s golden triangle corner with the socket’s triangle mark. This ensures proper orientation and prevents damage during installation.
Conclusion
Installing an AMD CPU is simple with clear steps. Take your time and follow each part carefully. Always handle the CPU gently to avoid damage. Double-check connections before powering on your computer. This guide helps you build or upgrade your PC confidently.
Enjoy the improved speed and performance of your new AMD CPU. Keep learning and exploring more about computer hardware. Your new setup is ready to run smoothly and fast.