
Is your PC refusing to boot after you installed new parts? That frustrating moment when you power on your computer, and nothing happens can leave you feeling stuck and unsure what to do next.
But don’t worry—you’re not alone, and this problem has clear solutions. You’ll discover simple, step-by-step fixes that can get your PC up and running again quickly. Keep reading, because the answer to your booting troubles might be easier than you think.

Credit: www.ebay.com
Common Causes Of Boot Issues
When a PC fails to boot after installing new parts, the cause often lies in common hardware or software issues. Identifying these problems helps fix the boot failure quickly. Many beginners overlook simple errors during installation or overlook compatibility. Understanding these common causes saves time and frustration.
Incorrect Hardware Installation
New parts must fit correctly and connect firmly. Loose cables or improperly seated components cause boot problems. RAM sticks, graphics cards, and storage drives must click into place. Missing screws or bending pins also stop the system from starting. Double-check each part for secure installation.
Power Supply Problems
The power supply unit (PSU) provides energy to all parts. A weak or faulty PSU cannot support new hardware needs. Insufficient power causes the PC to fail at booting. Check power cables and ensure the PSU wattage matches the new components. A power supply tester can confirm proper function.
Bios And Firmware Conflicts
The BIOS controls hardware initialization during startup. Outdated BIOS may not recognize new parts. Firmware conflicts cause boot loops or no display. Updating the BIOS helps the motherboard support recent hardware. Always follow the manufacturer’s guide carefully when updating firmware.
Compatibility Issues
Not all parts work well together. Incompatible RAM type or CPU socket mismatches block booting. Mixing brands and speeds can cause errors too. Check the motherboard manual for supported parts. Using compatible components ensures smooth startup and stable operation.
Initial Troubleshooting Steps
After installing new parts, the PC might not start. This problem can be due to simple issues. Start with basic checks before trying advanced fixes. These initial steps help find common mistakes fast. Follow them carefully to save time and avoid damage.
Check Power Connections
Make sure the power cable is plugged in tightly. Check the power supply switch at the back of the PC. Confirm the power button on the case works well. Look inside the case for loose power cables. The motherboard and new parts must have all power connected.
Reseat Hardware Components
Turn off the PC and unplug it. Remove the new parts gently. Check for dust or dirt on contacts. Reinstall the parts firmly in their slots. Reseat RAM, graphics card, and storage devices. Poor contact can stop the PC from booting.
Disconnect External Devices
Remove all USB drives, printers, and other devices. Sometimes external gadgets cause startup issues. Try booting the PC with only keyboard and mouse. This step helps find if a device blocks booting.
Clear Cmos Settings
Reset the motherboard settings to default by clearing CMOS. Find the CMOS battery on the motherboard. Remove it for a few minutes, then put it back. Some motherboards have a clear CMOS jumper. This reset can fix configuration errors after new parts installation.
Testing Individual Components
Testing individual components helps find the cause of boot problems after adding new parts. Each part needs to work well alone before working together. This step saves time and avoids guessing what is wrong. Follow these checks carefully to spot the faulty piece.
Test Ram Modules
Remove all RAM sticks except one. Place one module in the first slot. Turn on the PC and listen for beeps or watch for errors. Swap to the next module and repeat. Faulty RAM often stops the PC from booting or causes errors.
Check Graphics Card
Make sure the graphics card is seated firmly in its slot. Check power cables are connected to the card if needed. Try using the motherboard’s video output if available. A bad graphics card or loose connection can block startup.
Verify Cpu Installation
Check the CPU socket for bent pins or dirt. Confirm the CPU is placed correctly with the right orientation. Ensure the cooler is mounted properly and thermal paste is applied. Poor CPU installation stops the system from powering on.
Inspect Storage Drives
Check all cables connecting storage drives to the motherboard. Make sure power cables are plugged in tightly. Disconnect drives one by one and try to boot the system. A faulty or loose drive can prevent the PC from starting.
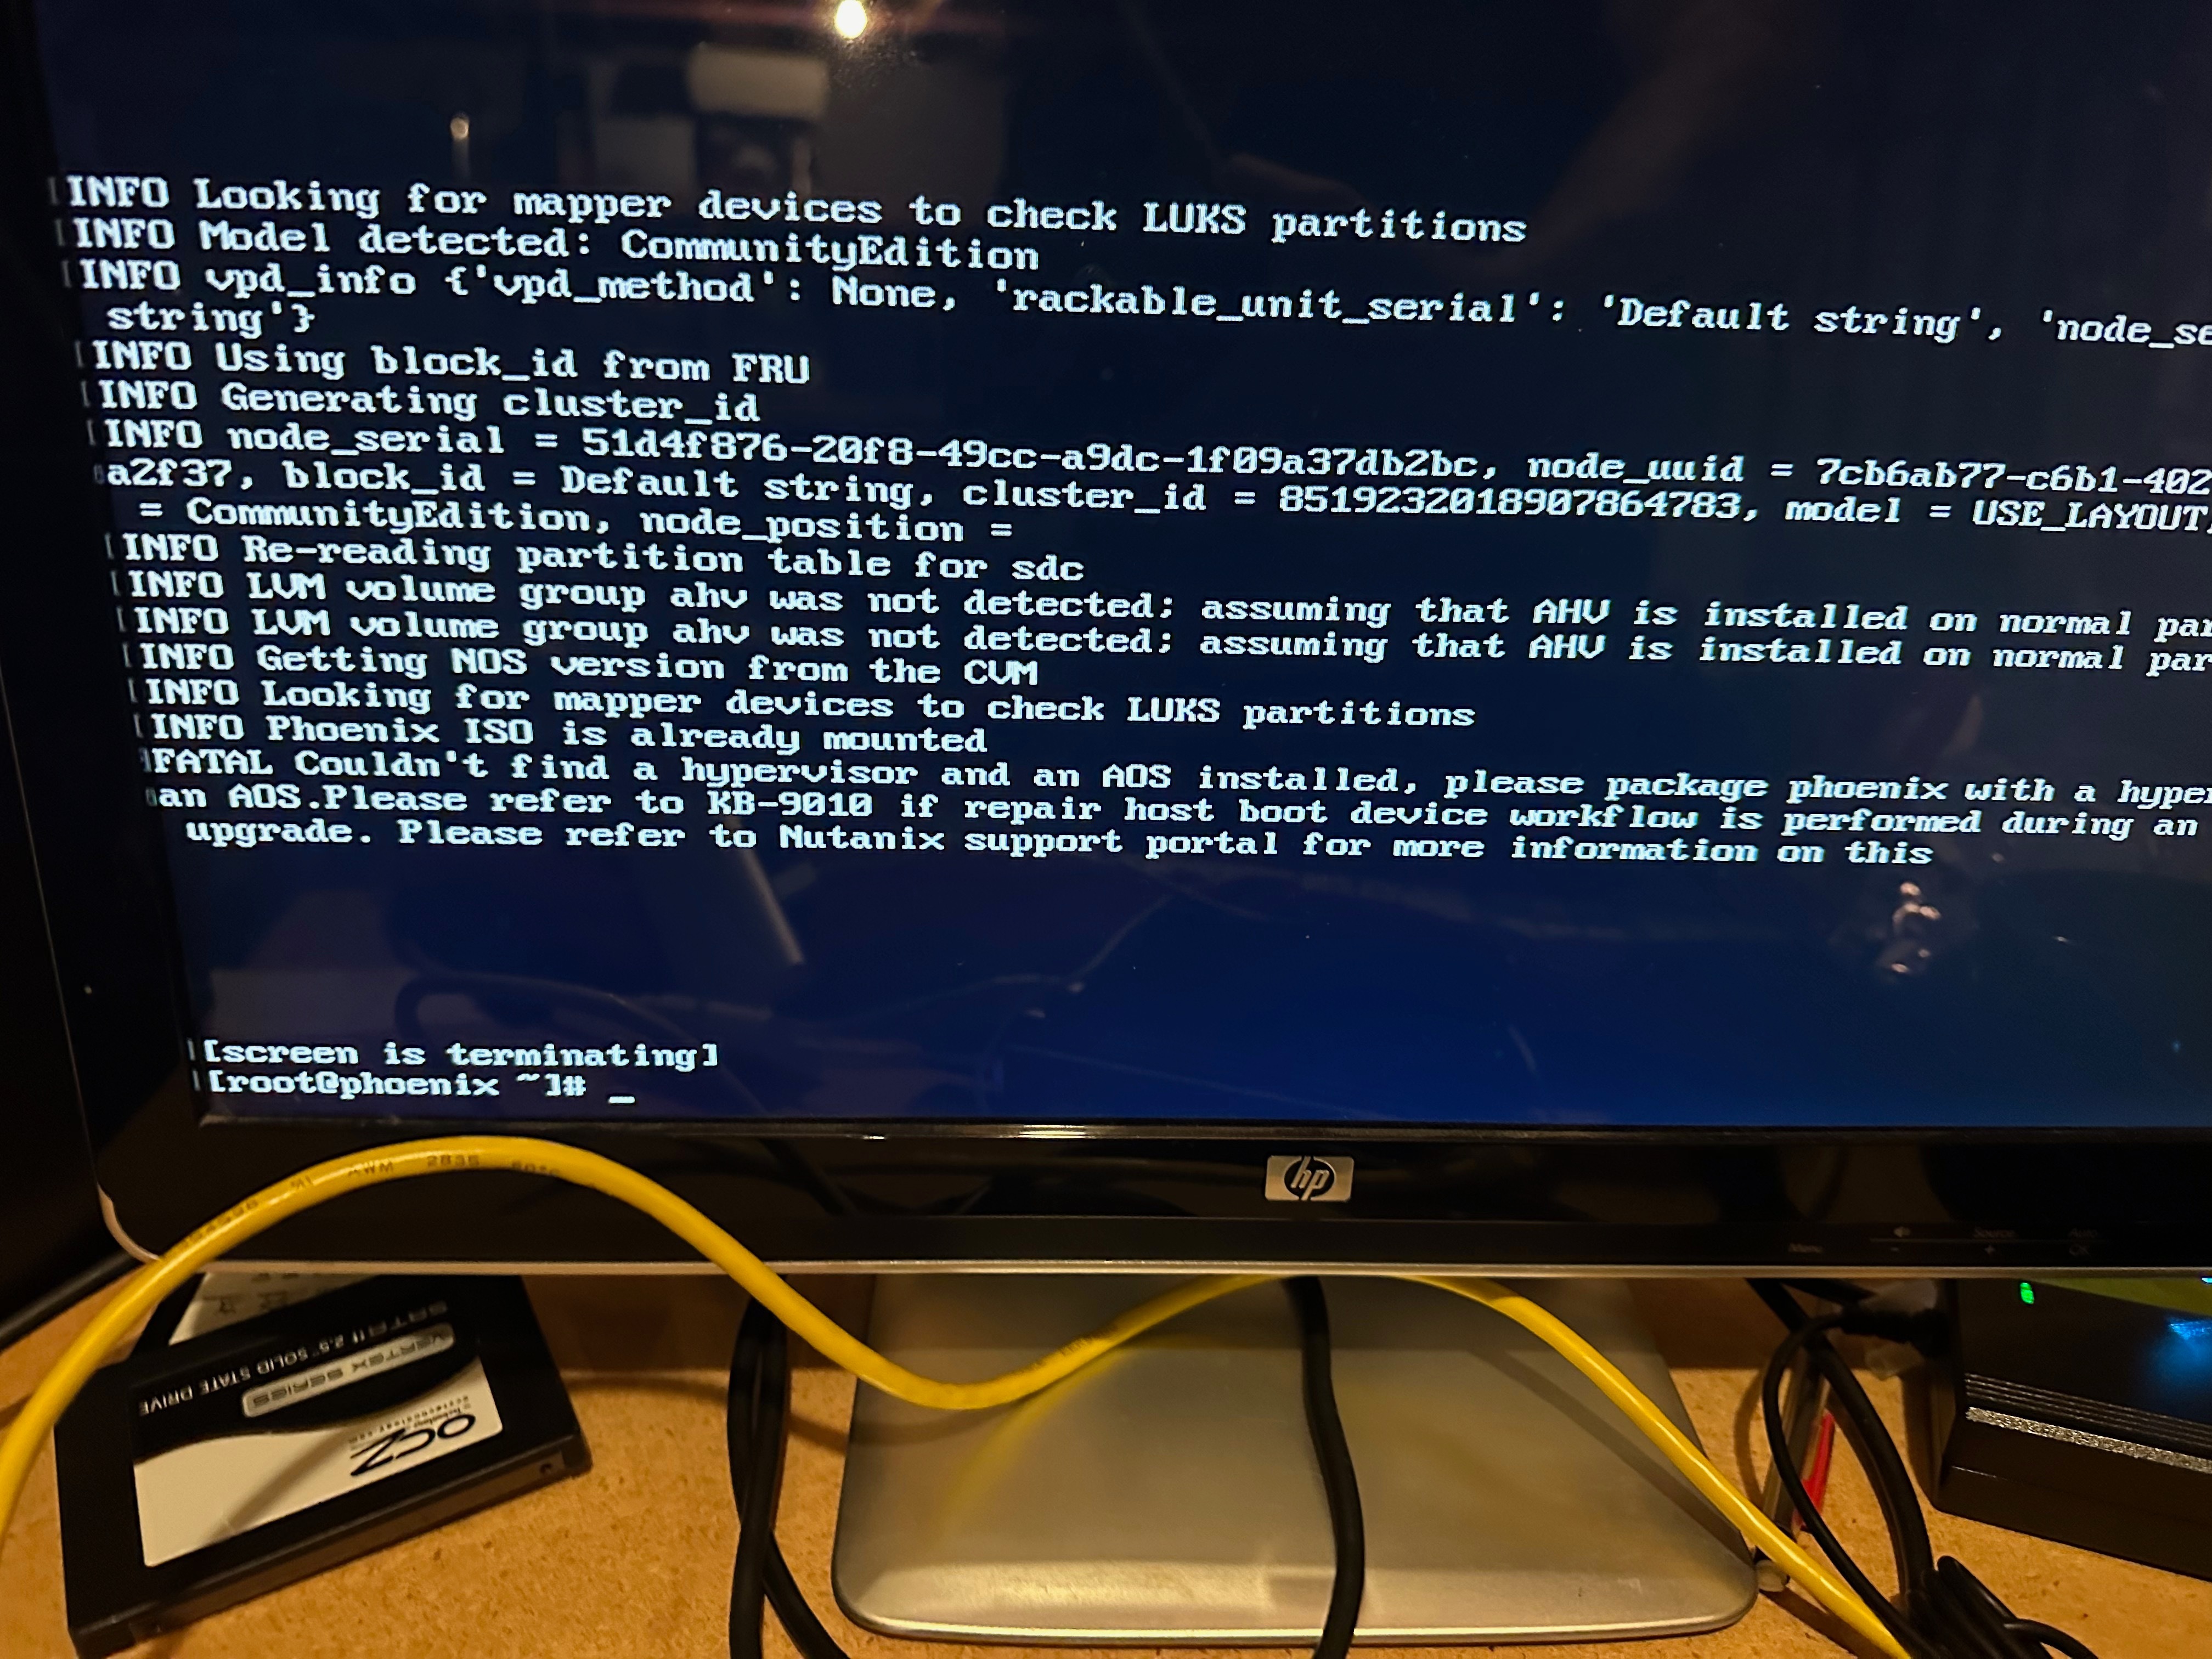
Credit: next.nutanix.com
Bios And Software Fixes
BIOS and software issues often cause a PC not to boot after installing new parts. The BIOS controls how the computer starts and checks hardware. Sometimes, new parts need BIOS settings updated or reset. Software tools can also help find and fix boot problems. This section covers key BIOS and software fixes to try.
Update Bios Firmware
New hardware may need the latest BIOS version. Updating BIOS firmware can improve compatibility. Visit your motherboard maker’s website to download updates. Follow the instructions carefully to avoid errors. This update can help the PC recognize new parts correctly.
Reset Bios To Defaults
Resetting BIOS clears all custom settings. It restores original factory settings. This step removes conflicts caused by wrong configurations. Enter BIOS setup during startup and select “Load Defaults.” Save changes and restart the PC. This often fixes boot issues after hardware changes.
Check Boot Order Settings
The boot order tells the PC which device to start from. New parts can change this order. Check if the correct drive is first in line. Access BIOS setup and find “Boot Order” or “Boot Priority.” Adjust settings so your main drive boots first. Save and exit to test the startup.
Run Diagnostics Tools
Diagnostics tools find hardware or software problems. Many PCs have built-in diagnostics in BIOS or recovery mode. Run tests on memory, storage, and CPU. These tools report errors or failed parts. Use results to fix or replace faulty components. Diagnostics help confirm the source of boot problems.
Power Supply Troubleshooting
The power supply is a key part of your PC. It sends electricity to all other parts. Problems with the power supply can stop your PC from starting. Checking the power supply helps find if it causes the issue. This section shows easy steps to test and fix power supply problems.
Measure Voltage Output
Use a multimeter to check the power supply voltage. Turn off the PC and unplug it first. Open the case and find the power supply connectors. Set the multimeter to the correct voltage range. Test the 24-pin main connector and others. The readings should match the PSU’s label. Low or no voltage means the power supply is bad.
Swap With Known Good Psu
Replace your power supply with a working one. Turn off the PC and disconnect all cables. Remove the old power supply carefully. Install the known good PSU and connect all cables. Turn on the PC and check if it boots. If it starts, your original power supply is faulty. This method is fast and reliable to find issues.
Check Power Button And Cables
Sometimes the power button or cables cause problems. Make sure the power button cable connects well to the motherboard. Look for loose or damaged wires. Press the power button firmly and listen for any response. Test the power cable from the outlet to the PSU. Replace any broken cables or switch to a different outlet. Small faults here stop the PC from starting.

Credit: www.youtube.com
Preventive Tips For Future Upgrades
Upgrading your PC can boost performance and add new features. Avoiding boot problems saves time and stress. Follow simple steps to keep your PC stable after upgrades. These tips help ensure smooth installs and reduce errors.
Verify Component Compatibility
Check if new parts match your PC’s motherboard and power supply. Use manufacturer websites to find compatibility lists. Mismatched components cause boot failures and hardware damage. Always confirm specs before buying new parts.
Follow Proper Installation Procedures
Turn off your PC and unplug it before starting. Handle parts carefully and use correct tools. Secure components firmly in their slots without force. Double-check all cables and connections before powering on.
Keep Bios Updated
BIOS updates improve hardware support and fix bugs. Visit your motherboard’s website to download the latest BIOS version. Follow the update instructions carefully to avoid errors. A current BIOS helps new parts work correctly.
Handle Components Safely
Wear an anti-static wrist strap or touch a grounded object. Static electricity can damage sensitive parts instantly. Store components in anti-static bags until installation. Handle parts by edges, avoiding contact with pins or chips.
Frequently Asked Questions
Why Is My Pc Not Booting After New Hardware Installation?
New hardware may cause boot issues if incorrectly installed or incompatible. Check connections, compatibility, and reseat parts. Also, update BIOS and drivers to ensure smooth startup.
How Can I Troubleshoot Boot Failure After Adding Pc Parts?
Start by unplugging new components, then boot with original parts. Test each new part individually. Clear CMOS and check power supply connections for stability.
Could Bios Settings Cause Boot Problems With New Parts?
Yes, incorrect BIOS settings can prevent booting. Reset BIOS to default or update it to support new hardware. This often resolves recognition and compatibility issues.
What Role Does Power Supply Play In Boot Issues?
An insufficient or faulty power supply can stop booting. Ensure your PSU meets new parts’ power needs. Check all power connectors are firmly attached.
Conclusion
Fixing a PC that won’t boot after new parts is possible. Check each connection carefully. Make sure parts are compatible with your system. Test one part at a time to find the issue. Keep your workspace clean and organized. Take your time and be patient.
Small mistakes can cause big problems. With careful steps, your PC will start again. Don’t give up; every problem has a solution. This guide can help you get back on track.