
Are you looking to boost your laptop’s graphics power without buying a new machine? Connecting an external GPU (eGPU) might be the perfect solution for you.
Imagine running your favorite games smoother, editing videos faster, or handling heavy graphic tasks with ease—all by simply adding an external device. In this guide, you’ll learn step-by-step how to connect an external GPU to your laptop, unlock its full potential, and enjoy a whole new level of performance.
Keep reading, because what you discover here could change the way you use your laptop forever.
Choosing The Right External Gpu
Choosing the right external GPU is key to improving your laptop’s graphics power. The right choice ensures smooth performance and better visuals. Several factors affect which GPU fits best with your laptop and needs.
Compatibility With Your Laptop
Check if your laptop supports external GPUs. Most modern laptops use Thunderbolt 3 or 4 ports. These ports allow fast data transfer needed for external GPUs. Also, verify the laptop’s BIOS and drivers support eGPUs. Not all laptops can handle an external graphics card. Confirming this avoids wasted time and money.
Selecting The Suitable Gpu Model
Choose a GPU that matches your tasks. Gaming needs a powerful card with high frame rates. Video editing benefits from GPUs with large memory and cores. Check the GPU size to fit in your eGPU enclosure. Also, consider power consumption and heat output to ensure smooth operation.
Necessary Accessories And Adapters
An eGPU enclosure is essential to connect the GPU to your laptop. It provides power and cooling to the card. Use the right cables and adapters for your laptop’s port. Some setups require a Thunderbolt cable or extra power adapters. Having all accessories ready helps avoid connection issues.
Preparing Your Laptop
Preparing your laptop is the first step to connect an external GPU. This step ensures your laptop can work well with the new hardware. It also helps avoid problems during installation and use. Follow these simple tasks to get your laptop ready.
Checking Thunderbolt Or Usb-c Ports
Identify if your laptop has Thunderbolt 3 or USB-C ports. These ports are essential for connecting an external GPU. Look at your laptop’s side or back for the port shape. Thunderbolt ports usually have a lightning bolt icon. USB-C ports are small and oval-shaped. Confirm your port supports data transfer, not just charging. This check saves time and prevents connection issues.
Updating Drivers And Firmware
Update your laptop’s drivers and firmware before connecting the external GPU. Visit your laptop manufacturer’s website for the latest updates. Install updates for the graphics card, chipset, and Thunderbolt or USB controllers. Updated software improves compatibility and performance. Restart your laptop after the updates finish. This step helps your laptop recognize the external GPU easily.
Backing Up Important Data
Backup important files before starting the installation. Use an external drive or cloud storage. This protects your data in case of any problems. External GPU setup may change system settings or cause errors. A backup ensures no data loss during the process. Keep your backup updated regularly for safety.
Setting Up The External Gpu Enclosure
Setting up the external GPU enclosure is the key step to boosting your laptop’s graphics power. This process involves installing the GPU, connecting its power, and making sure it stays cool. Each step needs care to ensure your setup works well and lasts long.
Installing The Gpu Into The Enclosure
First, open the external GPU enclosure carefully. Handle the GPU by its edges to avoid damage. Align the GPU with the PCIe slot inside the enclosure. Gently push the card into the slot until it clicks or fits snugly. Secure the GPU with screws to keep it steady during use.
Connecting Power Supply
Next, connect the power cables from the enclosure’s power supply to the GPU. Most GPUs need one or two power connectors. Make sure each connector fits firmly into the GPU’s power ports. Double-check all power connections to avoid loose contacts or power issues.
Ensuring Proper Cooling
Good cooling prevents your GPU from overheating. Check that all fans in the enclosure work properly. Arrange cables to not block airflow inside the case. Keep the enclosure in a well-ventilated area to help heat escape easily. Regularly clean dust from fans and vents to maintain airflow.
Connecting The External Gpu To Your Laptop
Connecting an external GPU to your laptop can boost its graphics power. This helps with gaming, video editing, and other heavy tasks. The connection method matters. It affects speed and stability. Follow the right steps to ensure a smooth setup.
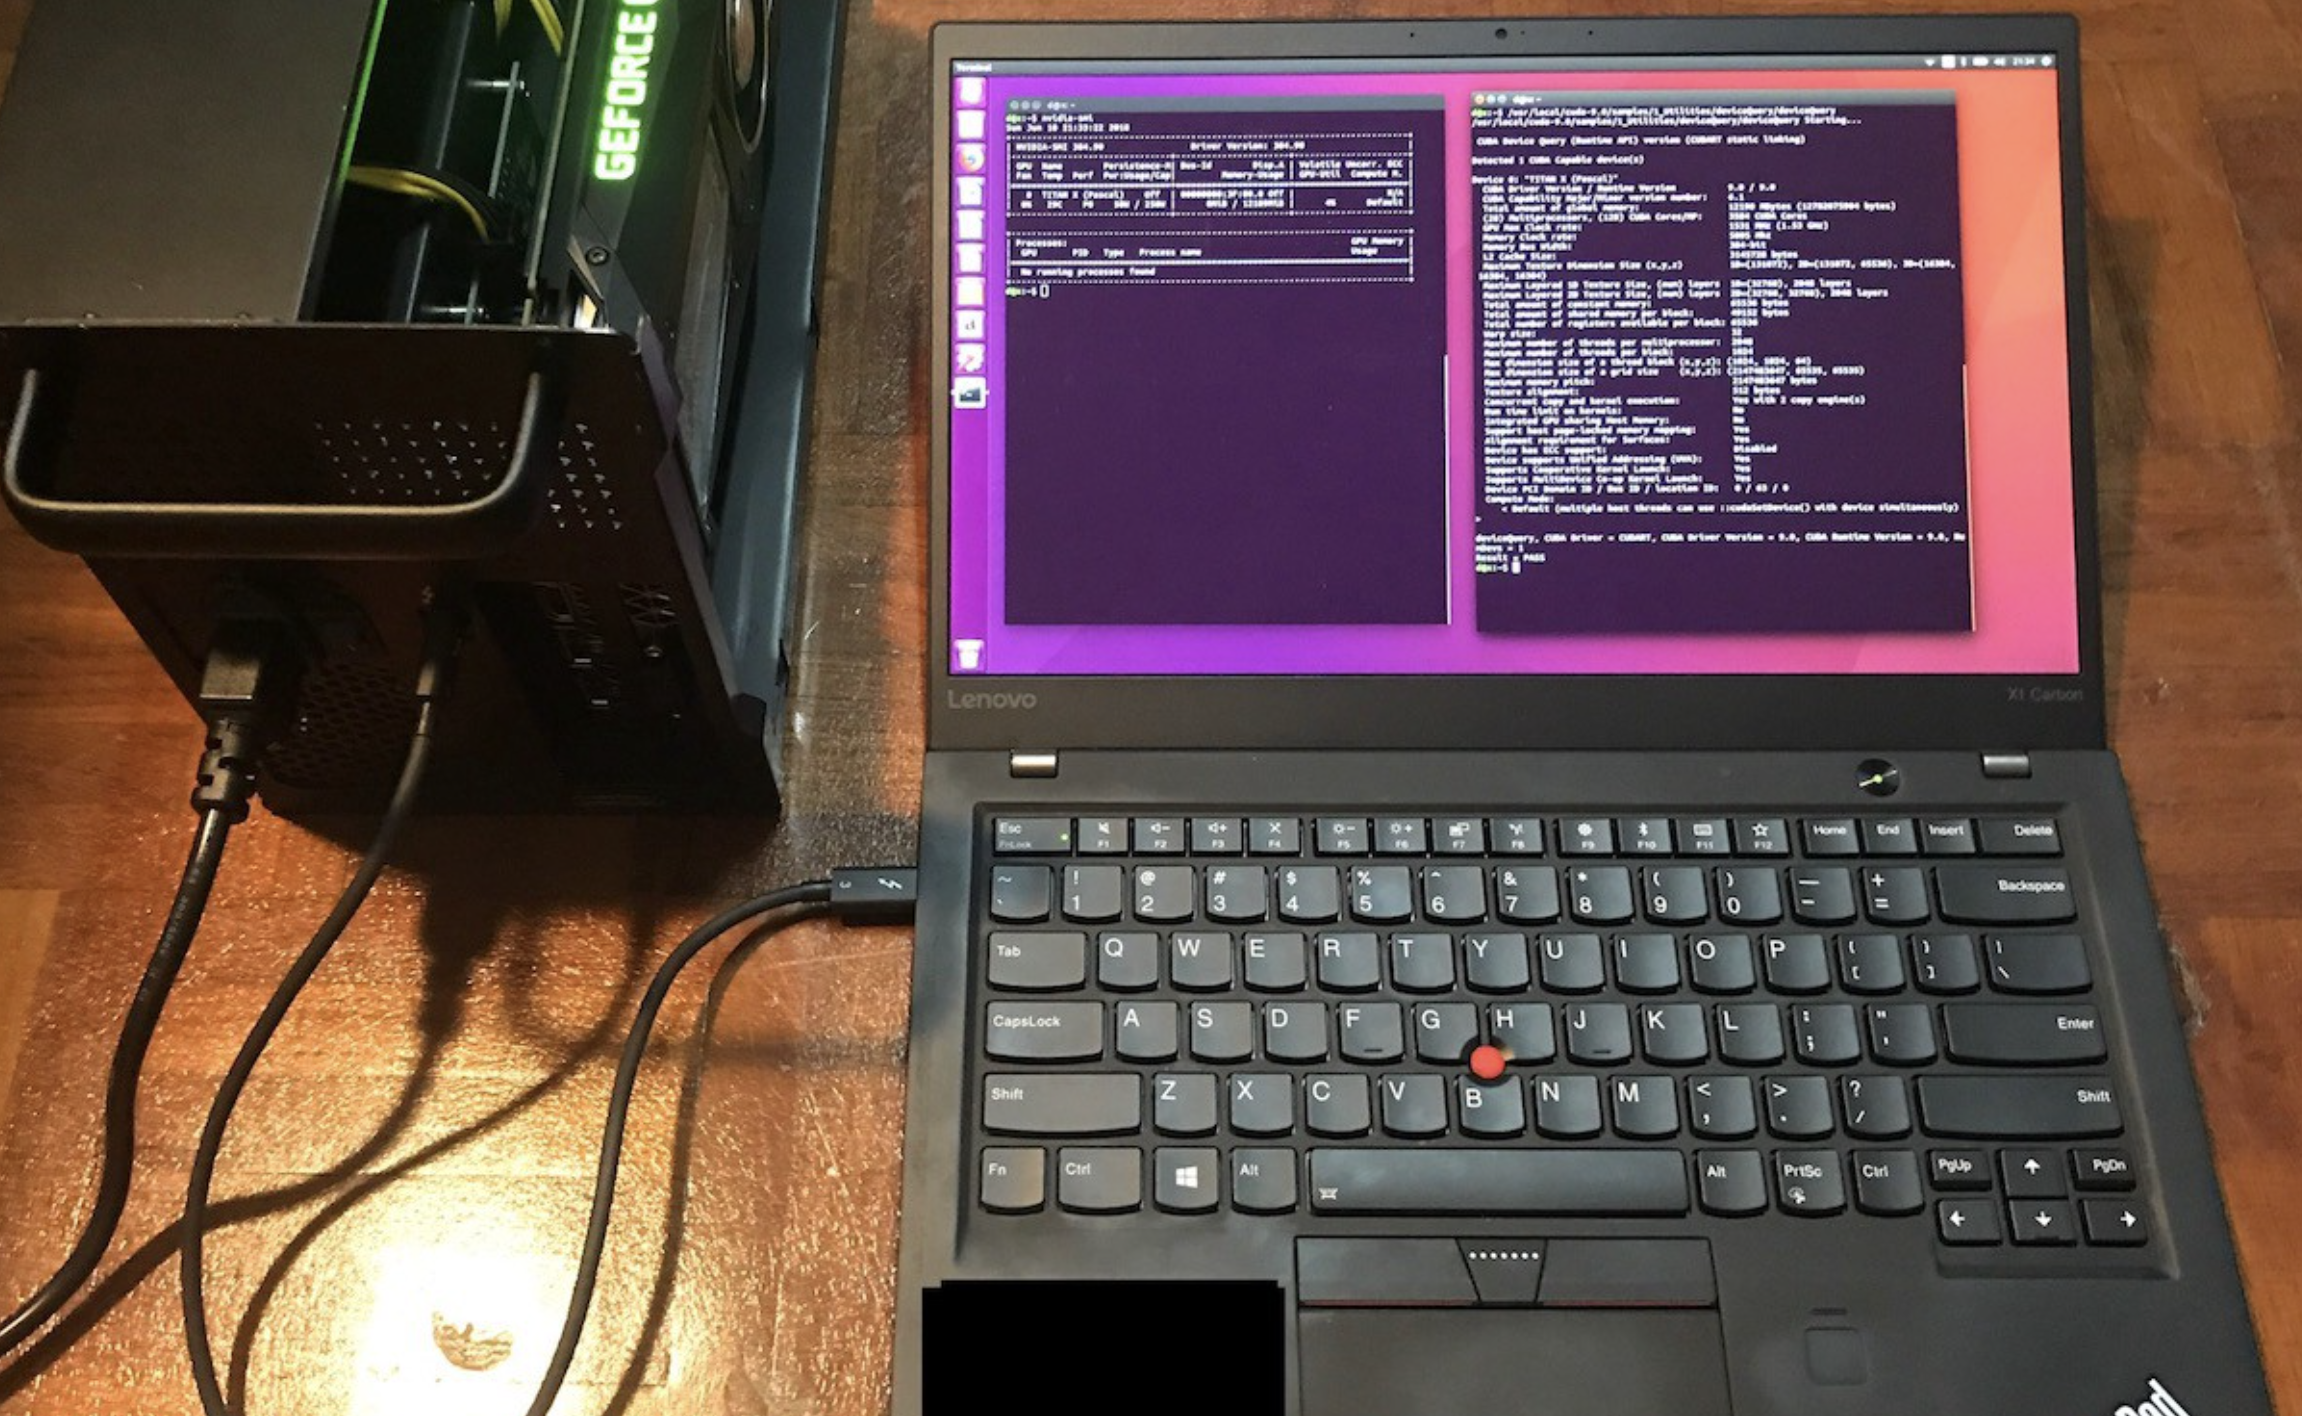
Using Thunderbolt 3 Or 4 Connection
Thunderbolt 3 and 4 ports are the best options for external GPUs. They offer fast data transfer and low latency. Use a Thunderbolt cable to connect the eGPU to your laptop. Make sure the port supports eGPU use. Plug the cable firmly into both devices.
Alternative Connection Methods
Some laptops lack Thunderbolt ports. In this case, use other methods like ExpressCard or M.2 slots. These are less common and may need adapters. The speed might be slower than Thunderbolt. Check your laptop’s compatibility before choosing these options.
Securing The Connection
Secure the cable to prevent disconnection. Avoid loose or bent cables. Place the eGPU on a flat, stable surface. This reduces the risk of accidental unplugging. Double-check all connections before powering on your devices.
Configuring Software And Drivers
Connecting an external GPU to your laptop requires more than just hardware setup. Proper software and driver configuration ensures smooth performance. This part focuses on setting up the software correctly. It covers installing drivers, adjusting display settings, and solving common problems. Follow these steps carefully to optimize your external GPU experience.
Installing Gpu Drivers
Start by downloading the latest drivers from the GPU maker’s website. Choose the correct model and your laptop’s operating system. Run the installer and follow on-screen instructions. Restart your laptop after installation. This step ensures your laptop recognizes the external GPU. Outdated or missing drivers can cause performance issues or no detection at all.
Adjusting Display Settings
Open your laptop’s display settings after driver installation. Select the external GPU as the preferred device for graphics processing. Adjust screen resolution and refresh rate to match your monitor. For gaming or design, higher settings improve quality. Keep settings balanced to avoid lag or overheating. Save changes and test performance with your applications.
Troubleshooting Common Issues
Check connection cables and ports if the GPU is not detected. Confirm your laptop supports external GPUs. Update your operating system for compatibility. Disable integrated graphics in device manager if conflicts occur. Reinstall drivers if errors persist. Use the GPU control panel to reset settings. Restart your laptop after each change to apply fixes.

Credit: www.youtube.com
Optimizing Performance
Optimizing the performance of an external GPU connected to your laptop helps you get the best results. It ensures smooth graphics, faster processing, and less lag. Small adjustments can make a big difference in how well your setup runs. Focus on three key areas to keep your external GPU working at its best.
Running Benchmark Tests
Benchmark tests measure your external GPU’s power and speed. They show how well the GPU performs under different tasks. Use free tools like 3DMark or Unigine Heaven to run these tests. Compare the results to see if the GPU meets your expectations. Repeat tests after changes to notice improvements or issues.
Managing Power Settings
Power settings affect your laptop and GPU’s performance. Set your laptop to high-performance mode in the control panel. This helps the GPU get enough power for demanding tasks. Avoid battery saver modes during heavy use, as they limit power output. Plug in your laptop to keep stable power flow and avoid slowdowns.
Updating Software Regularly
Keep your GPU drivers and laptop software up to date. Manufacturers release updates to fix bugs and improve speed. Check the GPU maker’s website or use their software to find the latest drivers. Update your operating system regularly for better hardware support. Up-to-date software reduces crashes and boosts performance.
Maintaining Your External Gpu Setup
Keeping your external GPU setup in good shape helps it work well for a long time. Regular care avoids problems and keeps performance steady. This section covers simple steps to maintain your setup.
Cleaning And Dust Prevention
Dust can block airflow and cause your GPU to heat up. Use a soft brush or compressed air to clean the GPU and laptop ports. Clean the area around the setup to stop dust from settling. Doing this every few weeks helps keep parts cool and safe.
Monitoring Temperature
High temperatures can damage your GPU and lower its speed. Use software tools to check the GPU temperature often. Keep the setup in a cool place with good airflow. If temperatures rise too high, pause heavy tasks until it cools down.
Upgrading Components When Needed
Over time, some parts may become outdated or worn out. Check your GPU drivers and update them regularly for better performance. Replace cables if they show wear or cause connection issues. Upgrading the GPU or adding better cooling can improve your experience.
Credit: www.tapscape.com

Credit: www.pcworld.com
Frequently Asked Questions
What Is An External Gpu For Laptops?
An external GPU (eGPU) is a graphics card housed outside your laptop. It boosts graphic performance for gaming and design work.
How Do I Connect An External Gpu To My Laptop?
You connect an external GPU via a Thunderbolt 3 or 4 port. Use a compatible eGPU enclosure for easy setup.
Will An External Gpu Improve My Laptop’s Gaming?
Yes, an external GPU significantly enhances gaming graphics and frame rates. It’s ideal for laptops with weaker internal GPUs.
Are All Laptops Compatible With External Gpus?
No, only laptops with Thunderbolt 3 or 4 ports support external GPUs. Check your laptop’s specifications before buying an eGPU.
Conclusion
Connecting an external GPU to your laptop can boost its power. The process is simple with the right tools and steps. Choose a compatible GPU and connection type first. Then, follow clear instructions to set it up. This upgrade helps run better games and software smoothly.
Enjoy improved graphics without buying a new laptop. Take your time and double-check each step. Soon, you will see a big difference in performance. Give your laptop the extra power it needs today.