
If you want your GPU to run cooler and quieter, water cooling might be the answer. You’re probably tired of loud fans and high temperatures slowing down your gaming or work.
Imagine unlocking better performance and longer hardware life with a simple upgrade. This guide will show you exactly how to water cool your GPU step-by-step, even if you’ve never done it before. Keep reading, and you’ll learn how to transform your setup into a powerhouse that stays cool under pressure.
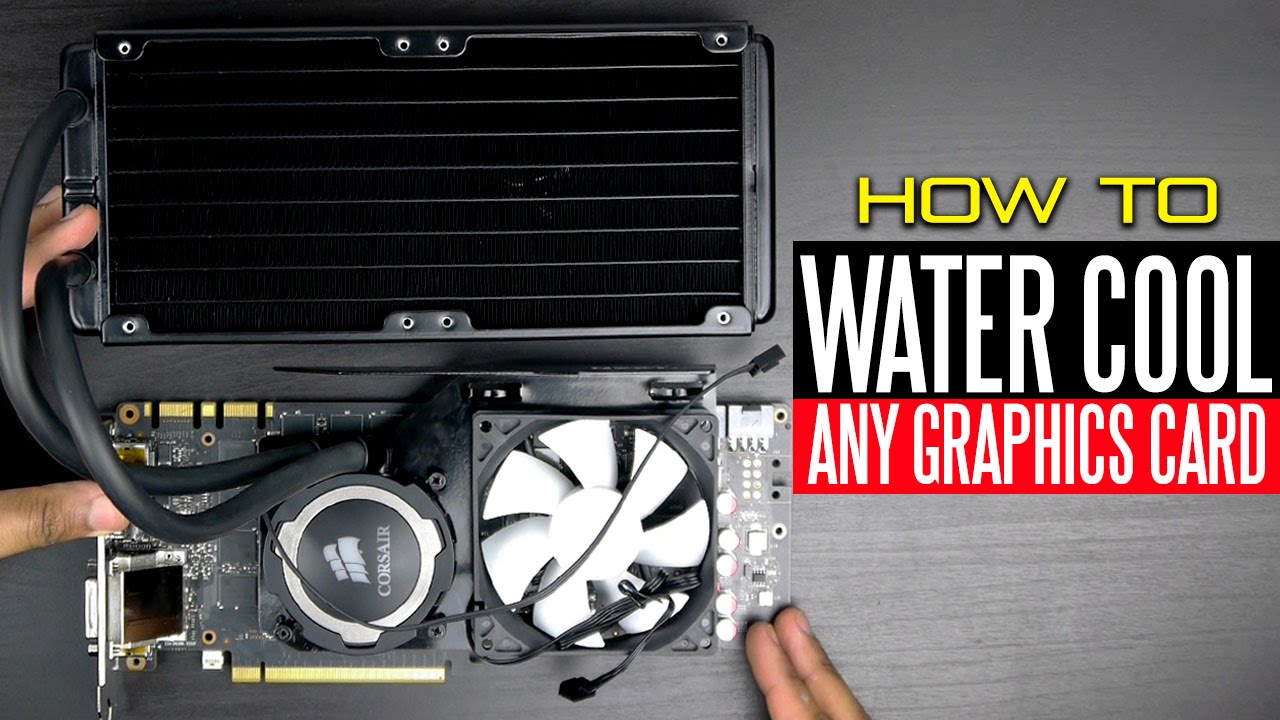
Credit: www.youtube.com
Benefits Of Water Cooling
Water cooling a GPU offers several important benefits. It keeps your graphics card running cooler and quieter. This helps improve performance and protects your hardware over time. Many users prefer water cooling for its efficiency and reliability.
Improved Thermal Performance
Water cooling moves heat away from the GPU faster than air cooling. This keeps temperatures much lower during heavy use. Lower temperatures help the GPU run at higher speeds without overheating. It also reduces the chance of thermal throttling, which slows down performance.
Reduced Noise Levels
Water cooling uses quiet pumps and large radiators instead of noisy fans. This creates less sound inside your computer case. A quieter PC makes gaming and work more pleasant. It also helps maintain focus without loud fan noise.
Extended Gpu Lifespan
Keeping your GPU cool reduces wear and tear on its components. Heat can damage sensitive parts over time and shorten the card’s life. Water cooling maintains safer temperatures, helping your GPU last longer. This protects your investment and saves money in the long run.
Choosing The Right Water Cooling Kit
Choosing the right water cooling kit is key to effective GPU cooling. The right kit improves performance and keeps your GPU safe. It depends on your GPU model, your budget, and your experience with water cooling. This guide helps you pick the best kit for your needs.
Types Of Water Cooling Systems
There are two main types of water cooling systems for GPUs: all-in-one (AIO) and custom loops. AIO kits are pre-assembled and easy to install. They include a pump, radiator, and water block in one unit. Custom loops require more parts and assembly but offer better cooling and customization. Choose based on your skill level and cooling needs.
Compatibility With Your Gpu
Not all water cooling kits fit every GPU. Check if the kit supports your GPU model before buying. Look for compatibility with your GPU’s size and shape. Some kits are made for specific brands or models. Using a compatible kit ensures proper cooling and avoids installation issues.
Essential Components
A good water cooling kit must have key parts. These include a water block to cool the GPU chip, a pump to move the coolant, and a radiator to release heat. Tubes connect these parts and carry the coolant. Fans help cool the radiator. Make sure the kit has all these components for smooth operation.
Preparing Your Workspace And Tools
Preparing your workspace and tools is the first step in water cooling your GPU. A clean and organized area makes the process smooth and safe. Setting up everything before you start saves time and prevents mistakes.
Gathering the right tools and supplies also helps you work faster. Keep everything close by to avoid interruptions. A well-prepared workspace reduces risks of damage to your GPU and other parts.
Safety Precautions
Turn off and unplug your computer before starting. Avoid static electricity by touching a metal object. Work on a non-conductive surface like a wooden table. Wear gloves to protect your hands and prevent oils from your skin on parts. Keep liquids away from power sources. Double-check that your water cooling parts are leak-proof before installation.
Required Tools
Prepare a screwdriver set for screws and brackets. Use thermal paste for better heat transfer. Have tubing cutters to fit the water lines. Include a funnel or syringe for filling coolant. Keep clamps or fittings ready to secure tubes. Use a flashlight to see small parts clearly. Have a towel or cloth to wipe spills quickly.
Cleaning And Maintenance Supplies
Use isopropyl alcohol to clean old thermal paste. Have lint-free cloths or coffee filters for wiping. Prepare a soft brush to remove dust from the GPU. Keep distilled water for flushing the cooling system. Use coolant recommended for PC water cooling. Avoid tap water to prevent corrosion inside the loop.
Removing The Stock Gpu Cooler
Removing the stock GPU cooler is the first step in water cooling your GPU. This process needs care and patience. The stock cooler protects the GPU and helps keep it cool. Removing it allows you to replace it with a water block. This block will connect to your liquid cooling system.
Start by carefully removing the GPU from your PC. Next, unscrew the existing cooler. Finally, clean off the old thermal paste. Each step is important for a good water cooling setup.
Detaching The Gpu From The Pc
Turn off your PC and unplug it from the power source. Open the case to access the GPU. Locate the screws holding the GPU to the case. Unscrew these carefully. Release the PCIe slot latch gently. Pull the GPU out slowly. Avoid bending or forcing it.
Unscrewing The Existing Cooler
Place the GPU on a clean surface. Find the screws holding the cooler to the GPU board. Use the right screwdriver size. Remove all screws carefully. Keep them safe for later use. Gently lift the cooler away from the GPU. Avoid pulling on cables attached to the cooler.
Cleaning Thermal Paste Residue
Old thermal paste must be removed completely. Use isopropyl alcohol and a soft cloth or cotton swab. Gently wipe the GPU chip and cooler base. Remove all residue until surfaces are clean. This step ensures good contact with the new water block. Let the surfaces dry fully before the next step.
Installing The Water Block
Installing the water block is a key step in water cooling your GPU. It replaces the stock cooler to keep your graphics card cool. Proper installation improves heat transfer and system stability. Pay close attention to each part of this process.
Applying Thermal Paste Correctly
Start by cleaning the GPU chip with alcohol and a lint-free cloth. Apply a small pea-sized amount of thermal paste on the center of the chip. Spread the paste evenly using a plastic card or let the water block spread it when mounted. Avoid using too much paste. Excess paste can reduce cooling efficiency.
Mounting The Water Block Securely
Align the water block with the GPU carefully. Use the screws and brackets that come with the block. Tighten screws evenly in a diagonal pattern. This ensures firm contact without damaging the GPU. Do not overtighten. Check the block sits flat on the chip surface.
Connecting Tubing And Fittings
Attach the tubing to the water block’s inlet and outlet ports. Push tubing firmly onto the fittings for a tight seal. Use clamps or compression fittings to prevent leaks. Make sure the tubing has no kinks or sharp bends. Proper flow is vital for effective cooling.
Setting Up The Radiator And Pump
Setting up the radiator and pump is a key step in water cooling your GPU. It helps keep your graphics card cool and running well. Proper setup improves cooling performance and system stability.
This section guides you through choosing the best radiator spot, mounting the pump and reservoir, and making sure airflow is right. Follow these steps carefully for a smooth build.
Choosing Radiator Location
Pick a spot with good air flow for the radiator. Common places include the top, front, or rear of your case. Check your case manual for compatible radiator sizes and positions.
Make sure the radiator fits without blocking other parts. Avoid tight spaces that trap heat. The radiator needs fresh air to cool the liquid effectively.
Mounting The Pump And Reservoir
Secure the pump and reservoir firmly inside your case. Many cases have special mounts for these parts. Use screws or brackets provided with your water cooling kit.
Place the reservoir higher than the pump when possible. This setup helps the pump get liquid smoothly. Avoid vibrations by tightening mounts properly.
Ensuring Proper Airflow
Good airflow moves heat away from the radiator. Install fans to push cool air through the radiator fins. Use fan filters to prevent dust buildup.
Check that air flows in one direction, from intake to exhaust. Avoid blocking fan paths with cables or other parts. Proper airflow keeps your GPU cool and quiet.
Filling And Bleeding The Loop
Filling and bleeding the loop is a crucial step in water cooling your GPU. This process ensures the coolant flows properly and removes trapped air. Proper filling and bleeding prevent overheating and improve cooling efficiency.
Adding Coolant Safely
Use a clean container to pour the coolant slowly. Avoid spilling coolant on other parts. Fill the reservoir until it is almost full. Stop filling before it overflows. Use the recommended coolant for your system.
Removing Air Bubbles
Turn on the pump without powering the whole PC. Let the coolant flow and trap air bubbles. Tilt and shake the case gently to free air pockets. Watch for bubbles rising to the reservoir. Repeat until no bubbles appear.
Leak Testing Procedures
Check all fittings and connections for leaks carefully. Use paper towels around joints to spot drips. Run the pump for several hours outside the PC. Look for wet spots or coolant drops. Fix leaks before using the PC normally.
Credit: www.reddit.com
Monitoring And Maintaining Performance
Water cooling your GPU helps keep it cool and fast. But just installing the system is not enough. You must watch its temperature and keep it clean. This stops damage and keeps the GPU working well for a long time.
Temperature Monitoring Tools
Use software to check your GPU temperature often. Programs like MSI Afterburner or HWMonitor show real-time data. Set alerts for high temperatures. This way, you know if the cooling fails or the GPU heats too much.
Routine Maintenance Tips
Clean your water cooling system regularly. Dust and dirt reduce cooling power. Check tubes and fittings for leaks. Replace coolant every few months. This stops buildup and keeps flow smooth. Tighten all connections to avoid leaks.
Troubleshooting Common Issues
If temperatures rise suddenly, check for blockages in tubes. Look for air bubbles in the system. Remove bubbles by tilting or gently shaking the PC case. Listen for strange pump noises. If the pump fails, replace it fast to avoid overheating.
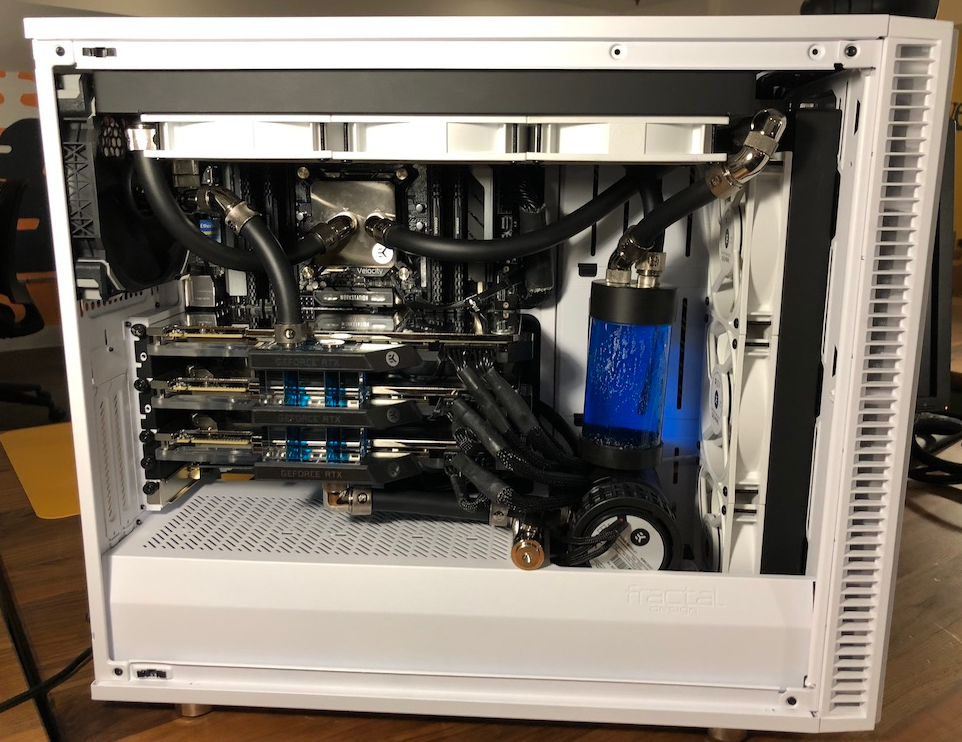
Credit: medium.com
Frequently Asked Questions
What Is The Purpose Of Water Cooling A Gpu?
Water cooling a GPU improves heat dissipation, reduces noise, and boosts performance. It keeps temperatures low, extending GPU lifespan and allowing better overclocking.
How Do I Install A Water Cooling System On My Gpu?
To install, drain old coolant, mount the water block on the GPU, connect tubing to the radiator and pump, then fill and test the system for leaks.
Can Water Cooling Improve Gaming Performance?
Yes, water cooling maintains lower GPU temperatures, preventing thermal throttling. This ensures consistent high performance during intense gaming sessions.
What Components Are Needed For Gpu Water Cooling?
You need a water block, radiator, pump, reservoir, tubing, and coolant. These parts work together to circulate liquid and cool the GPU effectively.
Conclusion
Water cooling a GPU helps keep it cool and quiet. It can improve your computer’s performance and lifespan. You only need basic tools and some patience to start. Remember to check for leaks and maintain your system regularly. Cooling your GPU with water is a smart choice for better results.
Try it step by step and enjoy a cooler, faster PC.