
Are you struggling to get your CPU connected to wireless internet? You’re not alone.
Many people find the process confusing or frustrating, especially if you’re not sure where to start. But don’t worry—connecting your CPU to Wi-Fi can be simple and quick once you know the right steps. You’ll discover easy-to-follow instructions that will get your computer online without headaches.
Keep reading, and by the end, you’ll have your CPU smoothly connected to wireless internet, ready for browsing, streaming, and more.
Check Wireless Adapter
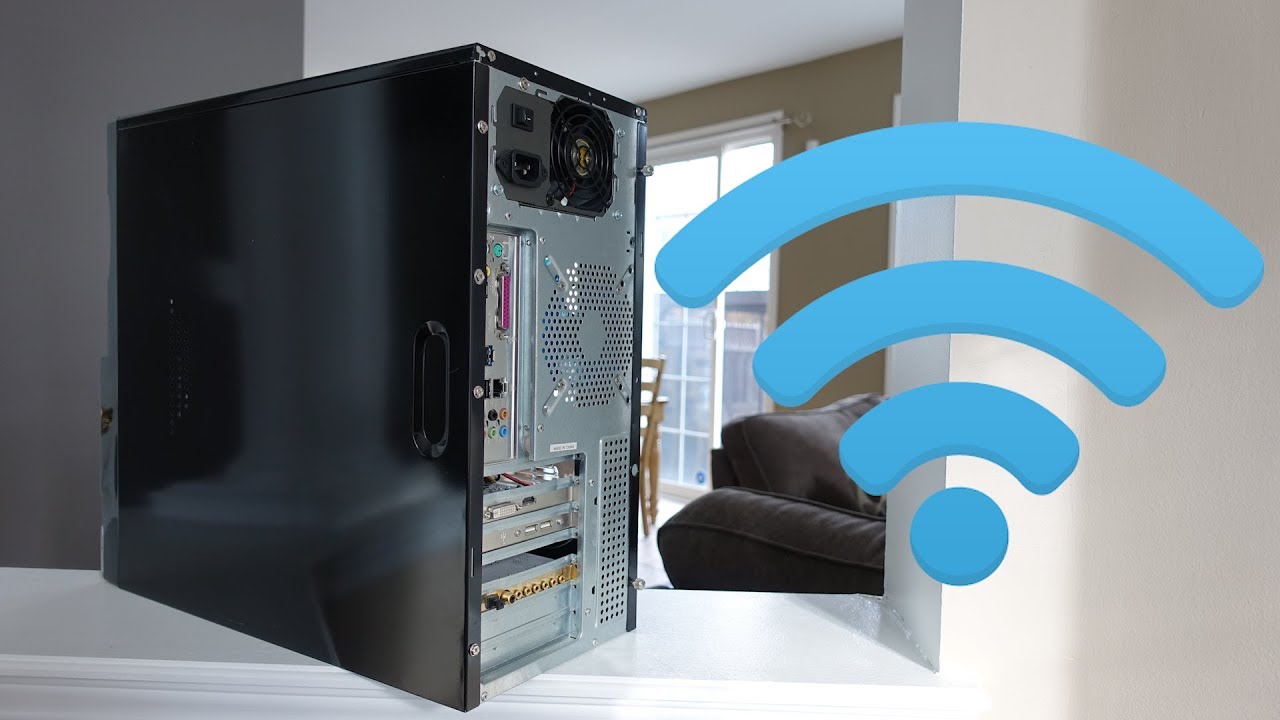
Before connecting your CPU to wireless internet, check the wireless adapter. This hardware allows your computer to connect to Wi-Fi networks. Knowing the type of adapter helps you choose the right steps for connection.
Some CPUs have built-in Wi-Fi adapters. Others may need external devices. Let’s explore both options.
Identify Built-in Wi-fi
First, check if your CPU has a built-in Wi-Fi adapter. Open the device manager on your computer. Look for “Network adapters” and find any wireless or Wi-Fi devices listed. If you see one, your CPU has built-in Wi-Fi. This adapter lets your computer connect to wireless networks without extra hardware.
If you do not find a wireless adapter, your CPU might not support Wi-Fi internally.
Use External Adapters
External adapters are simple plugs that add Wi-Fi to your computer. These devices connect through USB ports. They are easy to install and use. Choose one with good reviews and compatibility with your system.
Once plugged in, your computer will detect the adapter. You may need to install driver software. After installation, your CPU can connect to wireless networks like a built-in adapter.

Credit: www.youtube.com
Turn On Wi-fi
Turning on Wi-Fi is the first step to connect your CPU to wireless internet. Without Wi-Fi, your computer cannot find or join a wireless network. The process is simple and can be done in two main ways. You can enable Wi-Fi through your computer’s settings or use a physical switch or keyboard shortcut. Both methods get your device ready for internet access quickly.
Enable Via Settings
Open the Start menu and select Settings. Click on the “Network & Internet” option. Find the Wi-Fi section on the left side panel. Toggle the Wi-Fi switch to “On.” This activates your wireless adapter. Your computer will then search for available networks. Choose your network and enter the password if needed. This method works on most Windows and macOS systems.
Use Physical Switch Or Keyboard
Some laptops have a physical switch to turn Wi-Fi on or off. Look for a small switch on the side or front of your device. Slide it to the “On” position to enable Wi-Fi. Another option is a keyboard shortcut. Often, it is the “Fn” key plus one of the function keys (F1-F12) with a Wi-Fi icon. Press these keys together to toggle Wi-Fi on or off. This method is fast and handy when settings are hard to access.
Find Available Networks
Finding available networks is the first step to connect your CPU to wireless internet. Your computer needs to detect nearby Wi-Fi signals. This helps you see which networks are within range and ready to use.
Once your CPU finds the networks, you can choose the right one. This process is simple and quick. It sets the stage for a smooth internet connection.
Scan For Wi-fi Signals
Your computer scans for Wi-Fi signals automatically. This search shows all nearby wireless networks. The list updates every few seconds. You can also refresh the scan manually if needed. Look for network names or SSIDs in the list. Stronger signals usually mean better connection quality.
Select Your Network
Pick the network you want from the scan results. Click on the network name to select it. If the network is secured, you will need a password. Enter the password correctly to connect. Some networks do not require passwords and connect instantly. Choose a trusted network to keep your data safe.
Enter Network Credentials
Entering network credentials is a key step to connect your CPU to wireless internet. This step lets your device communicate with the Wi-Fi network securely. Without the right credentials, the connection will fail.
Network credentials usually include the network name and the password. Inputting these details correctly ensures smooth access to the internet. This section explains how to enter them properly.
Input Password
Type the Wi-Fi password carefully. Check for uppercase and lowercase letters. Passwords are case-sensitive. Avoid extra spaces before or after the text. Use the on-screen keyboard or physical keyboard.
Double-check your password before clicking connect. A small mistake can stop the connection. If unsure, ask the network owner for the correct password.
Save Network Settings
After entering the password, save your network settings. This action stores the information on your CPU. The device will connect automatically next time.
Look for a “Save” or “Connect” button. Click it to finish the process. This step saves time and effort in the future.
Troubleshoot Connection Issues
Connecting your CPU to wireless internet may face issues sometimes. Troubleshooting helps fix these problems quickly. This section guides you through easy steps to solve common connection issues. Follow the tips below to get your internet working again.
Restart Router And Pc
Turn off your router and PC. Wait for 30 seconds. Then, turn them back on. Restarting clears temporary glitches. It refreshes your network connection. This simple step often fixes many internet problems.
Update Network Drivers
Old drivers can cause connection errors. Check your PC’s device manager. Find network adapters and update the drivers. Updated drivers improve connection stability. They help your PC communicate better with the router.
Check Firewall Settings
Firewalls may block your internet access. Open your firewall settings. Look for rules that block wireless connections. Allow your network or disable strict firewall rules temporarily. This step helps your PC connect without restrictions.
Credit: www.youtube.com
Optimize Connection Speed
Optimizing your CPU’s wireless internet connection speed helps you work faster and stream without interruptions. Small changes can improve your signal strength and reduce delays. Follow these simple steps to get the best speed from your wireless network.
Position Router For Best Signal
Place your router in a central spot in your home or office. Avoid walls and metal objects that block the signal. Keep the router elevated, like on a shelf, to spread the signal evenly. This helps your CPU get a stronger and more stable connection.
Use 5 Ghz Band
Switch to the 5 GHz frequency if your router supports it. This band has less interference than the 2.4 GHz band. It offers faster speeds and better performance for short distances. Check your CPU’s wireless settings to connect to the 5 GHz network.
Limit Background Applications
Close apps and programs that use the internet in the background. These can slow down your connection without you noticing. Check your CPU’s task manager to find and stop unnecessary apps. This frees up bandwidth and keeps your internet speed high.
:max_bytes(150000):strip_icc()/001-disable-ad-hoc-connections-on-your-laptop-2377852-f556ed61cfe146f98efc8a6fc1c223bb.jpg)
Credit: www.lifewire.com
Frequently Asked Questions
How Do I Connect My Cpu To Wireless Internet?
To connect your CPU to wireless internet, ensure it has a Wi-Fi adapter. Enable Wi-Fi, select your network, and enter the password. This establishes a secure wireless connection for internet access.
What Hardware Is Needed For Cpu Wireless Connection?
You need a Wi-Fi adapter installed on your CPU. This can be built-in or a USB Wi-Fi dongle. A wireless router must also be available to provide the internet signal.
Why Won’t My Cpu Connect To Wi-fi?
Check if your Wi-Fi adapter is enabled and drivers are updated. Verify the correct network and password are used. Restart your router and CPU to resolve common connection issues.
Can I Connect Any Cpu To Wireless Internet?
Most modern CPUs can connect wirelessly if they have a Wi-Fi adapter. Older CPUs may need an external USB Wi-Fi adapter to access wireless networks.
Conclusion
Connecting your CPU to wireless internet is simple and fast. Just follow the steps carefully. Make sure your Wi-Fi is turned on and the signal is strong. Enter the correct password to avoid connection issues. Troubleshoot any problems by restarting your router or checking settings.
Enjoy the freedom of wireless internet on your CPU. Stay connected and work or browse with ease. Wireless internet keeps your device flexible and clutter-free. Give it a try today for smooth online access.