
Looking to boost your computer’s performance and keep it running cool? Installing a liquid CPU cooler might be the upgrade you need.
You might think it’s complicated, but with the right steps, you can do it yourself easily. In this guide, you’ll discover simple, clear instructions that will help you install your liquid CPU cooler quickly and safely. Keep reading, and you’ll be confident in giving your PC the cooling power it deserves.
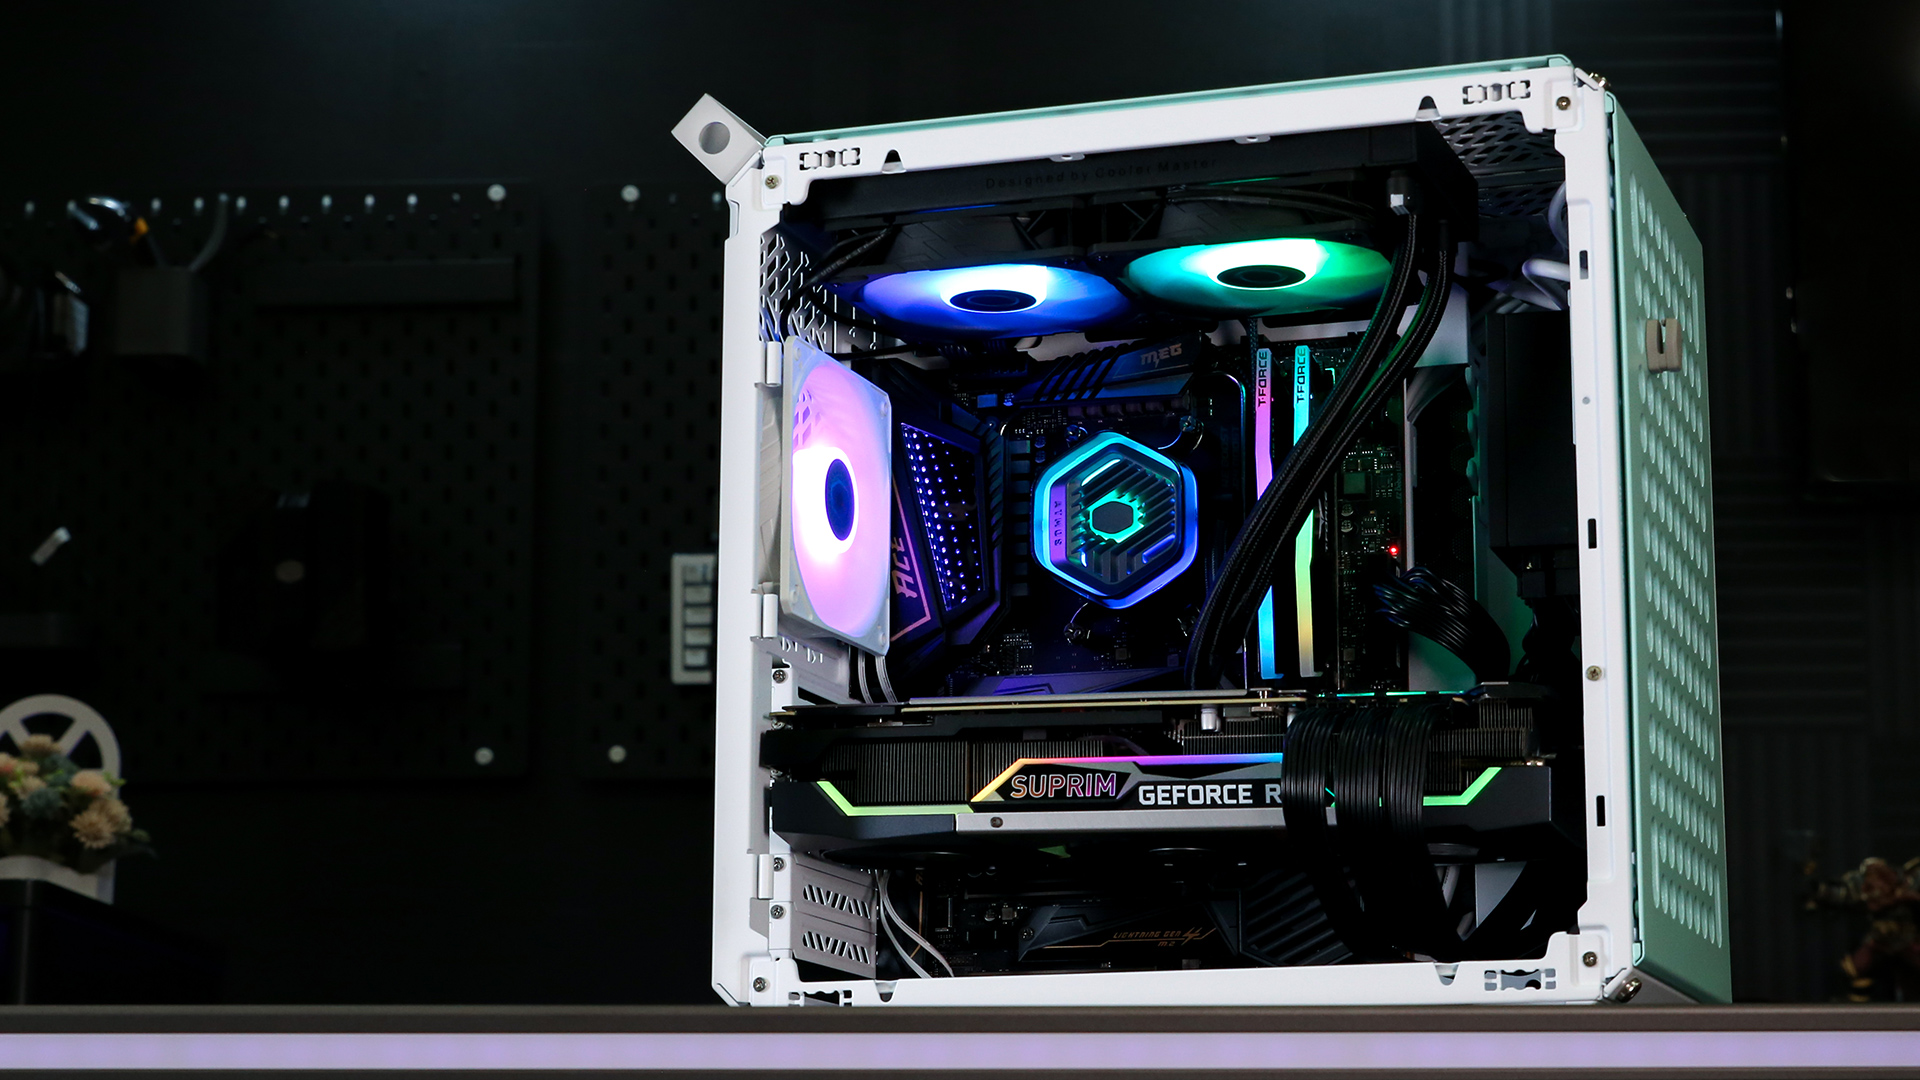
Choosing The Right Liquid Cpu Cooler
Choosing the right liquid CPU cooler is important for your computer’s performance. It helps keep the CPU temperature low. This prevents overheating and improves the lifespan of your parts. There are a few key points to think about before buying a cooler.
Types Of Liquid Coolers
There are two main types of liquid coolers: All-in-One (AIO) and custom loop. AIO coolers come pre-assembled and are easier to install. Custom loops offer better cooling but need more skill and care. Choose based on your comfort and needs.
Compatibility With Your Cpu And Case
Check if the cooler fits your CPU socket. Different CPUs need different mounting brackets. Also, ensure the cooler fits inside your computer case. Some cases are small and may not hold large radiators. Measure space before purchasing.
Cooling Performance And Noise Levels
Good coolers keep the CPU temperature low under load. Look for coolers with efficient pumps and fans. Noise levels matter too, especially in quiet rooms. Pick a cooler that balances strong cooling and low noise.
Credit: www.coolermaster.com
Preparing Your Workspace
Preparing your workspace is the first step to install a liquid CPU cooler safely and easily. A clean and organized space helps avoid mistakes and protects your computer parts. Taking time to prepare will save effort and stress later.
Gathering Tools And Materials
Collect all needed tools before starting. You will need a screwdriver, thermal paste, cleaning cloth, and the liquid cooler kit. Having everything close prevents interruptions. Double-check the cooler’s manual for any special tools.
Ensuring Static-free Environment
Static electricity can harm your computer parts. Use an anti-static wristband or touch a metal object often. Work on a non-carpeted floor to reduce static buildup. Avoid wearing clothes that create static, like wool.
Clearing The Computer Area
Remove clutter around your computer. Clear a wide surface to place the case and tools. Good lighting helps you see small parts clearly. Keep drinks and food away to avoid spills and damage.
Removing The Old Cooler
Removing the old CPU cooler is the first step before installing a new liquid cooler. It needs careful handling to avoid damage. Follow these steps to safely remove the existing cooler from your system.
Powering Down And Unplugging
Turn off your computer completely. Unplug the power cable from the wall or power strip. This ensures no electricity flows while you work. Press the power button for a few seconds to release leftover power. This step protects your components and keeps you safe.
Detaching The Existing Cooler
Open your computer case carefully. Locate the CPU cooler mounted on the motherboard. Disconnect the fan cable from the motherboard. Unscrew or unclip the cooler, depending on its type. Gently lift the cooler off the CPU. Avoid pulling or twisting forcefully to prevent damage.
Cleaning The Cpu Surface
Old thermal paste sticks to the CPU surface. Use isopropyl alcohol and a soft cloth or paper towel. Gently wipe off all thermal paste residue. The surface must be clean and dry before installing the new cooler. This step helps the new thermal paste spread evenly and improves cooling.
Installing The Liquid Cooler
Installing the liquid cooler is a key step to keep your CPU cool. Follow each part carefully. This guide breaks down the process into simple steps. You will learn how to mount the radiator and fans, apply thermal paste, and secure the pump and water block.
Mounting The Radiator And Fans
Start by choosing where to place the radiator inside your case. Most cases have spots for top, front, or rear mounting. Make sure the fans align with airflow directions. Attach the fans to the radiator using the screws provided. Then, secure the radiator firmly to the case. Tighten screws evenly to avoid damage.
Applying Thermal Paste
Clean the CPU surface with isopropyl alcohol before applying paste. Apply a small pea-sized drop of thermal paste in the center. Spread it lightly if needed, but one drop usually works well. The paste helps heat transfer from the CPU to the cooler. Avoid using too much paste as it can reduce cooling.
Securing The Pump And Water Block
Place the water block over the CPU carefully. Align the mounting brackets with the motherboard holes. Attach the pump using the screws or clips included. Tighten the screws evenly and gently. Connect the pump’s power cable to the correct motherboard header. Double-check all connections before closing your case.
Connecting The Cooler Components
Connecting the cooler components is a key step in installing a liquid CPU cooler. Proper connections ensure your cooler works efficiently and keeps your CPU at safe temperatures. Each part has a specific connection to make the system run smoothly.
Hooking Up The Pump Power
The pump moves the liquid through the cooler. Connect its power cable to the CPU fan header on your motherboard. This header gives the pump the right power and control. Secure the cable to avoid any loose connections that might stop the pump.
Connecting The Fans
Fans push air through the radiator to cool the liquid. Plug each fan into the fan headers on your motherboard or a fan controller. Match the cables to the right ports to allow speed control. Check that each fan spins freely after connecting.
Managing Cables For Airflow
Neat cable management improves airflow inside your case. Use zip ties or Velcro straps to bundle cables together. Keep cables away from fans and vents to avoid blocking airflow. Organized cables help maintain lower temperatures and a clean look.

Credit: www.youtube.com
Testing And Monitoring
Testing and monitoring are vital steps after installing a liquid CPU cooler. They ensure your system runs smoothly and safely. These steps help detect any problems early. You can avoid damage and improve cooling performance. Follow these simple checks to keep your PC safe and cool.
Powering On The System
Start by turning on your computer carefully. Listen for unusual sounds from the pump or fans. Watch the screen for any error messages. If the system powers on without issues, proceed to the next step. Do not rush this process to prevent damage.
Checking For Leaks And Noise
Look closely around the cooler for any liquid leaks. Use a flashlight to see small drops or wet spots. Pay attention to strange noises from the pump or tubes. A quiet pump means it works well. Stop immediately if you find leaks or loud noises.
Monitoring Temperatures
Use software tools to check CPU temperature. Keep the computer idle and under load to test cooling. Temperatures should stay within safe limits. High temperatures mean the cooler is not installed correctly. Adjust or reinstall the cooler if needed.
Maintenance Tips
Maintaining your liquid CPU cooler is key to keeping your computer cool and running smoothly. Proper care prevents damage and extends the cooler’s life. Small steps make a big difference in performance and reliability.
Regular Cleaning
Dust and dirt build up on the radiator and fans. Clean these parts every few months using compressed air or a soft brush. Avoid wet cloths near electronic parts. Keep the cooler free from dust to improve airflow and cooling.
Checking For Wear And Tear
Look for signs of damage on tubes and fittings. Check for leaks or cracks regularly. Tighten loose screws and connections. Replace worn-out parts quickly to prevent bigger issues. Early detection saves your hardware.
Updating Firmware If Available
Some liquid coolers come with firmware to control pump speed and lighting. Check the manufacturer’s website for updates. Updated firmware can improve performance and fix bugs. Follow instructions carefully when installing updates.

Credit: www.youtube.com
Frequently Asked Questions
What Tools Are Needed To Install A Liquid Cpu Cooler?
You need a screwdriver, thermal paste, and mounting brackets. Most coolers include these tools. Having a clean workspace is essential for easy installation.
How Do I Prepare My Pc For Liquid Cooler Installation?
Turn off and unplug your PC. Remove the old cooler and clean the CPU surface. This ensures proper contact and prevents damage during installation.
Where Should I Mount The Radiator For Best Cooling?
Mount the radiator where airflow is optimal, usually the top or front of the case. Ensure fans can push or pull air efficiently for maximum cooling.
How Do I Connect The Liquid Cooler To The Motherboard?
Attach the pump power cable to the CPU_FAN or dedicated AIO_PUMP header. Connect radiator fans to system fan headers or the cooler’s controller for synchronized operation.
Conclusion
Installing a liquid CPU cooler can improve your computer’s performance. It keeps your CPU cooler and quieter than traditional fans. Follow the steps carefully to avoid any damage. Double-check all connections before powering on your PC. Regular maintenance helps your cooler last longer.
Enjoy a smoother and cooler computing experience. Simple, effective cooling is within your reach.